Published
- 3 min read
How to Set Up a RAG pipeline for a local Chatbot

Just as a heads up, using this method, you will have to pay a very small amount to have this function. Each API call is roughly 1 cent, and you’ll need to buy credits ahead of time for OpenAI unless you set up automatic billing. However, again, 1 cent per call is very cheap, and it’s very unlikely you’ll actually make enough calls to exceed this amount. You can configure this to work with other LLMs, and if you so desired, you could run your own local LLM and have the RAG agent send requests to that.
For this, we’ll use the repository located here
NOTE: DEPENDING ON YOUR PYTHON VERSION, THE ‘PYTHON’ COMMAND MAY NOT WORK. IT MAY BE PYTHON3 INSTEAD. YOU MAY ALSO POSSIBLY NEED TO ADD THESE PROGRAMS TO YOUR SYSTEM PATH FOR THEM TO FUNCTION PROPERLY.
You’ll need Python, Pip, and Poetry. All of these are fairly simple to download.
- Python. Just download the latest version.
- For pip, you can run
python -m ensurepip --upgrade. This will install the latest version of pip. - For poetry, you can install it using Powershell on Windows. You can open powershell by hitting the Windows key + R, and typing ‘Powershell’, then hitting enter. After that, enter this script:
(Invoke-WebRequest -Uri https://install.python-poetry.org -UseBasicParsing).Content | py -You may need to use python or python3 instead of py.
Clone the repo locally into wherever you want, using git. You can download Git here, or you can simply choose to download the zip for the repo and unpack it wherever you desire. Then, open the repository’s directory, and inside it you’ll need to make a directory called .streamlit. In this directory, you must construct a secrets.toml file. This is where your OpenAI API key will go. Simple create a field called “openai_key”, assign it the value of your API key, enclosed within quotes to make it a string, and save the file.
It should look like
openai_key = "fake_key_here"
After that, set up your environment.
run python -m venv .venv
and activate it with
.venv\Scripts\activate. You can exit the environment by using the deactivate command.
Then, run poetry install --with dev.
Then, you can run the app with
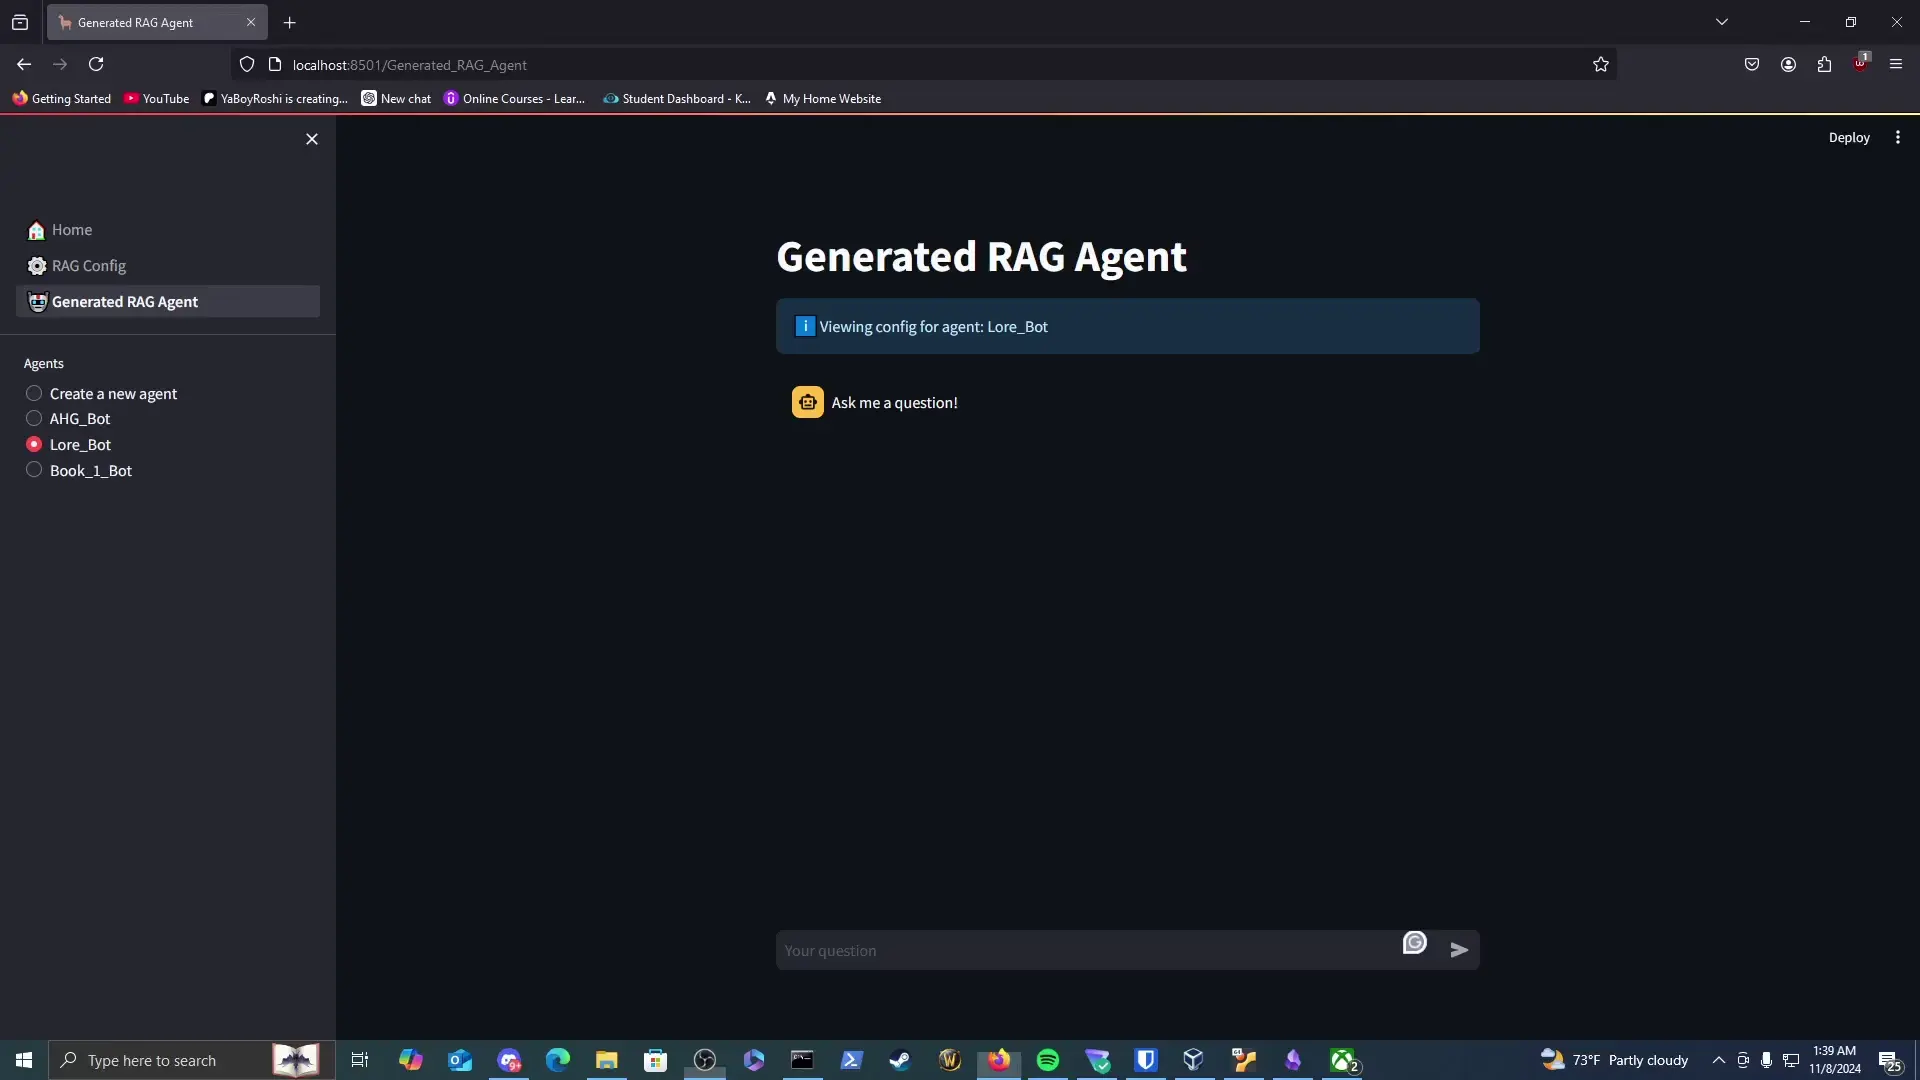
streamlit run 1_🏠_Home.pyOnce the app is loaded, you can create an agent by entering into the chatbot field at the home page. Just tell it the file path of what you want to analyze, and it will load it and create the agent.
It can only load one file at a time, or one directory. PDFs, .txt, markdown, or JSON is the best for analysis.
You can go to the RAG config page to rename the agent and adjust the parameters. 6-8 Documents is where I personally prefer to keep it at. Increasing the chunk size usually goes over the rate limit for OpenAI, so I just keep it at 1024. You can adjust the model it uses, but I’ve messed around with them and gpt-4-1106-preview seems to be overall the best. gpt-3.5-turbo allows a lot of tokens, but even maxing out the documents and chunk size, the analysis is very surface level.
Here is a demo of it in action, functioning as a kind of Lore Assistant for a novel I’m writing.