Published
- 24 min read
A Complete Guide to the Dawnbreaker (War Within)
On Skyriding, and navigating the Dungeon
Within minutes of entering this dungeon you’ll likely notice that you’ll be required to make use of Skyriding throughout the dungeon and at particular key points. This, of course, is a unique feature to this dungeon and can make it rather unfriendly to newcomers, especially in the context of a mythic keystone environment.
At the bottom of this page, which you may navigate to using the side-bar’s quicklinks, you can find a route throughout the dungeon, and you can also find a pull-by-pull companion guide, here (WIP, sorry), discussing a tanking approach on how to pull and move throughout the dungeon as well.
The route will not really capture the full visceral experience of moving throughout this environment, however, so I’ll do my best to represent that here.
If this is not necessary, simply skip ahead to First Boss Trash
Immediately upon entering the dungeon and moving forward a few yards, some RP will start and there will be several active packs of trash and friendly NPC’s fighting to your left and right. These do not grant count, and you should not engage with them. If someone accidentally aggros them or engages with them, simply run away and they should reset.
You should then walk forward and engage the first pack of 5 mobs, of which 2 will rush towards you while the other 3 are slightly desynced, appearing a brief second or two later.
After fighting these, again, ignore the other mobs currently engaged in combat and walk forward, then take the stairs up to the waiting airship. Upon boarding the ship you will notice a pack of 3 mobs not engaged with any friendly NPCs, while everything else is engaged in combat. Again, ignore anything in combat, and engage with that pack. The only other pack you should pull is slightly to your left and will come down from a slightly raised platform a little after you engage with the first ship pack. After defeating these, some RP will occur and you will be given a message letting you know you may now mount up.
An NPC should run out yelling something about boarding other attacking ships. The direction she goes in will have no ships immediately in view, and you should go in the opposite way that she does, flying across to the airship that should now be visible.
After killing all the trash on that ship, a yellow outline of a bomb will be visible, and one party member needs to click on it. After that, you will need to fly back to the ship and now to the opposite side as you first did (so, where the NPC ran to after clearing the original ship of its trash). Kill the trash there, plant the bomb, then return to the original ship in the middle.
Here is the flight to the first and second boat, in order.
After that, you’ll fight the first boss. Once she’s dead (as in, casting her final Darkness Comes), you can head into the town of Mereldar, down to the path leading up to the Church.
Pull whatever trash you need here and defeat the miniboss in the church. You’ll need to kill all three before you fight the second boss.
After that, we’ll head on over to the miniboss at the Inn. You’ll want to land behind it, not in the courtyard.
Clear the trash you need and the miniboss, and then head to the small house containing the last miniboss. Currently, it’s common to just “hot drop” on the trash at the house as it’s a gigantic pain to get into cleanly due to the mob density.

At worst, you can just land on the back of the house, here, where there are just two small little worms. I would communicate this or ping your party if you plan on doing this, though.
Once that’s done, engage the boss where he stands, pulling it back slightly if you feel cramped. Just be aware of the patrolling Sureki Militant behind you.
Lastly, you’ll need to fly back up to the Dawnbreaker (roll credits) for the final bit of trash.
And that’s it for navigating everything. The last boss does include Skyriding, but I’ll cover how you deal with that in the strategy for it.
First Boss Trash
Next, we’ll go through an introduction to every mob in the dungeon that you may encounter, of which there are many, and pretty much all of them are important. If you have ADHD, there’ll be a TL;DR for each one. I’ll accompany every mobs important ability with a short clip demonstrating it, as well as who in particular the mob is important for, denoted by: Tank, Healer, DPS, or Everyone.
There’s not a great deal of trash leading up to the first boss, totaling about 4-5 pulls. However, the first few packs are quite nasty.
Nightfall Curseblade - Darkblade (Tank)
- These are just cannon fodder, really. They’ll melee the tank and do a short, non-interruptible cast to apply Darkblade to themselves, empowering their autos to deal shadow damage and grant them stacking attack speed. You can dispel this, and should as needed. Not particularly threatening by themselves.
Nightfall Shadowmage - Night Bolt (Everyone), Empowering Shadows (Everyone)
- Night Bolt is their spammable filler cast. It does a moderate amount of damage and should be kicked or stopped, but isn’t the priority kick for this mob.
- Empowering Shadows is the cast you should kick (and it will recast if you use a stop such as a stun or knock-up) as it will apply a curse to its target that does a fair amount of damage and will slow them.
Nightfall Ritualist - Tormenting Ray (Healer, DPS), Stygian Seed (Healer, DPS)
- The main lieutenant mob of this area, and correspondingly the greatest threat in whatever pack they are present.
- Tormenting Ray will pick one target and do a non-interruptible channel on them over several seconds.
- Stygian Seed will apply to a target and, after a few moments, explode, dealing damage to them and anyone around them. It is a magic debuff, and you should dispel it immediately.
Tormenting Ray
Stygian Seed

Sureki Webmage - Web Bolt (Everyone), Bursting Cocoon (Healer, DPS)
- This is a lieutenant mob, but it’s not particularly threatening.
- Web Bolt is an interruptible cast that does a moderate amount of damage.
- Bursting Cocoon is your typical “get away from me” spread mechanic that goes on one person. This does pretty decent ticking damage before exploding for a high amount of damage. You should personal every time this goes on you.
Bursting Cocoon
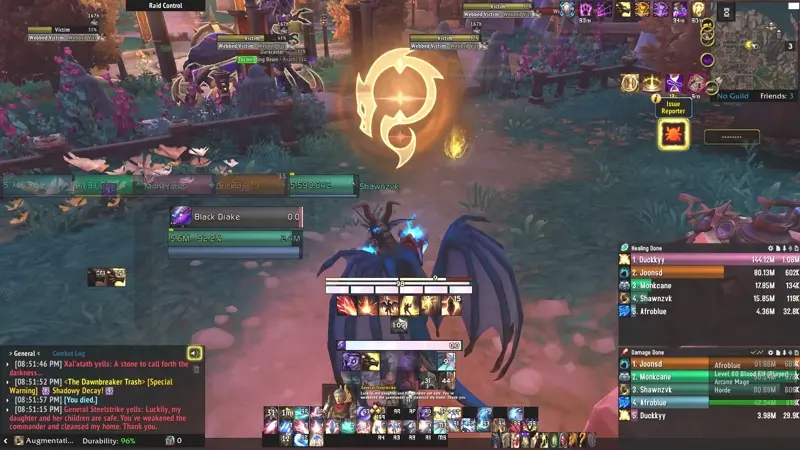
Speaker Shadowcrown
Abilities:
- Collapsing Night - (Healer, DPS). The boss will pick two players (preferring range), and spawn a void zone under them, it becoming active about 2 seconds later. This zone will grow a little larger over time, and does a high amount of damage and slows anyone inside.
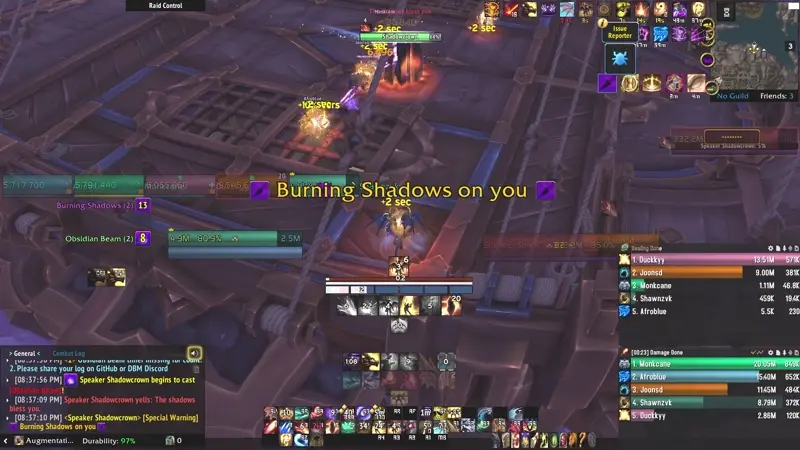
- This will target two players, preferring range, and spawn a void zone a second or two later. It is important to bait these in good locations, as bad baits will complicate movement for…
- Obsidian Beam - (Everyone)
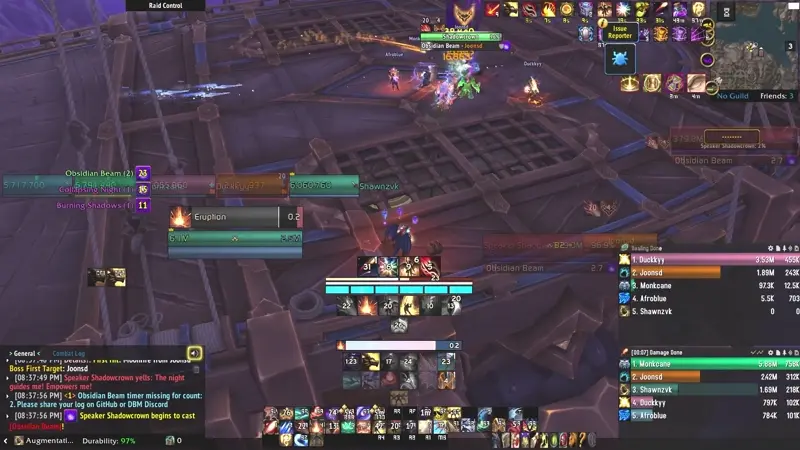
- The boss will do a short cast, blasting the tank for a high amount of shadow damage, and the rest of the party for a small amount, then she’ll begin to channel a beam with three lines that will rotate about her for 7 seconds.
- After the first Darkness Comes, the beam will gain an additional line.
- Darkness Comes - (Everyone)
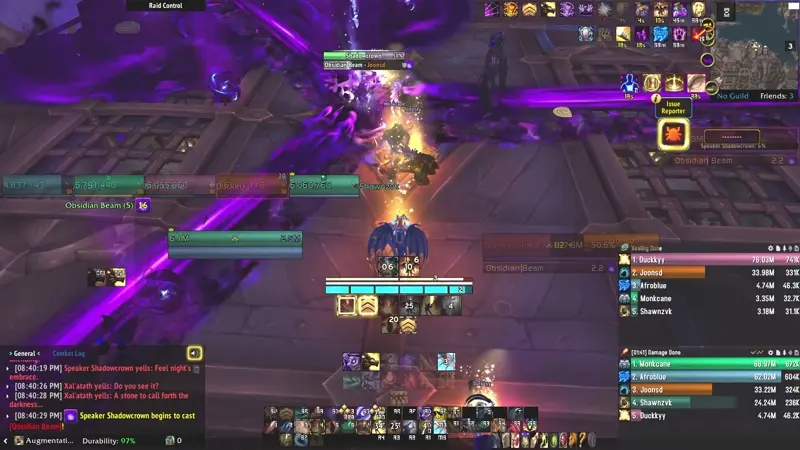
- The boss will go immune at 50% and 1%, and start a long channel, growing a massive purple dome around the Dawnbreaker. You’ll be granted the ability to mount up, and you should do so, flying away from the airship. There are yellow orbs you can collect to protect you from the guaranteed one-shot for being in darkness, and they also grant you 1 vigor.
Strategy:
- Tank the boss where she stands, and have two ranged players bait the Collapsing Night far away from where the boss is each time it comes out. The healer should dispel Burning Shadows as soon as the party is healthy, and heal them to remove the absorb. If you are melee heavy, you may either: have all melee bait the Collapsing Night in the same spot, then kick the boss and move her immediately before she has the chance to plant and channel Obsidian Beam, or have everyone move out and bait the cast far away. I’d recommend the former for better uptime, but do whatever keeps things clean for you.
- When the Obisidian Beam comes out, the tank should pop something strong, or be topped, or both, and everyone should note the direction it is moving in and adjust accordingly. Be very careful if there happens to be a bad void zone placed in your path, but if it comes down to it, it is always better to take a couple of ticks from the Collapsing Night than to eat the Beam. The Beam is a one-shot, straight up.
- When the boss hits 50%, she’ll do her first Darkness Comes. You’ll need to quickly mount and fly away, and for safety you should grab at least one orb. It is important that, if this lines up with a Burning Shadows, you should make sure you are dispelled/dispel that person, and get everyone topped to go away, otherwise you risk dying while waiting for the cast to finish.
- After that, the fight will repeat as normal, but with a 4th line to account for on the Obsidian Beam. When she hits 1%, she’ll do another Darkness Comes, dying when the cast finishes. You can safely leave to start the next trash at that point.
- It should be noted that, from this point onwards, you will always respawn on the Dawnbreaker.
Second Boss Trash
This is possibly the most PUG unfriendly area ever made for keys. You can follow my notes above on where to go or the route listed at the bottom of the page. I will simply discuss the mobs you will fight as well as the minibosses in this section.
There are really only 3 new mobs you will fight here, if you don’t manage to pull anything extra. Saying that, I will still list out all the mobs here, to future proof this if nerfs or buffs change the current routing.
Mobs you shouldn’t pull will be marked with DNP (Do Not Pull).
Sureki Militant(DNP) - Silken Shell (Everyone), Tacky Nova (Everyone), Entwining Threads (Healer, DPS?)
- Silken Shell will only be cast if this is pulled with other trash, and is a 30% damage reduction it will apply to other targets. I’ll be honest, I’ve not pulled this mob besides on accident, and wasn’t paying close attention. I believe it is dispellable, but I’m not entirely sure.
- Tacky Nova is a relatively short cast that does a large AoE around the Militant, knocking back and dealing damage to anyone caught within. He can, and will, yank you into this with Entwining Threads, but again, I’m not sure what causes this to happen. Will update if it becomes a relevant mob.
Sureki Webmages are carried over, but are DNP as well.
Animated Darkness(DNP) - Congealed Shadow (Everyone)
- These will just spam Congealed Shadow, a 3 second cast that does a fair amount of damage to a random target.
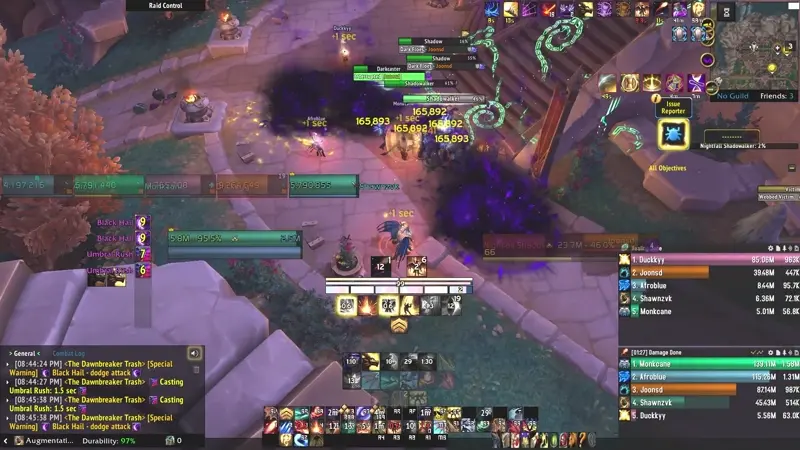
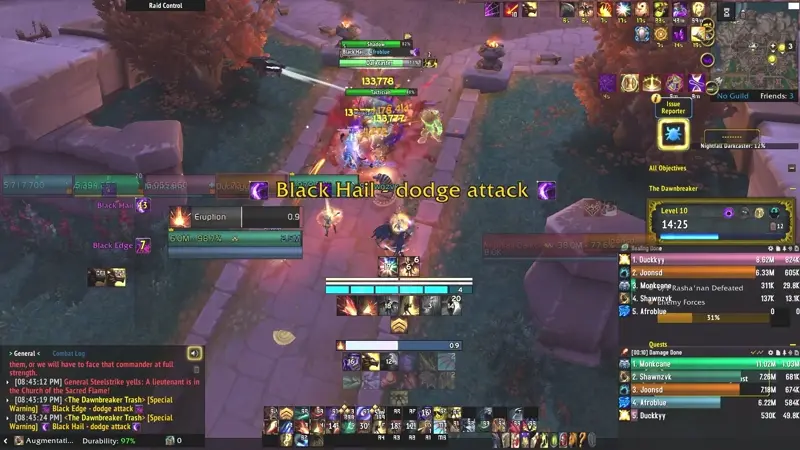
Manifested Shadow - Dark Floes (Everyone), Abyssal Rot (Everyone), Black Hail (Healer, DPS)
None of their abilities are kickable, so at least you won’t have to waste interrupts on them.
:)
- Dark Floes does a large amount of pulsing shadow damage over a few seconds, and if there are ever two of these at the same time you should definitely consider using a personal or group wide DR. Your goal is to kill them before they ever cast this (perfectly doable).
- Abyssal Rot will debuff two targets with a shadow DoT that does a fair amount of damage.
- Black Hail will prefer ranged, and drop a series of swirlies at their feet that hurt quite a bit if you get hit.
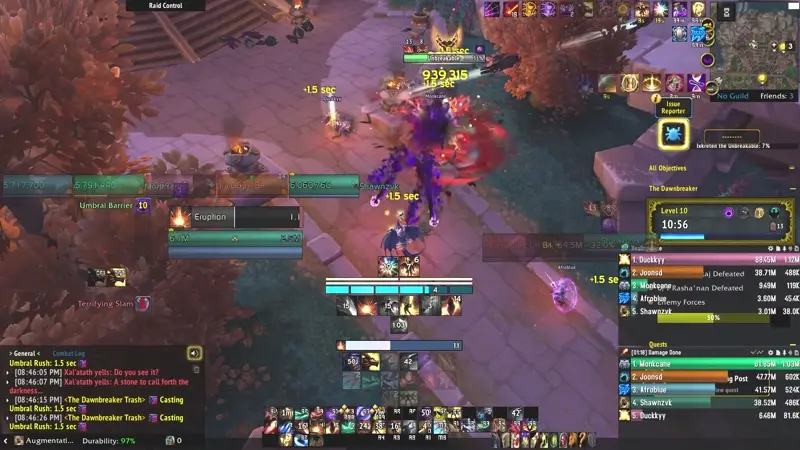
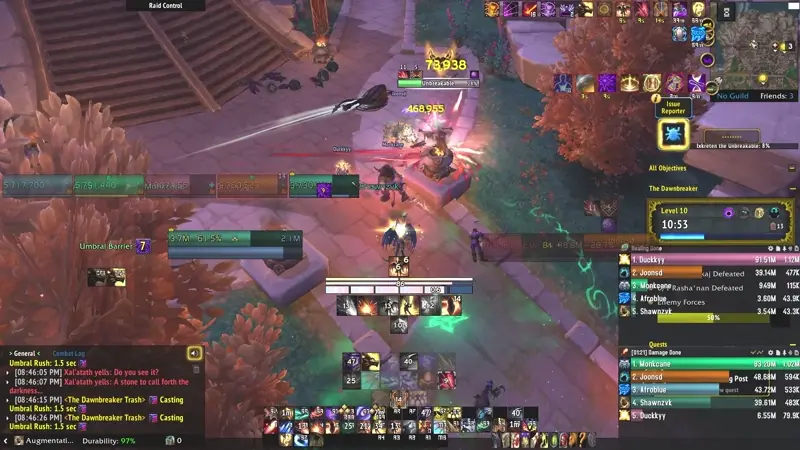
Nightfall Shadowalker - Umbral Rush (Tank)
- These will just melee and cast Umbral Rush at a decent frequency. This doesn’t hit too hard, but a good thing to note is if a DPS or Healer tries to pull these for you, the Umbral Rush will nearly or straight up just one-shot them.
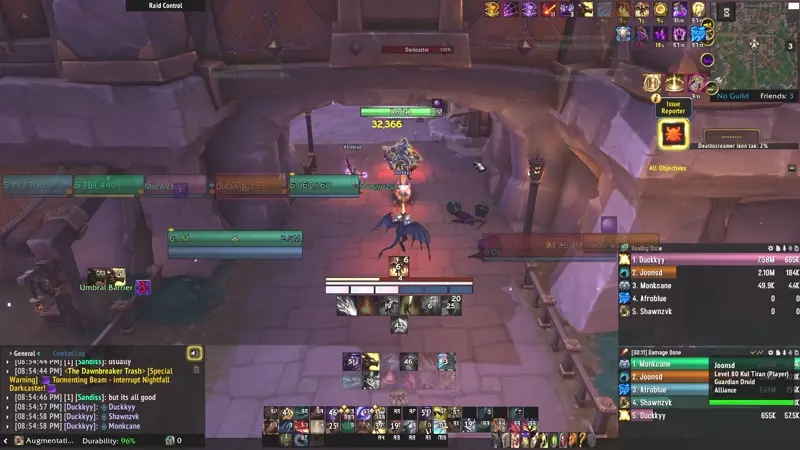
Nightfall Shadowcaster - Tormenting Beam (Everyone), Umbral Barrier (Everyone)
- These will cast Tormenting Beam, a high priority channel that does a large amount of a short duration. This is kickable, and should be kicked every time. It also can be stopped, but it will be recast when stopped.
- Umbral Barrier will buff them with an absorb that lasts for 6 seconds. If the absorb isn’t broken or dispelled, they will gain permanent max health, essentially healing them.
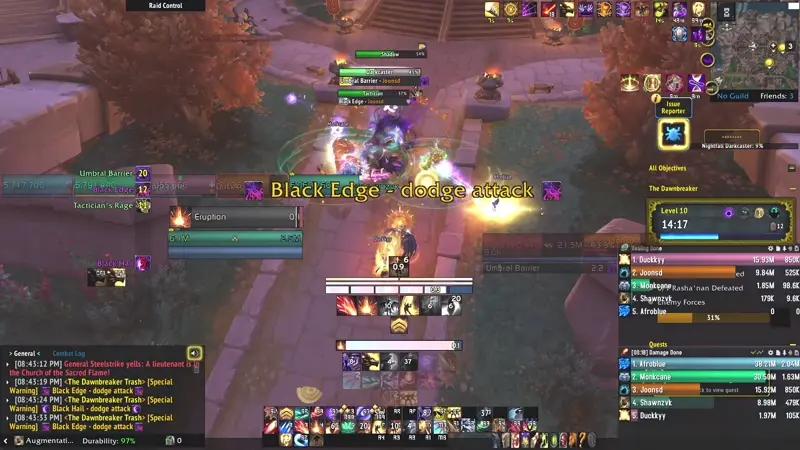
Nightfall Tactician - Black Edge (Everyone), Tactician’s Rage (Tank)
- These melee fairly hard and will cast Black Edge at a moderate frequency. Black Edge is a line frontal that is aimed at a random target. If you get hit, you’re probably dead.
- Tactician’s Rage is an Enrage buff they’ll apply to themselves, massively increasing their damage by 100% and reducing their movement speed by 70%. However, it lasts 9 seconds and you’ll rarely kite this. The tank should just pop a defensive and facetank it, or otherwise just soothe them if possible.
Minibosses
- All minibosses share Abyssal Blast, which is a non-dispellable debuff that does a ton of damage to the target. If this ever overlaps with anything, you should personal or you are probably dead.
Iskreten the Unbreakable(Church Miniboss) - Terrifying Slam (Tank)
- Occasionally, he’ll target the tank with a large attack that will also fear anyone else struck by it, as well as do a good amount of damage. The tank should position themselves opposite of any melee and move backwards into a clear area, as they will be knocked back upon completion of the cast.
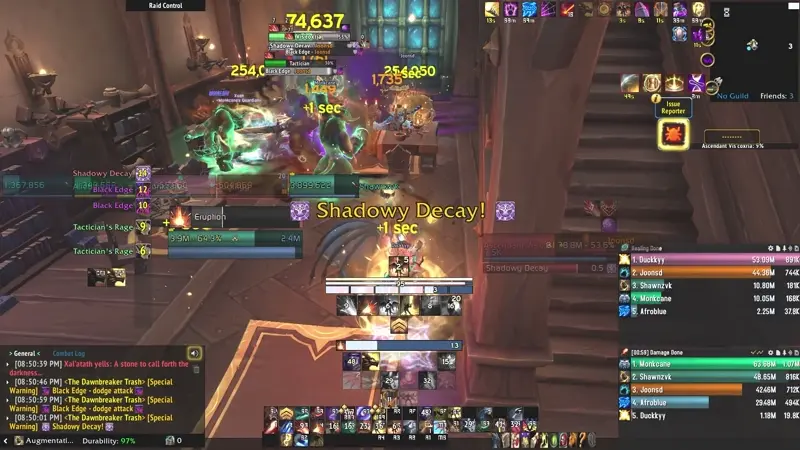
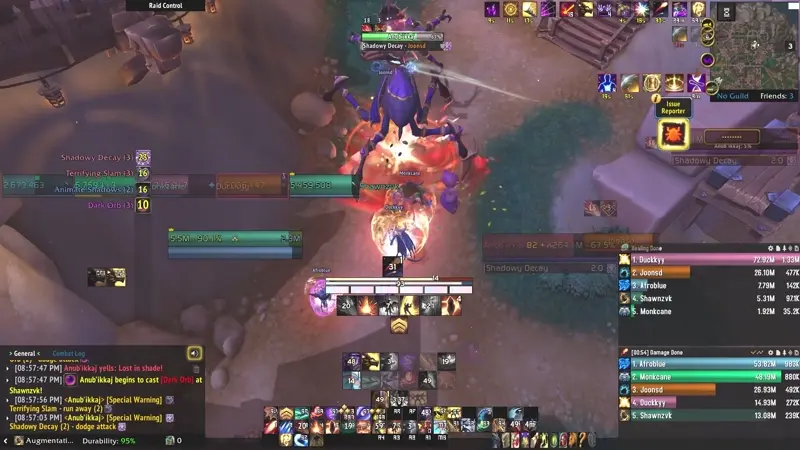
Ascendant Viscoxria(House Miniboss) - Shadowy Decay (Everyone)
- At a similar frequency as the other minibosses, she’ll cast an AoE that does a large amount of damage over several seconds. This will start low and ramp up, the last tick doing significantly more than the first. Group wide DRs are recommended for this, and if you have an Abyssal Blast DoT you should personal liberally.
Deathscreamer Ikentak(Inn Miniboss) - Dark Orb (Healer, DPS)
- You should tank this in an area with a clear lane to aim the Orb down. At a similar frequency to the other minibosses, they’ll do a decently long cast, targeting a player with a slowly growing orb.
- At the end of the cast, the orb will roll in that player’s direction, traveling until it despawns naturally or encounters terrain. It can roll downwards or roll upwards, just not into something. This does falloff damage, so the further you aim it, the better.
- If this travels the minimum distance (aka barely goes anywhere), there is a fairly high chance you will straight up wipe. It cannot be stressed enough that you must master this mechanic, as it, like all the other miniboss mechanics are present on the second boss. Place a marker if you must, or ping every time this comes out.
If you mess this up, you die.
You also do want to move out of its way once it begins moving, as failing to do so will apply a non-dispellable, very high damage DoT. It is important to note that some of the orb explosions will line up with an Abyssal Blast application, or while a party member still has the DoT. These players should take special care not to get comboed by the explosion and the ticking of the DoT.
AKA, use a personal.
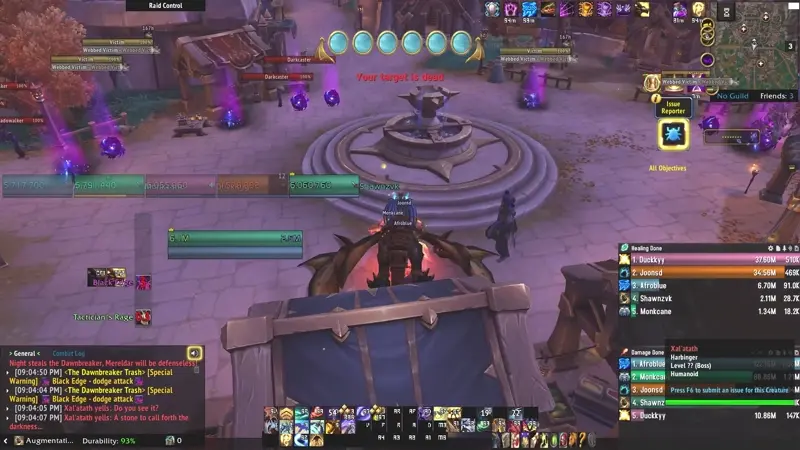
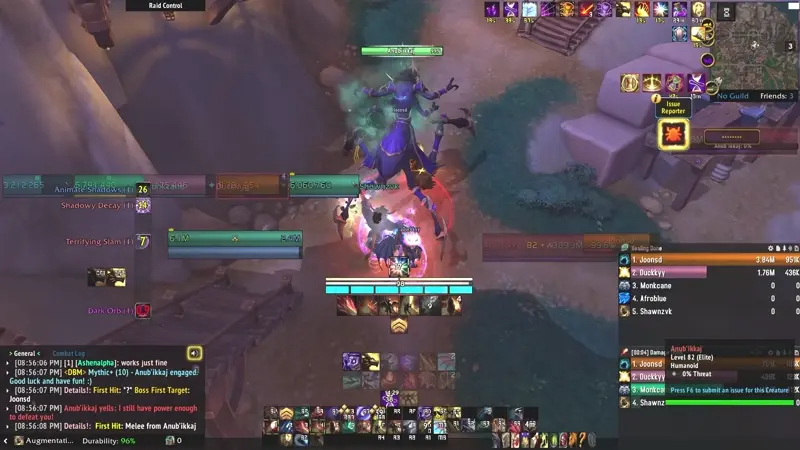
Anub’ikkaj
As mentioned before, this boss possesses all of the abilities you encountered on the minibosses, except for Abyssal Blast, which they do not have. This is a relatively simple fight mechanically, as you only occasionally move for Dark Orb, but it can very quickly go to heck due to the rather brutal tuning. It also should be noted that the spell queueing for this boss can wildly vary the difficulty, and the advanced player should be wary and account for such as needed.
I’ll briefly cover the abilities again, and cover the one new ability she has.
Dark Orb - (Healer, DPS)
- A cast at one player (which is completely random), that, when finished, will launch a large orb towards a player. When the orb encounters terrain or despawns naturally from timing out, it will explode, dealing falloff damage. If this does not travel a sufficient distance, it will almost certainly wipe you.
Terrifying Slam - (Tank)
- This is a targeted cast on the tank that, when finished, deals a large amount of damage to the tank and knocks them back. Anyone else caught in the blast is feared and suffers that damage as well. The tank can and should be the one to move away from the boss with this to ensure high uptime for the DPS.
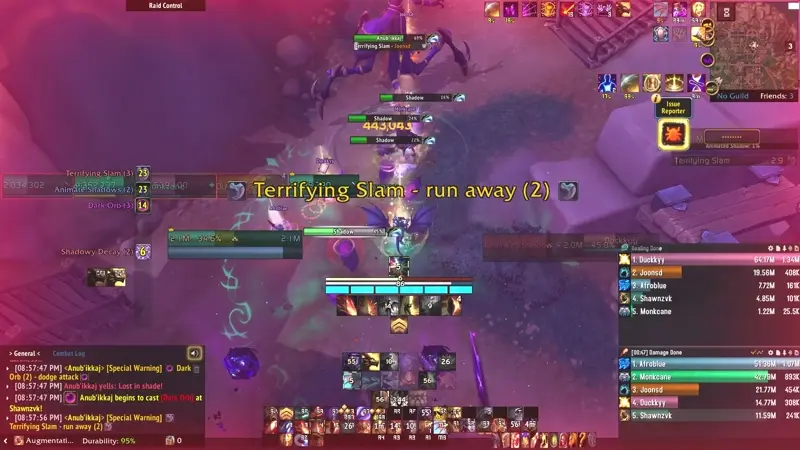
Shadowy Decay - (Everyone)
- The boss will start a fairly long channel, dealing increasing shadow damage in an AoE. She gains a buff during the cast, increasing her damage every tick, with the final tick being significantly more damage than the first.
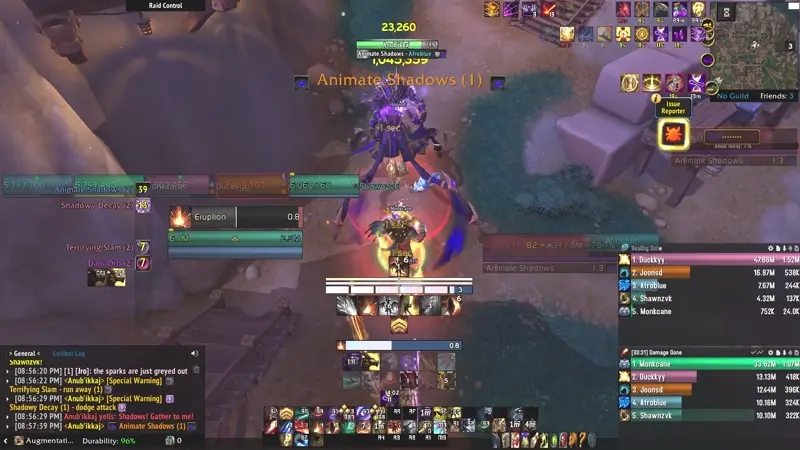
Animate Shadows - (Everyone)
- She’ll do a brief channel, summoning several small mobs that will attempt to melee and cast at random targets. The tank should make certain to group these up and everyone should kill them as soon as possible, stunning and kicking as necessary.
Strategy:
- You should tank the boss where he is, pulling him back slightly down the path. Everyone else should stand behind where he spawns, opposite of the tank, so that they are already in position when the orb is cast. Whenever the boss casts Terrifying Slam, the tank should make sure to back up to give melee room to ensure uptime. Be aware that it will knock you back, and you should make sure not to be knocked into any of the packs nearby.
- Dark Orb, as mentioned before, should generally be aimed to travel as far as possible down the hill, and everyone but the orb target should move out of the way. When the boss casts Animate Shadows, everyone should move in slightly to make picking up the adds easier for the tank.
- Every third Shadowy Decay will have a Dark Orb explosion just before it. This is the bad one as I usually call it and this is where you should throw the kitchen sink, so to speak.
- As a healer, you will need something large for every single Shadowy Decay, but you should hold something in reserve for the bad one as should everyone else.
- The adds should be prioritized and murdered before they ever cast. Use CC and kicks to prevent them from casting as someone can very easily get comboed. Ranged should also just stay close to the boss, as the adds spawn on party members.
- For the tank, the Terrifying Slam does a large amount of damage, and you should CD or at least be fully topped for each one.
Third Boss Trash
If you are following a route I have recommended, you will simply need to fly back to the Dawnbreaker, the main airship that you started on, and fight one miniboss to summon the final boss.
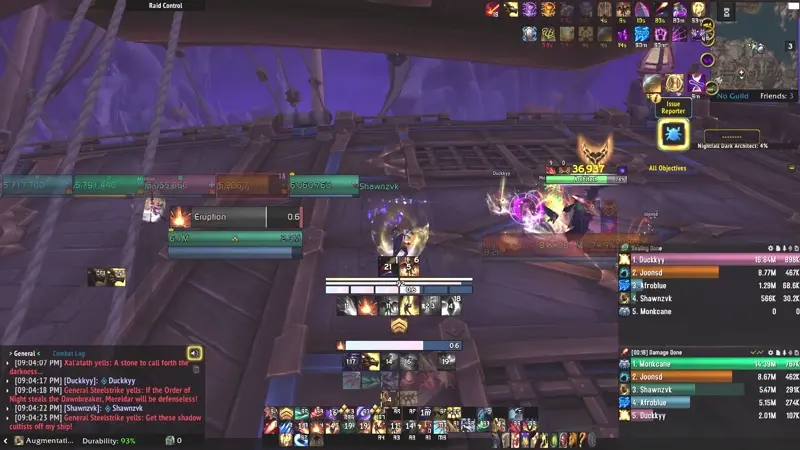
Nightfall Dark Architect - Night Bolt (Everyone), Tormenting Eruption (Everyone), Dark Fervor (Tank), Usher Reinforcements (Everyone)
- This miniboss will cast Night Bolt once or twice in between other casts, and you should soft priority kick it, unless a more important mob is up.
- I believe the Usher Reinforcements cast is percentage based, at 75%, 50%, and 25%, but it’s very common for CDs to be sent into this, so it commonly pushes in a strange way as the Tormenting Eruption cast is quite long.
Usher Reinforcements
- Tormenting Eruption itself is a high damage channel into two targets, and they will splash others in a small circle around them. You should rotate defensives as necessary to live these.Simply pre-spread and remain spread until it’s over. When it summons reinforcements, it can be a variety of some of the mobs you’ve encountered throughout the dungeon such as Shadowmages, Curseblades, Shadowalkers or Shadowcasters.
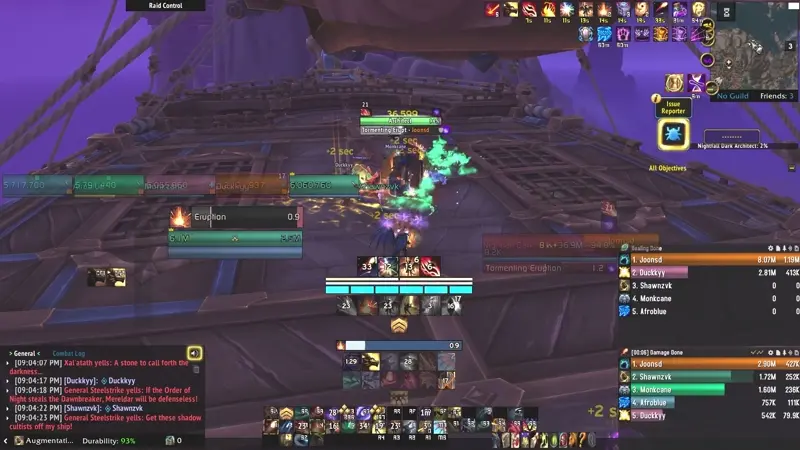
- You should deal with these as you did throughout the dungeon and group them onto the Architect for cleave, still focusing on the Architect. When it reaches 1%, it will briefly go immune and summon the final boss, Rasha’nan.
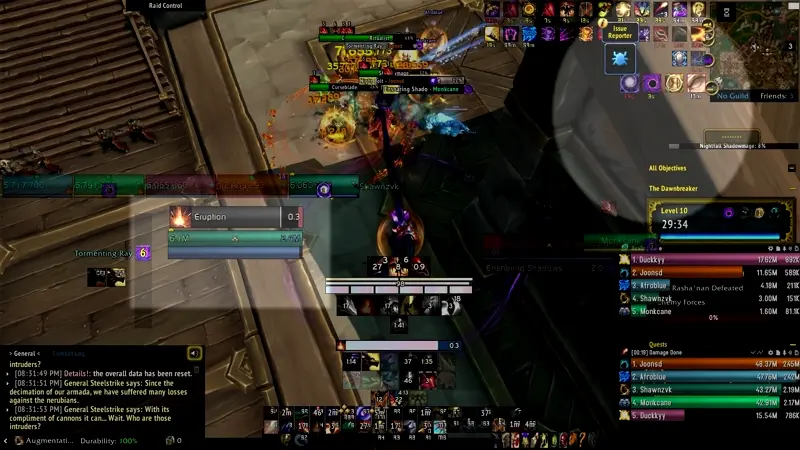
Rasha’nan
This boss is split into two phases, with an intermission in between. During the intermission, you will need to Skyride after the boss, and I will advise you on best practices when covering that part of the fight. The boss does not move, and if the tank moves out of range he will spam Tacky Burst, quickly decimating the group.
Phase One
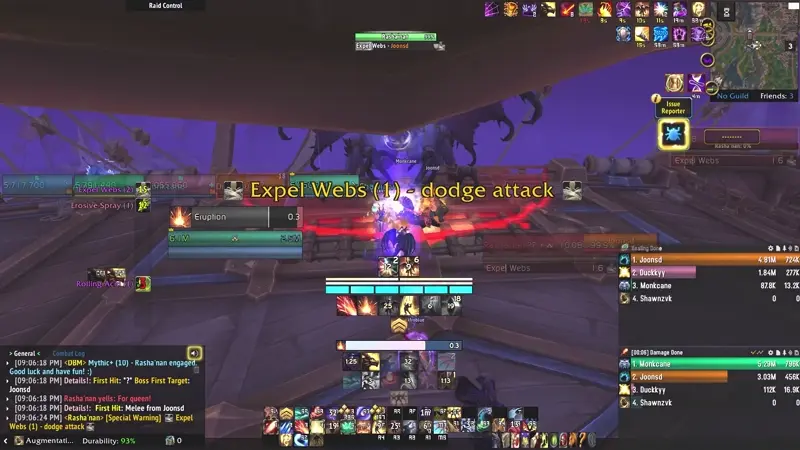
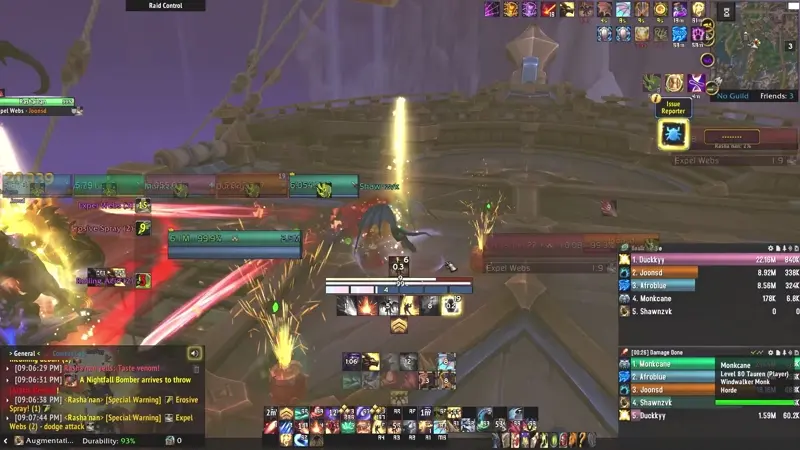
Expel Webs - (Everyone)
- The boss will eject swirlies that do a large amount of damage to everyone hit, either in a straight line or in two lines, based off of the tank’s positioning. Generally occurs in between other mechanics and can be positioned over bombs.
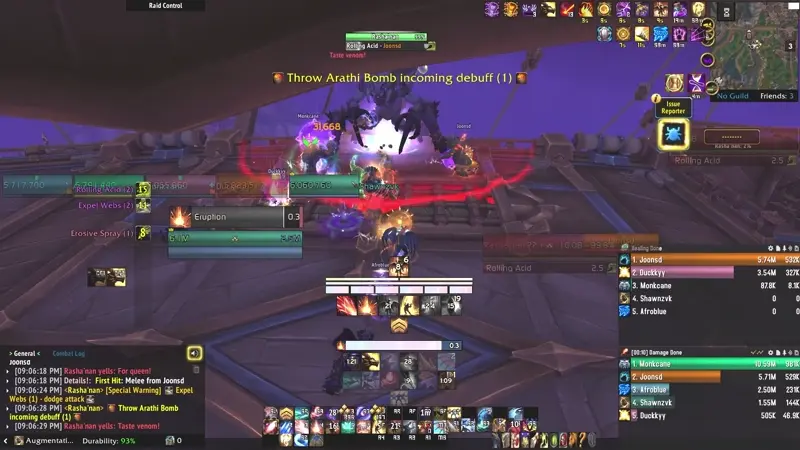
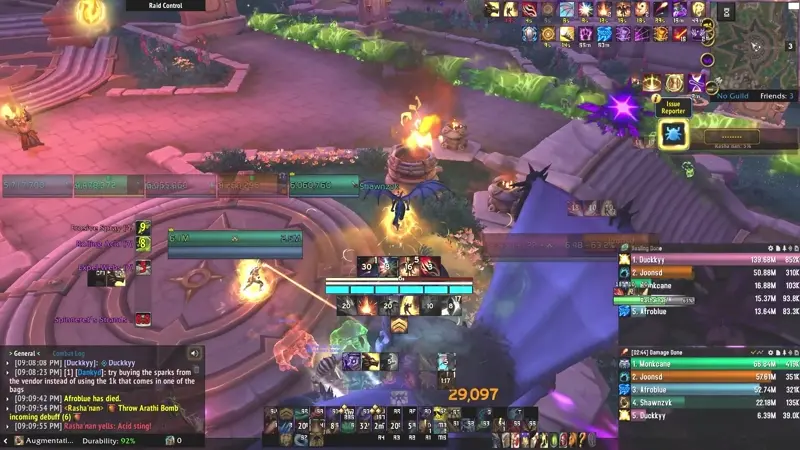
Arathi Bombs - (Healer, DPS)
- This is the main way you will deal damage to the boss during this phase. There will be 2 rounds of these over the course of the phase. When you pick these up, on Tyrannical and higher keys you will take a noticeable amount of damage in the form of a DoT that lasts as long as you are carrying it. You pick it up by clicking it or using the ExtraActionButton, and throw it in the same fashion once you’re within 20 yards of the boss, which is somewhat deceptive as the center of his hitbox is what the range is based off of.
- If you do not pick these up, not only will you have to do the equivalent of 5% of the boss’s HP (which is a substantial amount of damage), but you will take the DoT it applies across the entire group, which will likely wipe you on a high enough key.
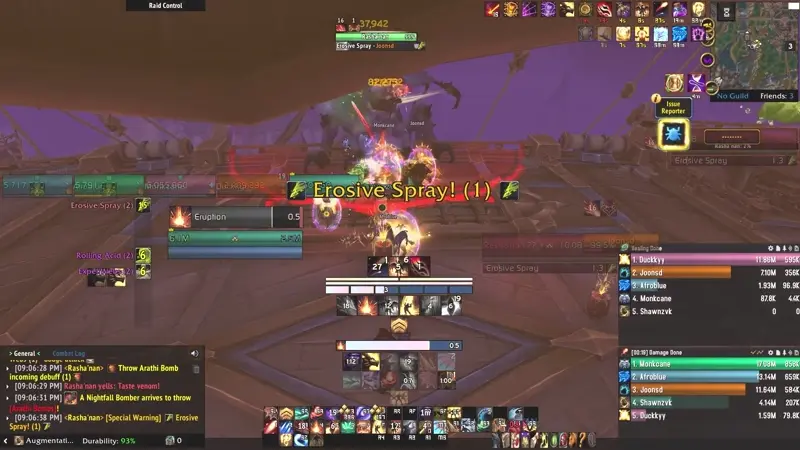
Erosive Spray - (Everyone)
- A short channel that does a high amount of damage and leaves a DoT on all players. Usually a good time to personal.
Rolling Acid - (Everyone)
- This will pick one player (a non-tank), and shortly later spawn a rolling green wave of acid that goes in the direction that is indicated. Upon the spawning of the wave, the targeted player will be stunned and take a moderate amount of damage, which is unavoidable. If you use something to immune the stun, you will be carried away with the wave, so it’s best not to try to break out of the stun immediately.
- A good way to remember what direction it goes (besides the clip below), is the idiom, “Keep the Green away from the Team”.
- This mechanic also occurs on the raid fight and will likely be used in future encounters, so use this opportunity to familiarize yourself with it.
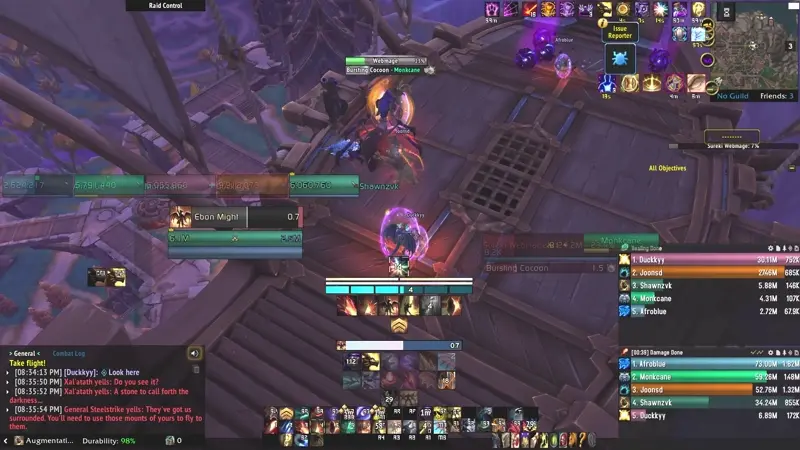
Phase Two:
Upon landing, Rasha’nan will cast Acidic Eruption, a long cast that will presumably wipe you if it goes off. You must kick it in order to properly begin the last phase. As before, the boss will not move, but he has swapped out Arathi Bombs for a new one.
He keeps Rolling Acid, Erosive Spray, and Expel Webs in this phase.
Spinneret’s Strand - (Healer, DPS)
- Targets two players and, after a short cast places a rather large web under them that persists for the rest of the fight, tethering them to the middle. Upon breaking this tether, it will deal damage to the entire group, but not a significant amount. However, the damage you take while remaining in the webs is high enough that you should strive to break it as soon as possible.
Strategy:
Phase One
- The tank can stand wherever, really, as it doesn’t make too large of a difference. Simply avoid the mechanics as they come, although I’d recommend everyone generally stays in the middle to make adjusting positions for the Rolling Acid easier. When the Arathi Bombs, come out, EVERYONE but the tank should focus on picking them up and dumping them on the boss. You should however wait until you are topped/the Erosive Spray is not coming soon, as having both DoTs can be incredibly stressful on the healer. It is also very common for a Rolling Acid to come out while the bombs are up, so account for that as well.
- This is an incredibly stressful phase to heal, and you can send defensives liberally here, using AoE DRs when the boss casts Erosive Sprays. Saving movement speed increases for bomb deliveries is also very helpful. You will deal with two rounds of bombs, the last wave being that which will phase you unless your damage is incredibly low. You should send whatever CDs you have available, but not lust or pots. Those I recommend saving for the second phase.
- When the boss drops below 64%, he’ll phase. Thus, it is possible to do more damage than is required to phase him if your damage is particularly high. By this, I mean to say that your damage in this phase is not irrelevant. You should of course, prioritize mechanics, but do not play simply to live and bomb the phase. The damage you do here will still make the last phase shorter. You only avoid lusting here because of the downtime caused by bomb delivery.
Intermission
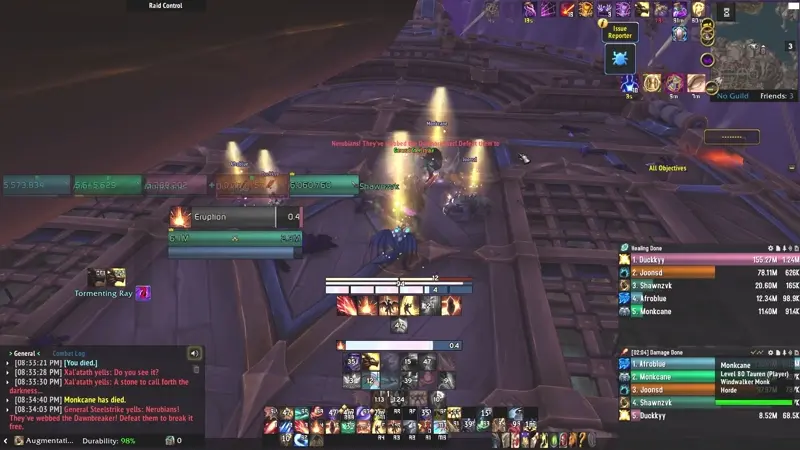
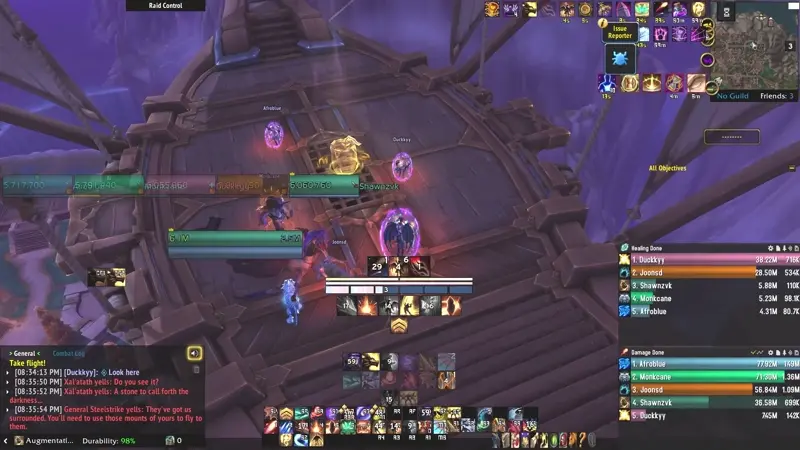
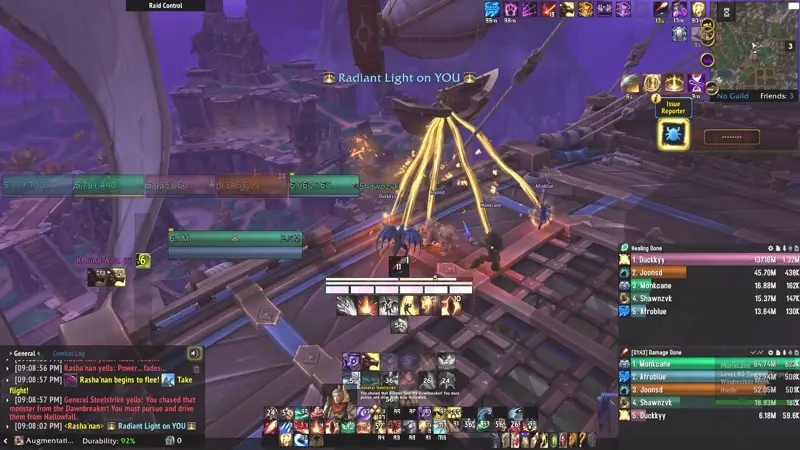
- The boss will fly off, and a zeppelin with NPCs will appear at the same time giving you a path of orbs to chase the boss with. The orbs however are not actually tied to the zeppelin or the boss, and simply spawn as your character is near enough, at which point they will render. You will need to gather at least one orb every 15 seconds to not be one-shot by the darkness debuff applied for not being in an area bathed in Radiant Light.
- While where you start from is not static, as the Dawnbreaker moves around the zone throughout phase one and thus can be in a different spot as previous runs due to your DPS, the final location you fight the boss in is always the same. This means that, once you’re familiar with the area, you can simply fly straight to the final encounter area. As long as you use Whirling Surge and your vigor correctly, you won’t even need an orb to make it there. However, until you are comfortable, I recommend simply following the trail left by the zeppelin, or at least following the boss itself. Here’s what that looks like:
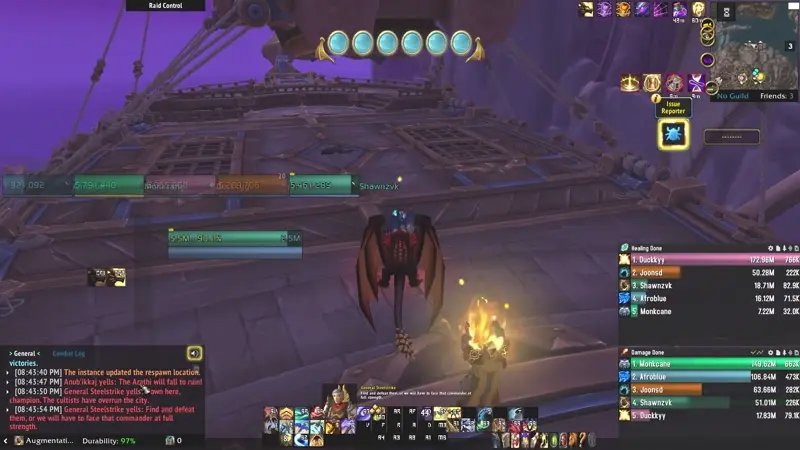
Stage Two
- As the boss retains much of the abilities from the previous phase, it’s really not that much different.
- Pop lust when you land, and deal with the mechanics as they come. The only difference is of course the Spinneret’s Strands, which you should aim to place the early ones fairly far as they will slowly restrict your ability to move. If the Rolling Acid rolls over them, it will turn them green and increase the damage they deal, but not clear them (which is what happens in the raid, as a heads up).
- Under no circumstances should you ever stand on a web when taking out the Rolling Acid. You will turn the web into an Acid Pool and take a tick, pretty much one-shotting yourself.
- Bring the boss to 59.4% or so and he will fly away, marking the completion of the dungeon.
PUG Route and Lust Timings
This is an extremely safe route, and just aims to time the key. To speed things up, any pull with only two or three mobs you can just combine into whatever’s nearest, as I’ve generally made nearly everything separate. However, for your first couple of times in here, I recommend just following along and not going too crazy. Challenger’s Peril is there to punish you for experimenting.
!fw12oUjmq0)Okm24lVwTsvTRuAvtK6BwbShNLUeyfXSB2xY3EngCwmx2(IXA4WzoZ4JhKi5b5(MI)ck7f3wRCVU0ykvDv23L7qjFjrU)naEwUd3V918QoO)tuDTTqT9HU6tqt931xDGrOEixGkhzLn1d0nc8xDvvoi9aSaCUS(KCNN82sJ9NgZfiK)xCi736bh)yyj9(coSyhcSom7aMPVSxxnvnTUhCKwRMrqakzj1JzJSjHMCMc4ZsAaA2DHrxkS0iEsPzicEwUcqz35HVuIJQoBtjs4qbHodtaQyjHluD2MQ2WsGcF7KoGHob6Ow5tcnsO3NfRGaJjkTra9GyEmH4mcrqZMWhDzrW(pwheokvmKsW9IxSKs0sXVWMHqBBlmjkeDATgrEYkcMeBuPeMGnnlSzhrZuhELwBC9s1fCQ3IHch3BFrHbuCH3xhanTaWzllamnIargVaR9eeC0jFsZm8zz5iv(Gid2U0nfji4c2qocQJUj4ufvthaZw5iHCxq(ep6yORydswPtJIRcUrHjdNERyxXFCFgZxPrYI4sdcySJm6trBpoQiftzc)n6KO7pjU5EgI7fFmJEFxrf8kuDNdlC1TE4j42XhYFRUOfYFgAVD8aC(LM2823VD83nDwqU)SUSNBtlap1uP)rtznOLfFezC2FbCQRSYp9FmhDLA3)mQ(ZJFn1E96JFZft(pThe above is an MDT string. You can just hit the copy button and paste it in.
While this picture is a bit messy, here’s what it looks like at a glance:
And then here is a route I think a better organized group would have success with.
Lust Timings
I recommend lusting the first pull, and then on CD. If you are unsure of your final lust, it’s best to always send it on P2 of Rasha’nan.
WIP