Published
- 7 min read
A Complete Guide to the Plexus Sentinel

The Plexus Sentinel is the introductory encounter of the Manaforge Omega, and is immediately available upon zoning into the instance. This construct guards the intake pipeline used for extracting mana from K’aresh, and utilizes an Arcanomatrix Atomizer to filter organic material from entering.
It is an encounter with only one phase, with a brief intermission breaking up the monotony in which you will survive the aforementioned filtration system attempting to extricate you from the Manaforge.
Abilities
Phase One
- Phase Blink (ExtraActionButton Ability) - The Reshii Wraps allow the user to briefly transition to a higher energy state while teleporting forward. Has a relatively long cooldown of about 14 seconds.

- Arcane Radiation - Sections of the room will be irradiated by the Plexus Sentinel dealing high ticking damage every second to players within. This is typically the area blocked off by the Atomizer further down in the room, and each intermission removes the barrier and the radiation.
- Arcanomatrix Atomizer - This is a visible layer of arcane energy that forcibly deconstructs the atomic bonds of any organic tissue that interacts with it, dealing lethal damage.
- Arcane Lightning (Heroic Only) - Periodic bolts of lightning that strike in small area after a few moments, dealing moderate damage.

- Eradicating Salvo - The Plexus Sentinel charges then fires a barrage of missiles at a player, inflicting lethal damage to them after a few moments. This can be split between all players within the radius to lower the damage instead. On Heroic, an additional salvo is fired, and each part of the barrage knocks back all players except those who soaked.
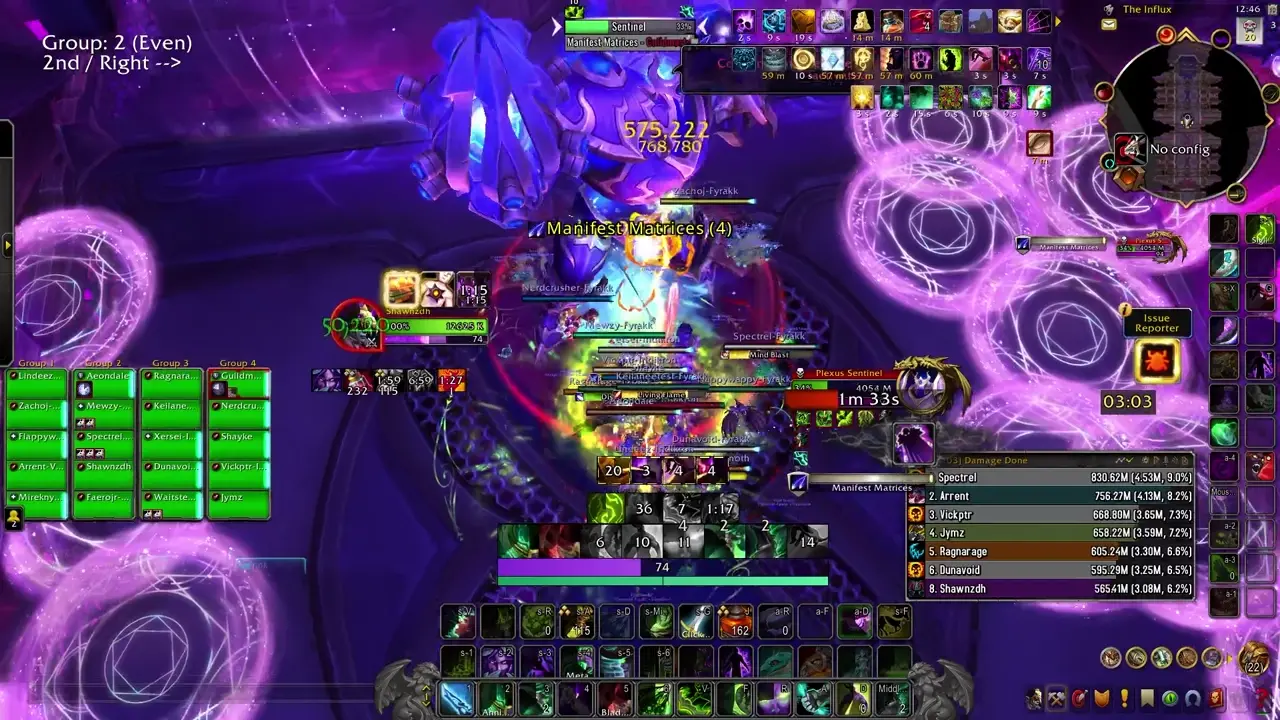
- Manifest Matrices - The Plexus Sentinel marks several players with a debuff that deals light damage every second for 6 seconds. Upon expiration, the afflicted players drop a Displacement Matrix at their location, stunning anyone who touches it.

- Powered Autocannon - Light ticking damage dealt to up to 6 players emitted periodically throughout the encounter.
- Obliteration Arcanocannon - The Plexus Sentinel marks their current target, dealing almost lethal damage to players within 10 yards as well as lethal damage to all players. However, the damage dealt to all players is reduced by distance. This impact leaves a debuff lasting for 45 seconds that increases damage taken by the impact (first part) by 1000%. The explosion also leaves a large pool of Potent Mana Residue, which deals high damage and slows players within the area.
Intermission
The Plexus Sentinel will buffet players back over several seconds before teleporting further down into the room and beginning Protocol: Purge. He will also manifest a series of obstacles that deal moderate to high damage to players who touch them, as well as sending forth a moving Arcanomatrix Atomizer to cleanse the area of organic tissue.
- Energy Cutter - Rotating beams of energy that deal high damage every second they contact a player.
- Expulsion Zone - An orb of energy that deals light damage and knocks back any players in the area upon contact.
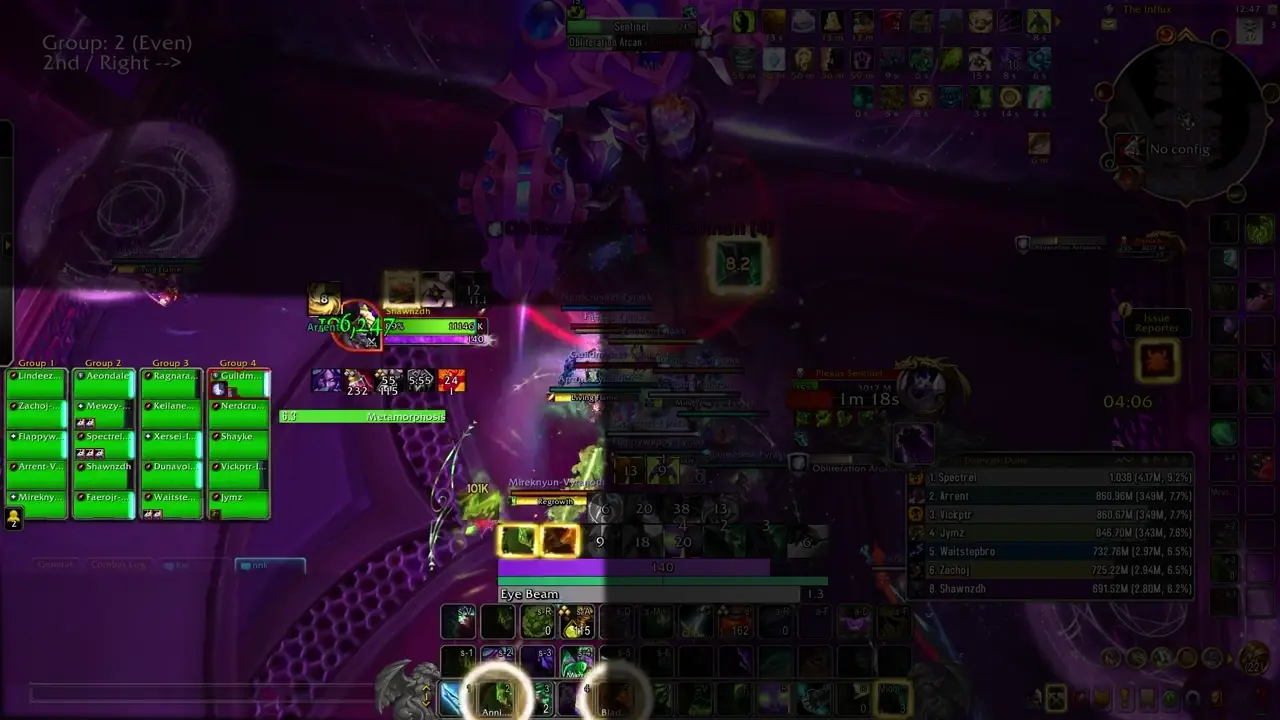
- Protocol: Purge - The Plexus Sentinel begins a channel, shielding itself and dealing increasing ticking damage to the raid until the shield is broken.
Strategy (Normal and Heroic)
Lust on pull
- You can choose to tank the boss where he stands, against the sides, or however you prefer. I recommend either where he stands or against either one of the sides.
- When players get the Manifest Matrices debuff, they should run out of the raid and drop it to the sides of the room along the walls.
- The tanks should swap on each Obliteration Arcanocannon, and may either take the explosion to the opposite side of the room from the raid, or use their cloak and place the pool there, out of the way of the raid. This is only really necessary during the first Phase One as there is not as much room, and after the first intermission you can just go as far as you can behind the raid, but it ultimately doesn’t particularly matter.
- On Normal, the entire raid can just stack in melee and soak the Eradicating Salvo. On Heroic, the Salvo should just be soaked by all melee both times. You can either have the melee run back in after they are knocked back, or position the soak so that the melee are knocked lightly towards the boss, and then have the player with the Salvo move towards them if they need the assistance. Either way is a bit tight.
- You may also choose to have two groups for each Salvo. One soaks the first hit, and the other moves in (or the soaker moves to the other group) for the second hit. This is more consistent but obviously requires you to specify groups.
Intermission
- Take care not to get knocked into any of the Matrices or pools left behind by players as the boss will do a powerful pushback upon entering this phase. You then just need to run to the boss, avoiding the obstacles and using your cloaks’ ExtraActionButton to teleport through the Atomizer walls coming towards you. They stop spawning when a player reaches melee range of the boss, so as long as you have one moderately quick player you typically only deal with one wall.
- The cutter beams can spawn in melee of the Sentinel while you are breaking his shield, but that’s really about as dangerous as it gets.
Mythic Changes
The changes in mythic are slight, but fill the downtime and monotony to make the encounter a bit more dynamic and enjoyable.
- During the regular phase, Atomizer walls will now periodically come towards the raid, requiring you to use the cloak during this phase as well and sometimes overlapping with other mechanics.
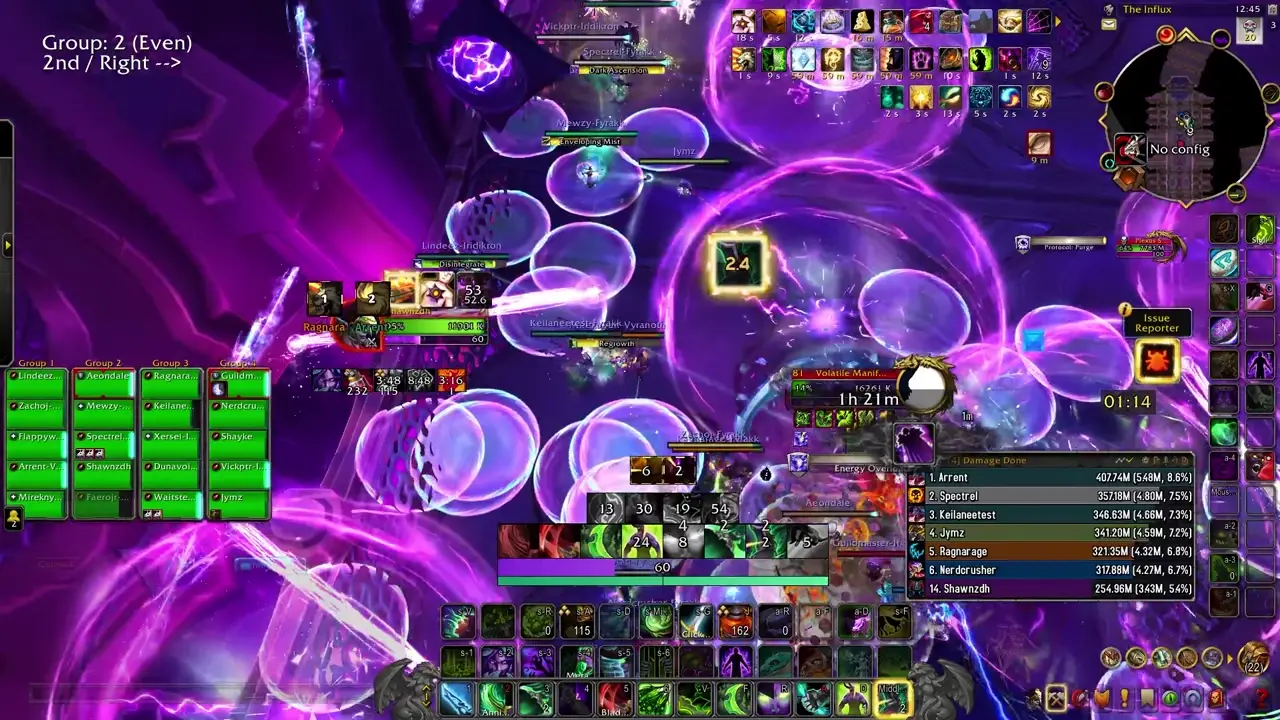
- Several Volatile Manifestations now spawn during the intermission that must be killed. If the Atomizer wall passes over them, they explode for near-lethal damage and apply a debuff increasing the damage of further explosions by 100%.

Mythic Strategy
Phase One
- Nothing about this phase changes in terms of strategy. You simply need to account for the presence of the one-shot walls and move through them accordingly. They may overlap at times with players needing to take their debuffs out, and you should adjust where you deposit them accordingly. Ideally, you should not tank the boss near the forward wall so that melee don’t have to do weird movements to not die when blinking through, but it’s not a big deal either way.
Intermission
- The raid will now need to first eliminate the Manifestations before breaking the shield. As the Manifestations’ will likely wipe the raid if they explode, they are the biggest priority during this period.
Notes on Healing
There is very little rot in this fight and most of the damage is in scripted chunks. The intermission is ramping rot and occasional bursts of damage from players failing to dodge, but otherwise it is easily handled by rotating raid cooldowns.
Notes on Tanking
You can make this fight as complex as you want, blinking through the Atomizer walls and placing pools in smart ways, or you can just press W and put the pools behind the raid. Doesn’t particularly matter, and nothing is very threatening. Just make sure you have active mitigation up when the Arcanocannon hits you.
Notes on Defensive Usage
You can liberally use CDs when you feel threatened. The best time to use them is either during soaks (Salvos) or during the intermission if you don’t trust yourself.
Damage Profile Best Suited for this Encounter
This fight is pretty much completely single target, besides having the opportunity for a short amount of multi-dotting during the intermission on Mythic. You should run a single-target build either way.
Table of Contents
- Plexus Sentinel
- Loom’ithar
- Soulbinder Naazindhri
- Forgeweaver Araz
- Soul Hunters
- Fractillus
- Nexus-King Salhadaar
- Dimensius