Published
- 11 min read
(Updated) A Complete Guide to the One-Armed Bandit
Intro
Mythic ability previews were clipped from Instant Dollar’s monk Milli.
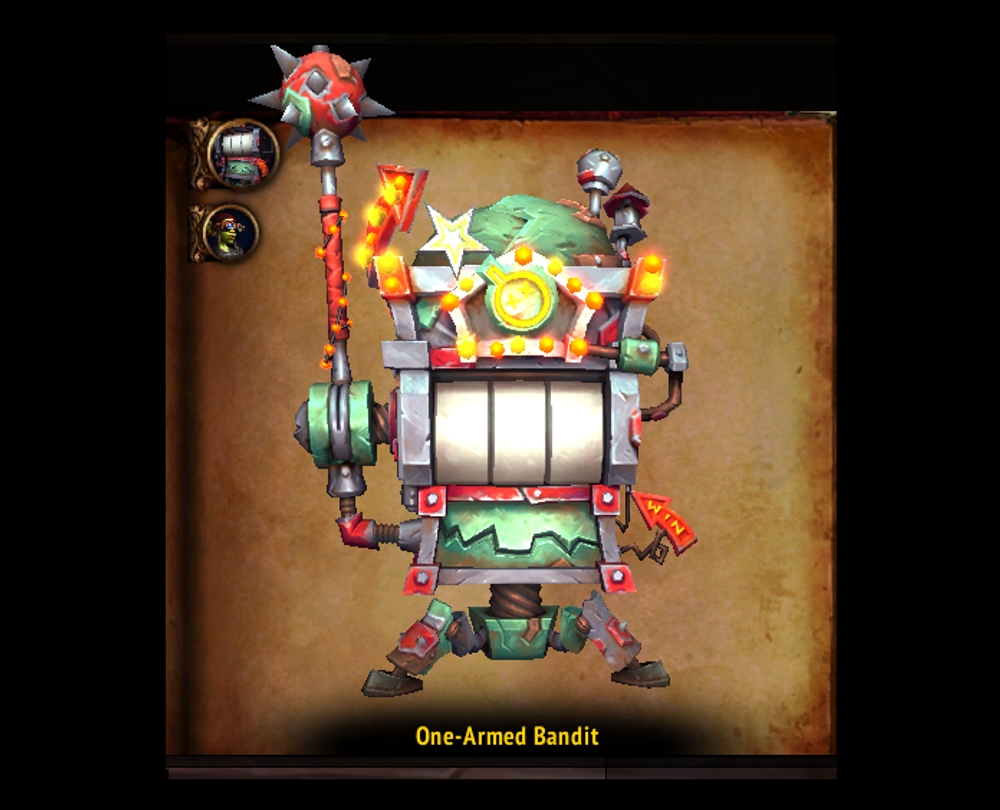
This encounter takes place in a circular room and revolves around battling against a large slot machine. There are two phases, and the first phase is single target with priority adds spread out around the room. You will need to defeat these adds and take the coins they drop to feed into the slot machine, ensuring you get different combos with each insertion as this determines the mechanics you deal with.
In the second phase, you will race against the clock to kill the boss before he simply cheats and wipes the raid.
Before I cover anything else, you should first understand all the combinations possible in the first phase.
Token Types
- Shock
- Flame
- Coin
- Bomb
Combos (Shock combos are significantly more complicated than others, and trigger each time Spin to Win is completed.
- Shock and Coin - Creates a Premium Currency Coil, which pulls in everyone towards it, doing AoE damage over the duration. Activating this Coil does 18M damage and absorbs the nearest 2 Shocking Fields.
-
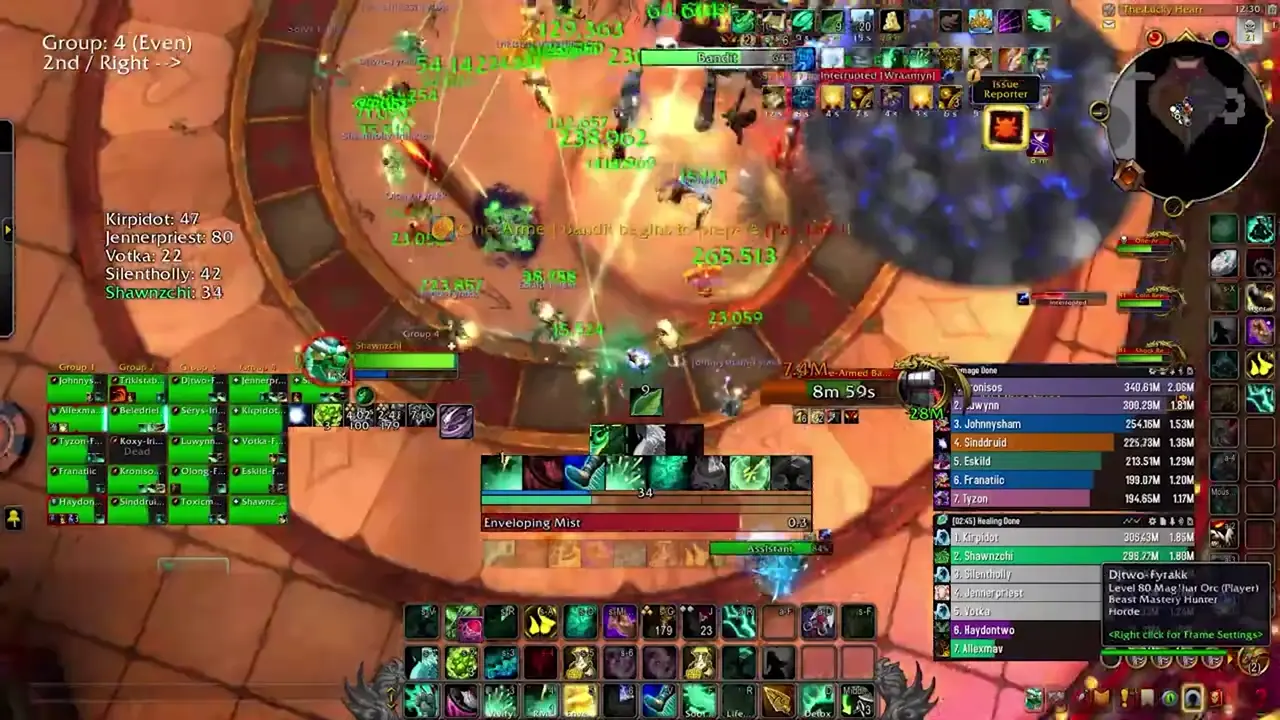
- Shock and Flame - Creates a Superheated Coil, sending out Traveling Flames upon activation and creation. Rashok waves that knock you back. Activating this Coil does 18M damage and absorbs the nearest 2 Shocking Fields.
-
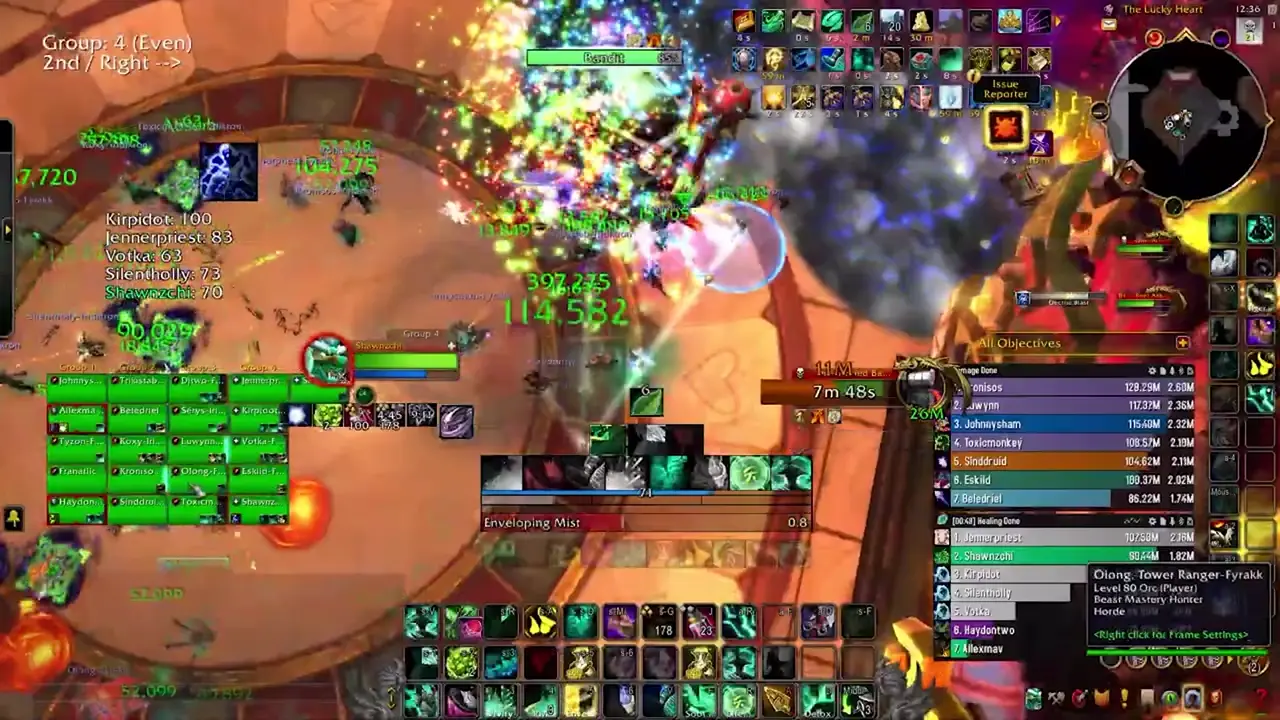
- Shock and Bomb - Creates a Dynamite-Laden Coil, which spawns Dynamite Booty upon activation or creation. Dynamite Booty chases players for 12 seconds. If they reach their target, it deals high raid damage and puts a dot on the raid. They don’t get faster over time and are relatively low HP and can be cc’ed.

- Flame and Coin - High Fire AoE damage to the whole raid for its duration
-
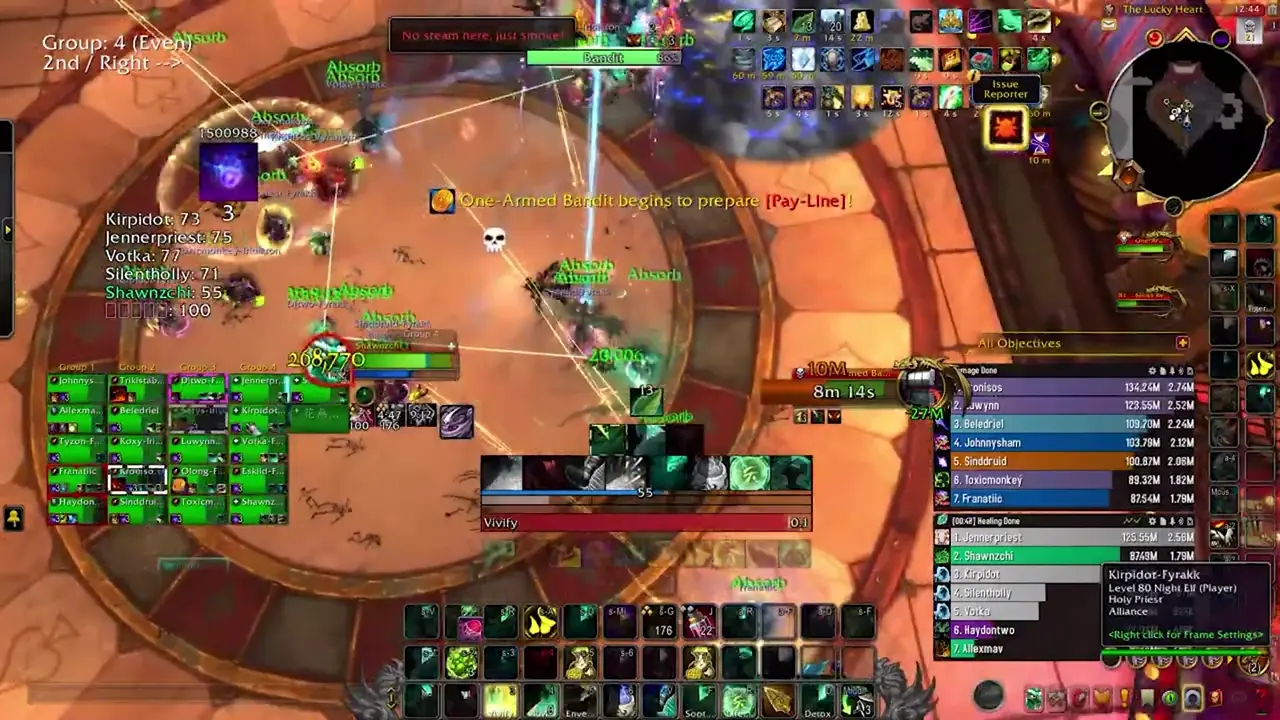
- Flame and Bomb - Spawns Dynamite Booty with 100% increased HP and 50% reduced MS. Also explodes on death, dealing high damage to anything within 15 yards. This explosion also releases Rashok waves.
- Coin and Bomb - Spawns Premium Dynamite Booty, which has 100% increased HP and 50% damage and is cc immune.
Full List of Boss Abilities for Reference
- Spin To Win!
- Fraud Detected!
- Reward: Shock and Flame
- Reward: Shock and Bomb
- Reward: Flame and Bomb
- Reward: Flame and Coin
- Reward Coin and Shock
- Reward: Coin and Bomb
- Overload!
- Withering Flames
- Electric Blast
- Golden Ticket
- Pay Line
- High Roller!
- Up the Ante
- Foul Exhaust
- The Big Hit
- Shocking Field
- Cheat to Win!
- Linked Machines
- Hot Hot Heat
- Scattered Payout
- Explosive Jackpot
- Explosive Shrapnel
- Burning Blast
- Explosive Gaze
- Traveling Flames
Important Abilities
Phase One
- Spin-to-win - The boss will spin his reels, giving you 30 seconds to deposit two tokens to choose a reward for the raid to deal with. You just need to walk over the tokens to pick them up, and when you walk near the boss it will automatically deposit it for you. Refer to the above explanation of combos. Remember, you must not repeat the same combo twice, and you must also choose something to deal with or you will wipe.
-
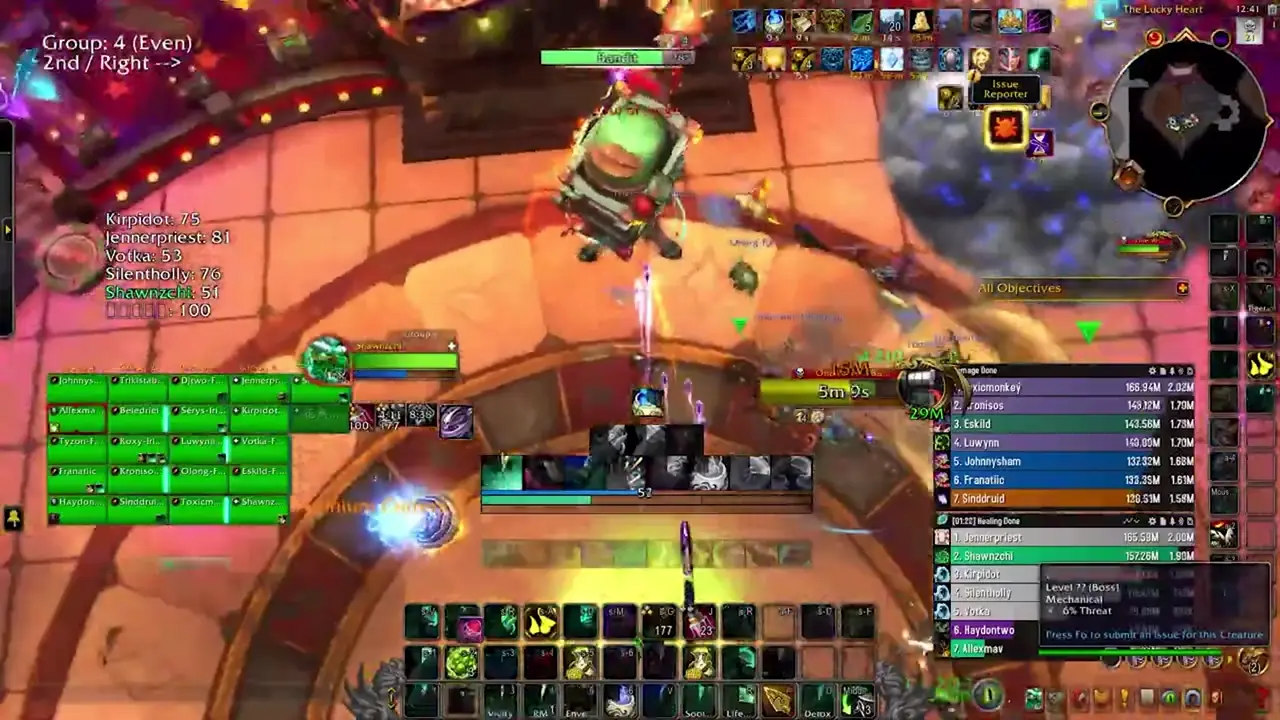
- The Big Hit - Tank Buster that you swap on every time. Leaves behind a Shocking Field (lightning ground floor that makes you take more damage).
-

- Pay-Line - Sends a large coin in a line towards random players. Leaves a field behind that gives a movement speed and damage/healing buff (10%). Does high damage and stuns anything hit by it. Explodes when it reaches its destination and falls over. Anything hit by this explosion (15 yd radius) takes a high amount of damage. All players will take a light burst of damage no matter their location. EVERY COIN STILL ON THE FLOOR GIVES THE BOSS A 5% damage INCREASE. You can kick these back at the boss to get rid of them and extend your own damage buff.
-
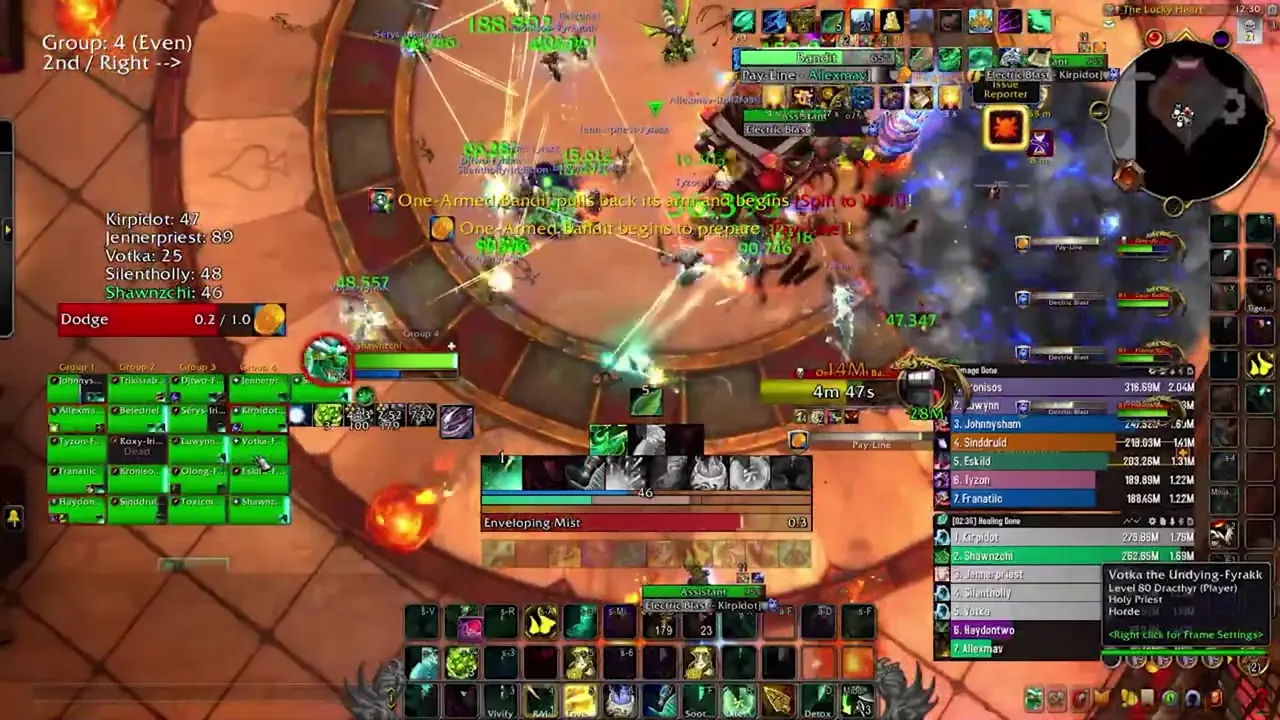
- Foul Exhaust - Raidwide damage and applies a moderate healing absorb to all players.
-
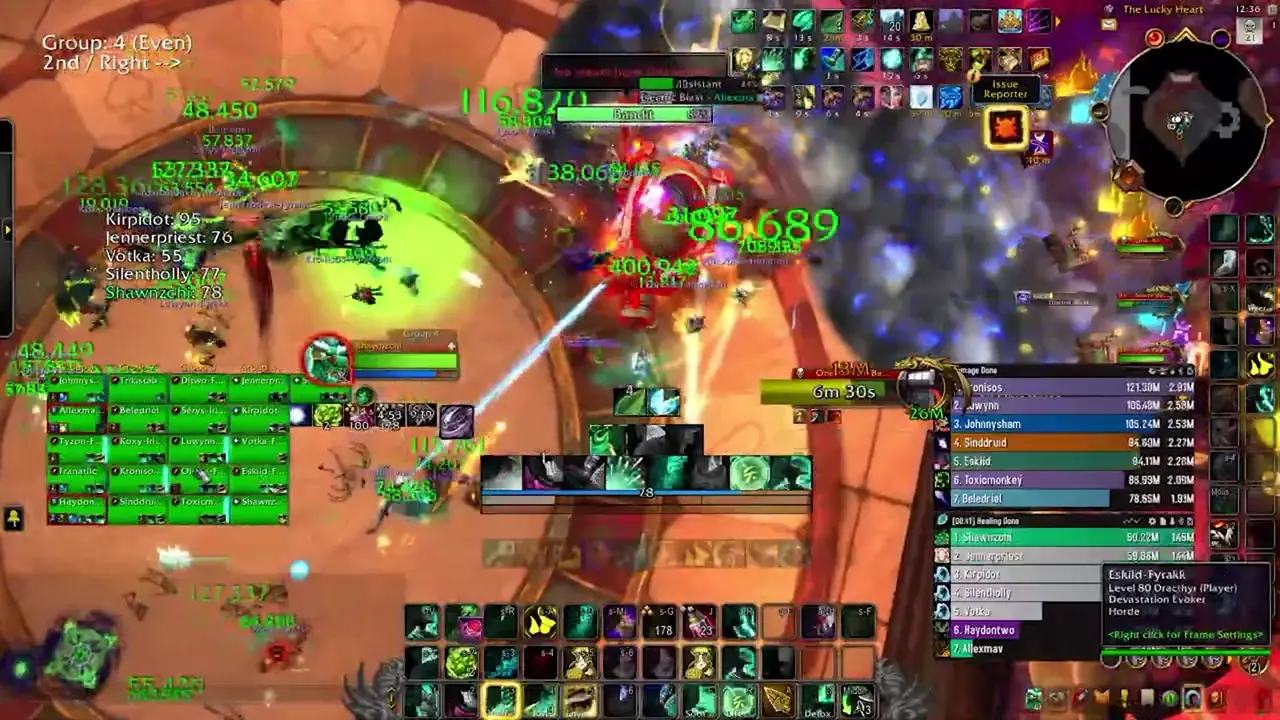
- Reel Assistants - These spawn with the boss on pull and with every Spin-to-Win. They have several abilities—Overload (interruptible cast that knocks back everyone and does light damage), Withering Flames (a magic debuff that is dispellable, and lowers the players max HP over time. Dispelling it causes fire tornadoes to travel from their location).
- Withering Flames

Phase Two
- Linked Machines - For the rest of the encounter, the Bandit will spawn Hyper Coils that form a link to him called Voltaic Streak. Crossing this link inflicts lethal damage to non-tanks. This can complicate movement somewhat for melee but isn’t much of a concern for ranged.
-
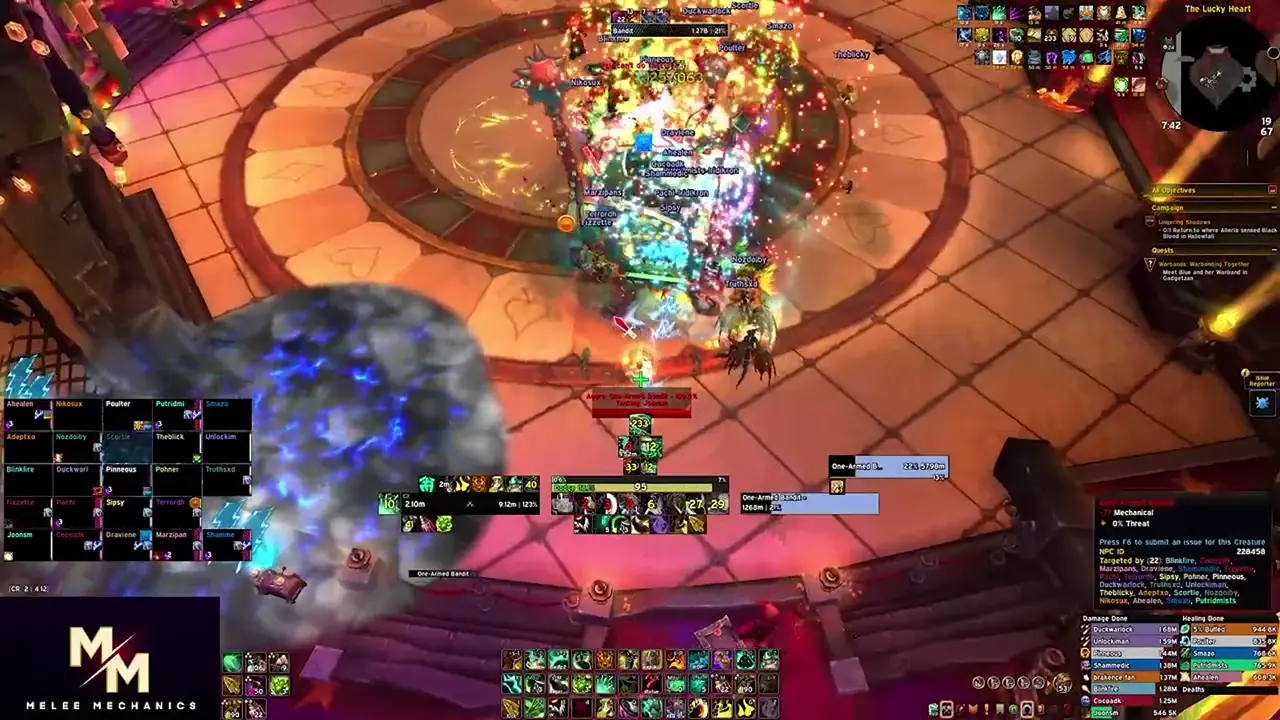
- Hot Hot Heat - For the rest of the encounter, the Bandit will mark random players and then fire lines of flame towards them, ala Zskarn.
-
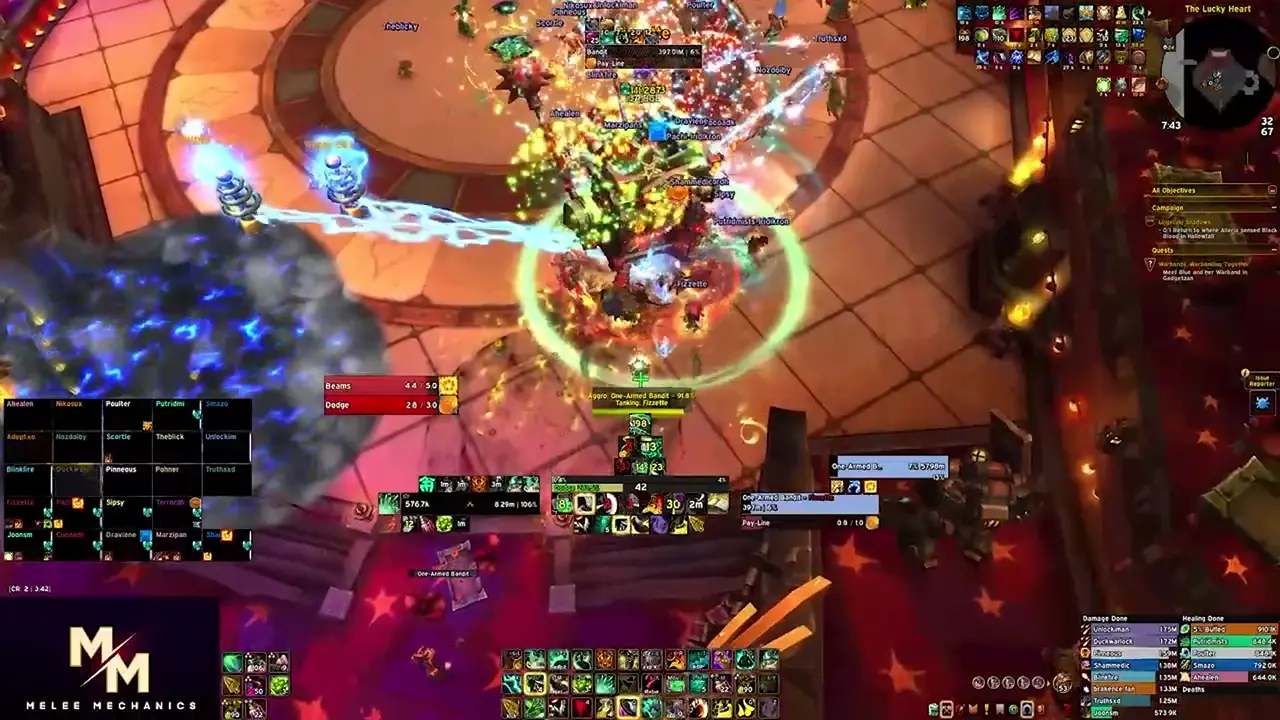
- Scattered Payout - For the rest of the encounter, the boss will do fairly high ticking damage until he is defeated.
- Explosive Jackpot - The hard enrage. He will flip his slots to all Bomb tokens, and wipe the raid.
Strategy (Normal and Heroic)
Phase One
- As of writing, this boss reaches his final stage either when all six Combos have been played, or at roughly 30% HP. You should lust as soon as he transitions or when it best aligns when CDs. Do not lust on pull unless you are on farm or have high confidence in your damage.
- That being said, you will have to deal with every possible combination before Phase Two anyways, so you need to spread out the particularly dangerous ones so that cooldowns are back up in time. Here is what I recommend based on how my guild handles it:
- Flame and Coin
- Shock and Coin
- Shock and Flame
- Flame and Bomb
- Shock and Bomb
- Coin and Bomb
Why?
Flame and Coin is best handled at the start of the pull while there’s still relatively little going on, during or while you’re still riding high after lust. This is by far the highest damage Combo you will deal with.
After that, it honestly doesn’t matter too much, you just want to space out the Bomb combos so that you’re not doing it back to back without the CC/CDs needed to kill them quickly, and have the Shock Combos towards the end so you don’t have to repeatedly deal with them as many times.
- For the Pay Lines, it can be difficult at times to see the blue line indicating the coin’s path in the midst of all the other effects. Make sure to pay special attention to this when it goes out. This is a good mechanic to add an MRT Reminder to, or something similar.
- The raid should generally be stacked near the boss or the middle of the room. When you’re targeted by a Pay Line or Withering Flames, simply move out and handle the mechanic accordingly. You should stand next to every Pay Line without getting hit by it to keep high uptime on the 10% damage increase.
- For Tanks, you’ll be swapping on every Big Hit. It has a cast time, so you have time to place the Shocking Fields it leaves behind if you don’t pre-position for it.
- Even on Heroic, it’s not really necessary to utilize one of the main mechanics of the Coils, which is that you can have the tanks click on them to absorb the Shocking Fields. This will suck in the 2 nearest Shocking Fields at the cost of causing the Coils to repeat their mechanics.
- On Heroic, Pay Lines come out frequently enough that you need dedicated players kicking them back at the boss.
Phase Two
- This is simply a burn to the end. You’ll no longer deal with the Reel Assistants and thus you will no longer choose what mechanics occur. The boss will do a static order, but this time will retain each ability and continue using it for the rest of the encounter.
- The Linked Machines ability is relatively simple to handle. Tanks just need to be careful in how they move the boss as the Voltaic Streak linking the boss to the various coils is quite lethal.
- For Hot Hot Heat, players should all be stacked for the same reasons as Phase One, so you should have the players who are selected move out of the clump. You don’t want these to hit multiple players.
- The final ability is simply very high ticking damage for the rest of the encounter. At this point you simply need to kill the boss before it reaches its next ability, which is a guaranteed wipe.
Mythic Changes
The Mythic changes do not drastically change the encounter, but simply force you to utilize the coils more frequently, and thus force you to deal with the mechanics of the fight more often, while also making the fight overall more punishing.
- Reel Assistants now cannot be damaged below 20% without first being struck by a Pay Line coin.
- The Big Hit now also arcs to nearby random players, creating additional Shocking Fields throughout the fight.

- Each Pay Line on the floor now increases the Bandit’s damage by 10%, up from 5%.
- Pay Lines now deal essentially lethal damage to players without using a defensive.
- The increased tuning now also makes Overload casts from the Reel Assistants incredibly dangerous.
Mythic Strategy
-
As of this writing, the best order cannot realistically be surmised without further tuning notice. I will update this when I am certain that I can confidently estimate as much.
-
There are a few different ways you can handle hitting the Reel Assistants, but the simplest is to tank the boss as you do normally and have players kick the Pay Lines towards the Reel Assistants that must die first, and then break the shield of the 3rd Reel Assistant at your leisure, kicking it and handling the extra raid damage.
-
This means that you now only need one player to aim their Pay Line directly down the middle, and the other two can split off to the sides so that the coins do not all hit the wall at once.
-
You may also simply tank it as normal, dragging the boss to each Assistant for cleave. Either way, you must also keep a tight interrupt rotation on them, as even one Overload cast can be devastating.
-
Tanks will now need to regularly trigger coils throughout the encounter in order to keep the arena clear for play. This means you must be ready to handle overlaps of various combinations that were not necessary to deal with on Heroic.
-
It is also far more urgent to kick the Pay Lines back at the boss, as otherwise you will be taking up to 30% increased additional damage, which can prove disastrous under most circumstances.
Notes on Healing
On Normal and Heroic, the fight begins relatively lax, but the damage from each additional Coil will steadily increase the frequency at which you take damage. The various Spin to Win combos are the highest direct threat to the raid, with the Flame and Coin and Shock and Coin are the most threatening ones and require the most healing, while the Bomb combos deal practically nothing as the threat is entirely handled by simply killing the adds.
Outside of that, most of the damage comes from Reel Assistants spamming Electric Blast and overlapping with Foul Exhaust. You will want to make sure that you dispel the Withering Flames debuff quickly, but also make sure to let them get somewhat out of the raid so as not to overly complicate movement for others.
The healing required once the boss begins casting Scattered Payout in Phase Two is dramatically higher, and you will be struggling to keep up as it progresses. This is where you might want to make sure you have enough mana and cooldowns to keep the raid alive.
Notes on Tanking
Overall, it’s a fairly simple fight to tank despite how many things there might seem to be going on. As mentioned before, you will swap on every Big Hit, and you will want to drag the boss to Reel Assistants for cleave, but also make sure to not move it during Pay Lines and cause the coins to go in unintended directions.
Do note that the Big Hit has a cast time, and so you have plenty of time to move to where you would like to put the Shocking Fields. You can also fairly easily stack them on most classes without really any concern. The Big Hit itself also hits quite hard, and you should be prepared for it accordingly.
Defensive Usage
Defensives are best saved for particularly dangerous Spin-to-Win combos, or if you get WIthering Flames and aren’t dispelled quickly enough. They should also be held towards the end of Phase Two to chain during Scattered Payout.
Movement Cooldowns
Movement is best used for Spin-to-Win combos that are movement intense, such as Shock and Coin or to more easily kite the Bomb combos. They can also be good on Mythic to aid in players repositioning their Pay Lines to the Reel Assistants.
In Phase Two, movement is particularly good for Hot Hot Heat and Pay Lines.
Damage Profile Best Suited for this Encounter
Single target is the real bulk of this fight, but any class that can do very good single target while also being able to damage the spread Reel Assistants is very good for P1. You also will require some classes that can have a solid 1 minute burst, 5+ target cleave profile for the Dynamite Booty. If you are considering lusting in Phase Two, then execute classes are also extremely good on this encounter.
Raid plan, Useful Weakauras, and Macros
- NYI-WIP
- No fight specific macros or Weakauras. Refer to the Resources and Weakauras page
Table of Contents
- Vexie
- Cauldron of Carnage
- Rik Reverb
- Stix Bunkjunker
- Sprocketmonger Lockenstock
- Mug’Zee
- Chrome King Gallywix