Published
- 7 min read
A Complete Guide to Soulbinder Naazindhri
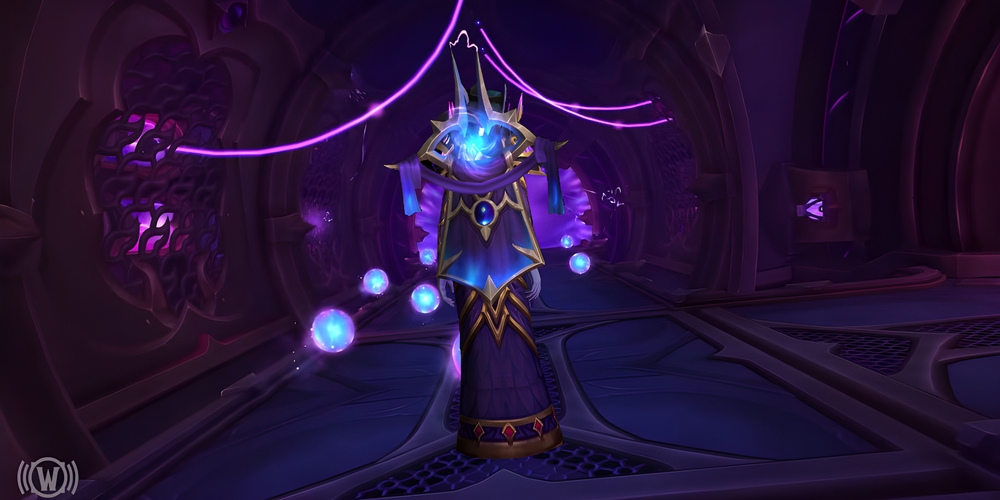
This is a single phase encounter in which you will utilize abilities used by the boss against them to break open containers that are working to construct enemy forces. You are able to see what kind of enemies are within, allowing you to choose exactly what kind of opponents you will face when the boss releases those you were unable to destroy.
Abilities
- Soul Calling - After about 20 seconds into the fight, the boss will activate the various cages around the room (there are 12 in total, four at the front, four in the middle, four in the back) and the creatures within will begin a channel that takes approximately 1 minute and 40 seconds to complete, as of this writing. When the channel completes, any creatures still alive will be released, dealing damage to the entire raid and spawning the corresponding enemy type.
Room Layout 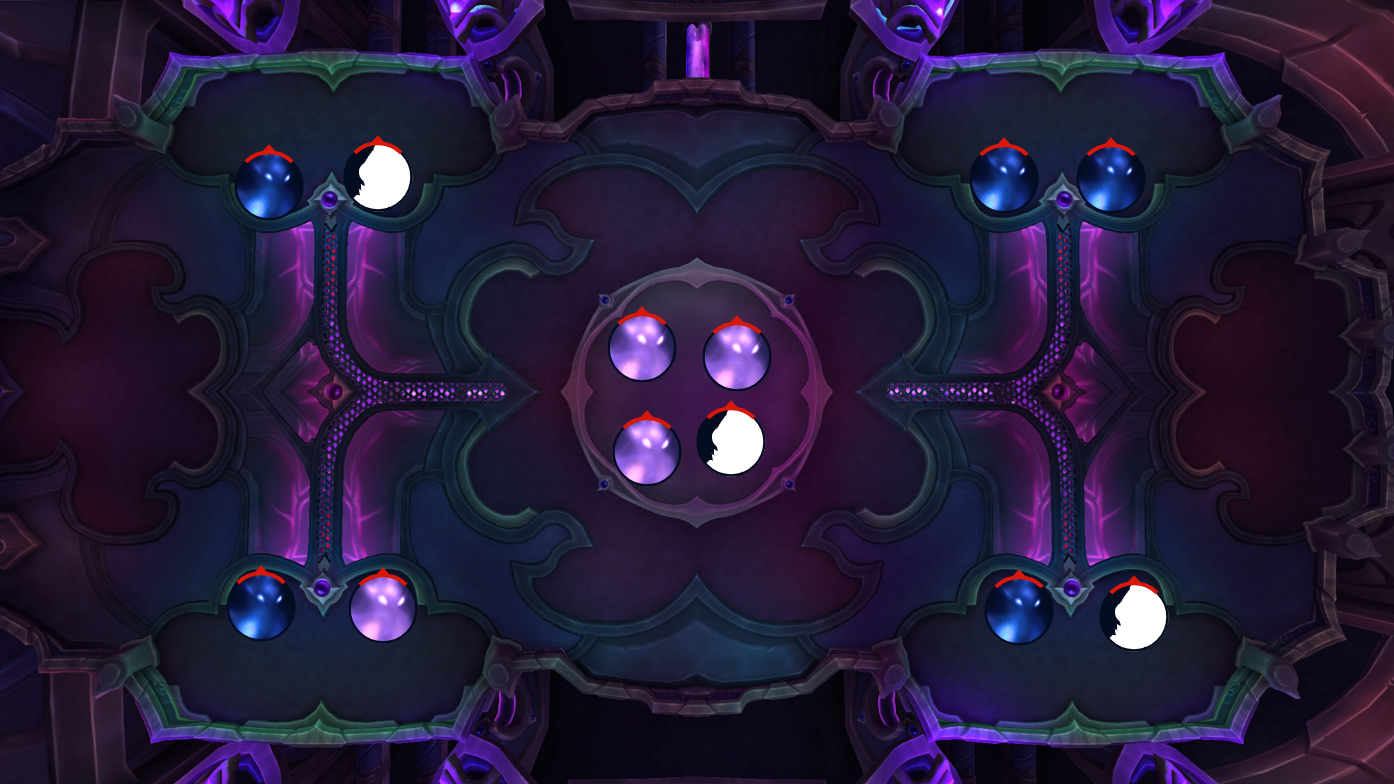 Soul Calling
 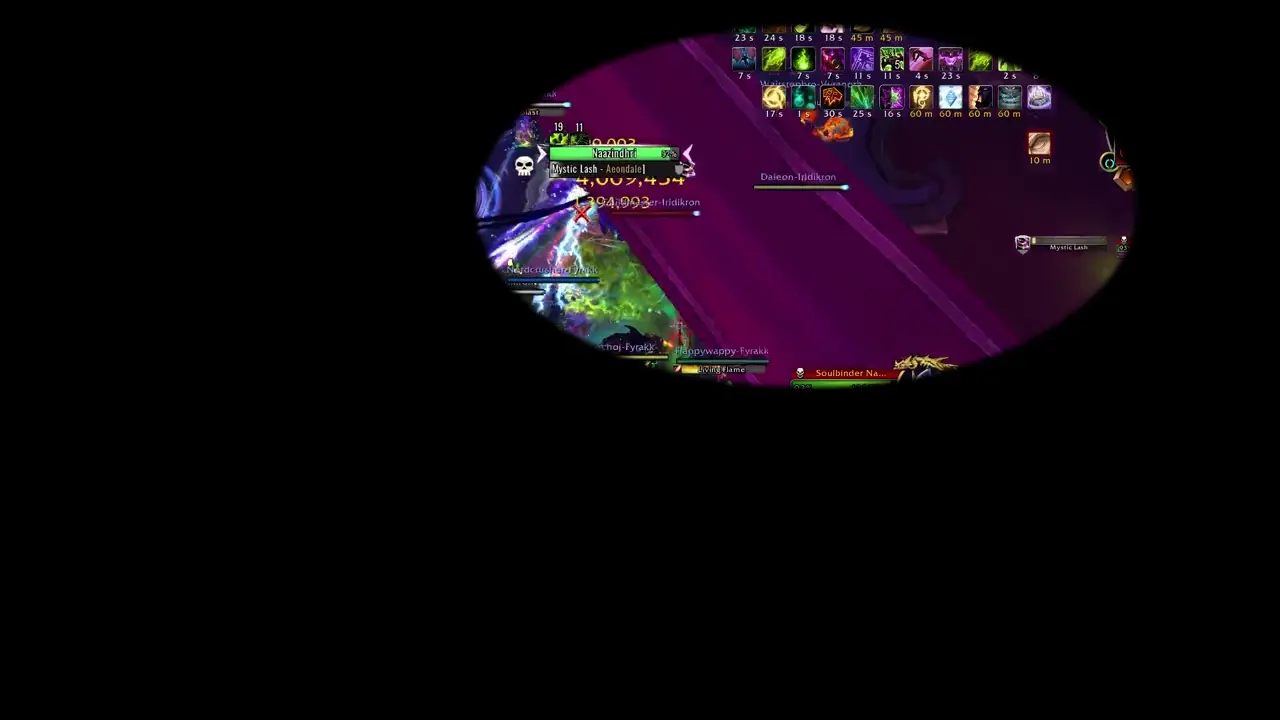 Adds naturally breaking out
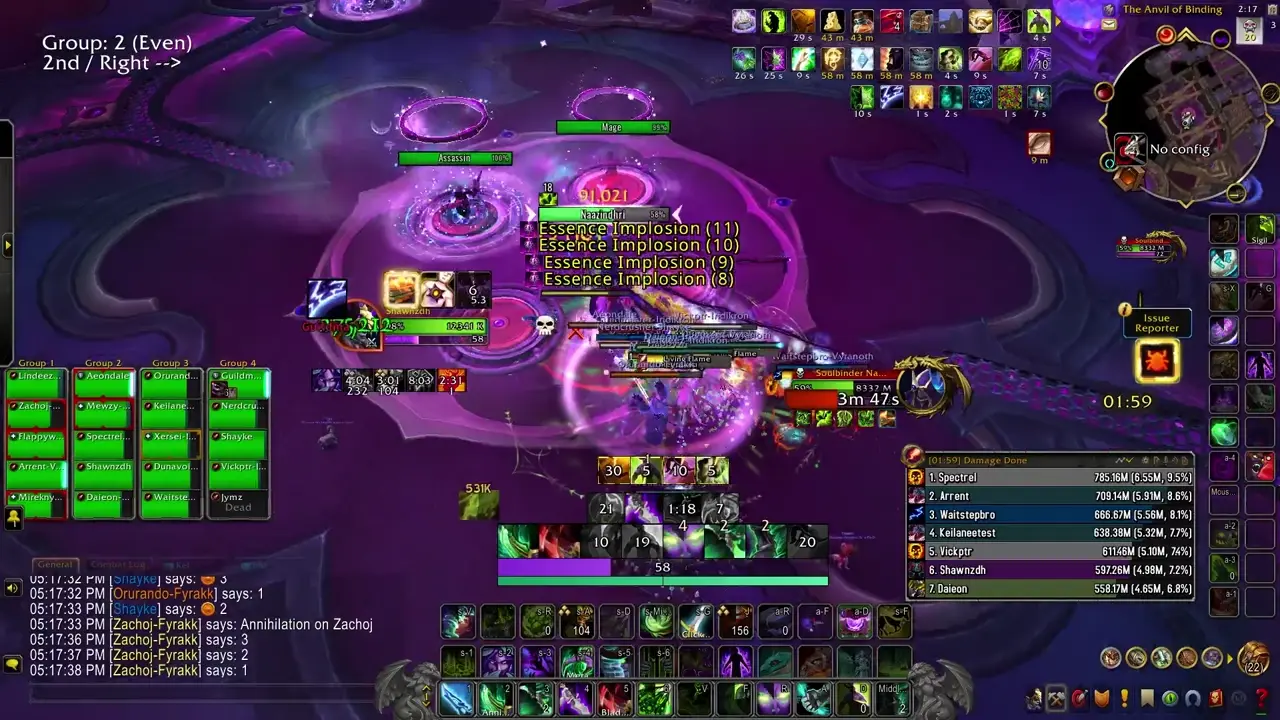
- There are thus 3 types of adds. I will list them ranked in terms of danger, with 1 being the most dangerous, and 3 being the least dangerous.
- Shadowguard Phaseblade - Uses Phase Blade, which strikes their target for a small amount but cleaves to the entire raid for the same amount.
- Shadowguard Mage - Uses Void Burst, a short cast that deals light up-front damage to a single target then chains to all players for a light amount.
- Shadowguard Assassin - Uses Voidblade Ambush, targeting a random player and re-appearing behind them, dealing moderate damage up-front and a light 30 second DoT.
- Essence Implosion - The damage event associated with an add being released. Occurs when they are broken out by players and when they naturally escape. Does light damage per add and applies a light DoT that stacks, lasting for 15 seconds.
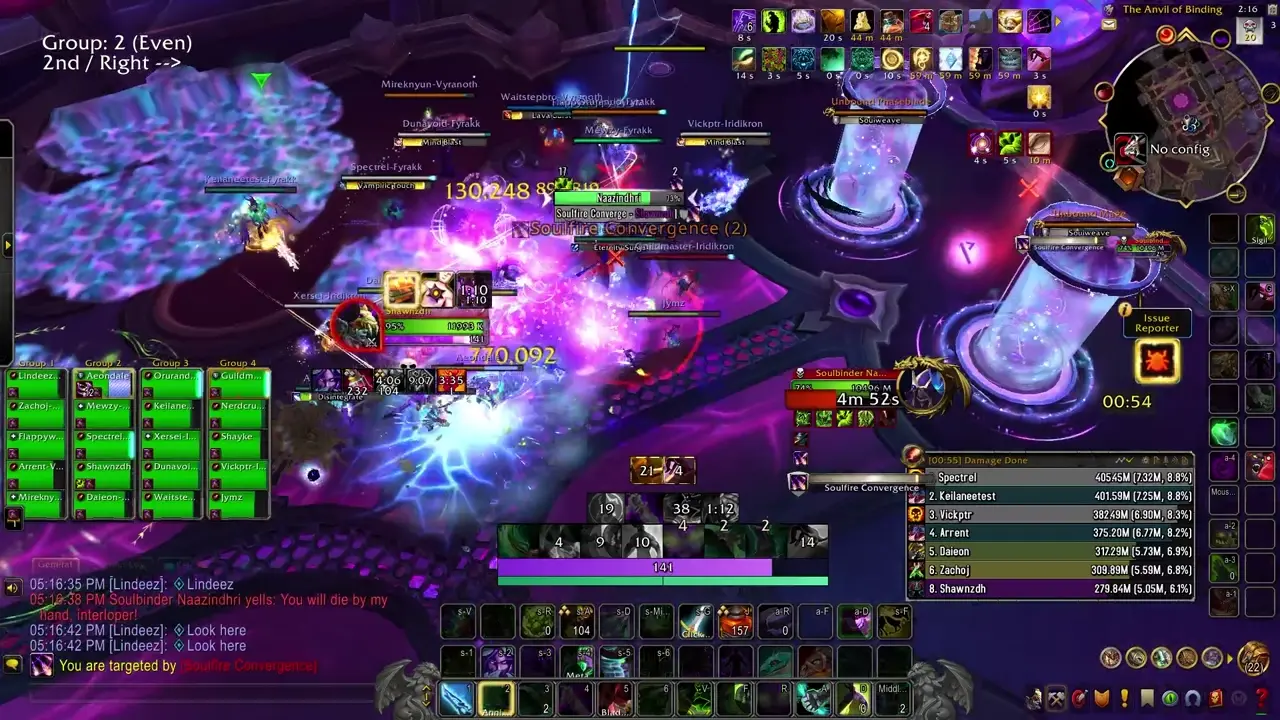
- Soulfray Annihilation - Soulbinder selects two non-tanks, indicated by a line, and fires an orb towards them. This orb stops on the first entity struck, even players not targeted, and will deal large damage to players and apply a damage taken debuff, but destroys the container for an add upon contact. The add within takes 200% increased damage when broken out this way.
- Arcane Expulsion - After a short cast, the Soulbinder deals a light amount of damage and knocks back all players a small distance into the air, applying a light DoT for 12 seconds.

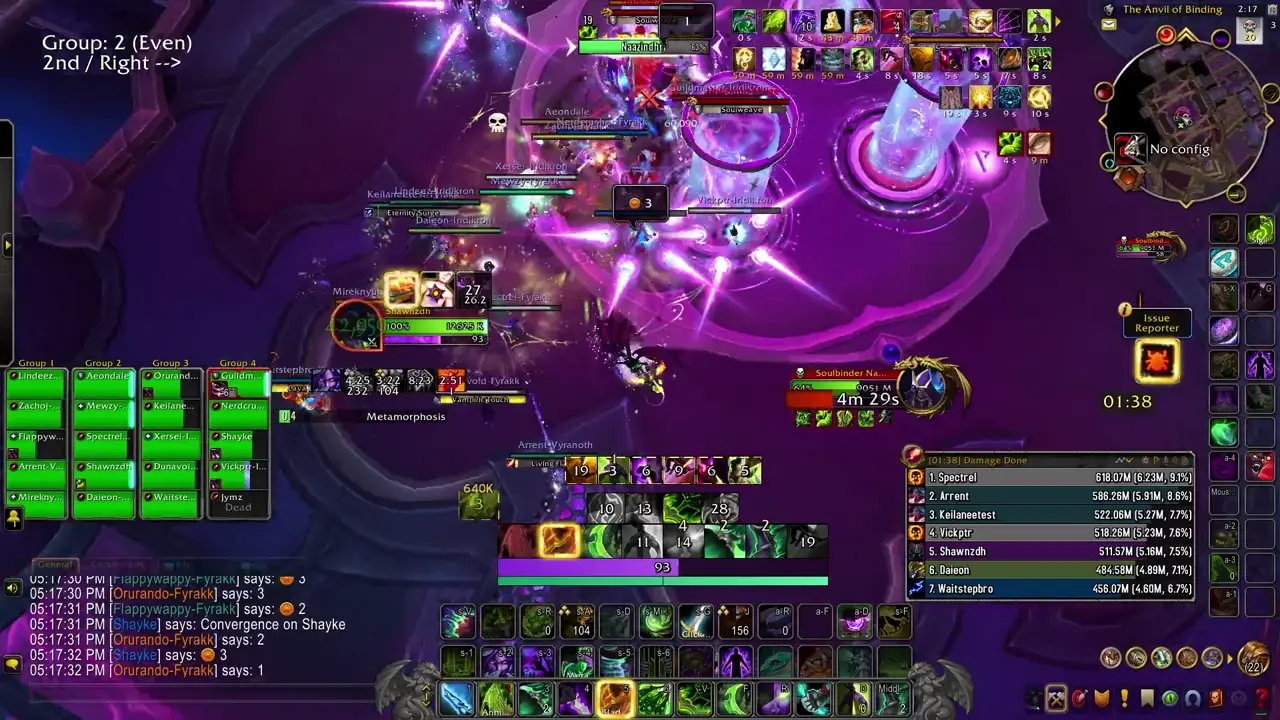
- Soulfire Convergence - Soulbinder applies a DoT to several players, staggered slightly, inflicting moderate damage to them over 5 seconds. Upon expiration, they shoot out 5 orbs in a star pattern that travel slowly, dealing moderate damage on impact and applying a light DoT that slows their movement speed by 45% for 15 seconds.
- Spellburn - Soulbinder emanates light rot every 2 seconds.
- Mystic Lash - The tank mechanic. Inflicts a light arcane DoT that lasts 5 seconds and increases damage taken from it by 10% per stack.
Strategy (Normal and Heroic)
You should lust on pull.
- It doesn’t particularly matter what order of adds you choose to do, as of this writing. You will only be able to kill 6 adds before they are naturally released, so if you don’t want to use your brain, just kill the two pairs in front and one pair in the middle.
- The balls shoot out pretty slowly, and also as of current writing they don’t actually spawn from the center of the player’s model, so it’s possible to pixel stack with the debuff to avoid being hit by them. Regardless, to handle them normally, you can honestly just stand still and they won’t be that great of an obstacle for players to dodge. Do note that the debuffs are staggered, and thus they do not all shoot off at the same time.
- The sides of the arena don’t have invisible walls, so it is possible to be knocked off to your death. The knockback isn’t very sizable, and it’s rare the boss will actually be tanked where this will be a concern.
- When selected by the Soulfray Annihilation (mechanic that breaks the containers), make sure to stand behind the container you wish to break. Unless you have enough distance, it’s not possible to sidestep the orb consistently, and the boss should usually be pulled directly between the containers you wish to break.
- The adds are broken out roughly when 2 minute CDs come up, so you should use them on the add set and quickly burst them down, using kicks and stops to reduce their damage output.
Mythic Changes
- The containers now require you to hit them with Convergence orbs before they can be broken by Soulfray Annihilation. Removing their protection in this way applies a relatively small healing absorb to the raid.
- Convergence orbs now also apply a 25% haste reduction if you are hit by them.
- Arcane Expulsion now causes you to leave a pool wherever you first contact the ground upon landing.
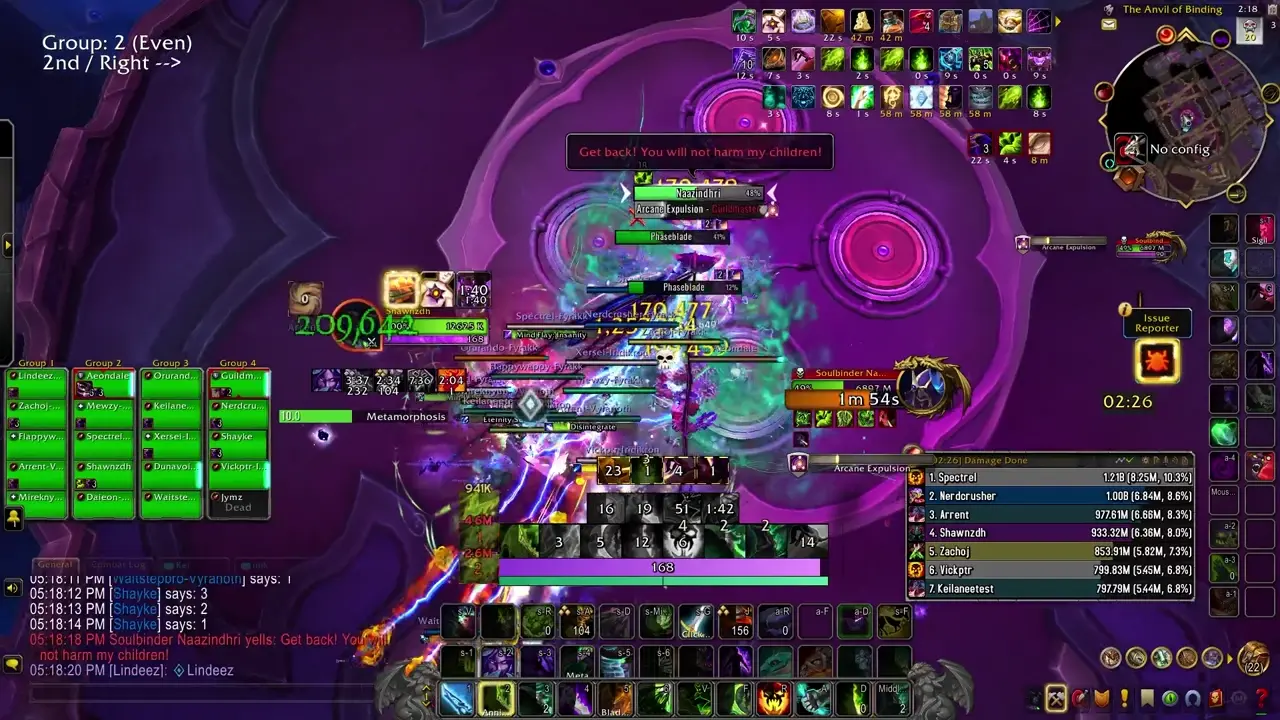
- Each add’s ability is improved in some fashion. Mages now cast faster and faster each time they are kicked, Phaseblades deal increasing damage over time, and Assassins now cleave with their Ambush.
Mythic Strategy
The Mythic changes don’t really affect much nor does it affect what adds you choose to break out. While some adds are certainly more deadly than others, they still die relatively quickly and don’t do enough damage to be threatening.
You should still lust on pull.
- You should almost certainly now start with either front or back container pairs, and then end in the middle.
- Two players per add set need to stand on top of the containers you want to break in order for the Soulfray Annihilation to be capable of shattering it. This is the easiest way of breaking their shield. Other players can pixel stack on them or just take their debuff out.
- The entire raid should stack up and get knocked towards the edges of the room for each Arcane Expulsion to keep the area clear.
- An Arcane Expulsion will occur around the time you finish killing all of the adds after they release. If space seems like it will be a concern due to your damage being low, you should drag the boss back towards the old pools and get knocked towards them and place them there, then go to the opposite side of the room and start there for the second add set. At this point, the fight just repeats.
Notes on Healing
The overall healing is quite low until the adds spawn, and then jumps up slightly on Heroic and moderately on Mythic. There’s really no threatening damage to speak of as of current tuning.
Notes on Tanking
As mentioned above, you should start on one side of the room, front or back, break the two pairs there, then take the boss to the middle. When breaking a container set, tank the boss in between the containers you intend to break to maximize cleave.
You can simply swap when you feel threatened, but around 6-8 stacks is when it begins to hurt. The boss also moves a bit strangely due to casting a bit, and roots itself whenever it does Mystic Lash, which makes it a little annoying to maneuver.
Damage Profile Best Suited for this Encounter
The adds will spawn 30 seconds in and then keep spawning every 30 seconds roughly until Soulbinder frees them all, which occurs roughly 1 minute and 50 seconds in.
Most of the damage you need to do is single target with light cleave. You should not go a fully cleave oriented build unless your burst AoE is lacking. One or two classes with exceptional burst AoE is all that’s necessary as of current tuning. Table of Contents
- Plexus Sentinel
- Loom’ithar
- Soulbinder Naazindhri
- Forgeweaver Araz
- Soul Hunters
- Fractillus
- Nexus-King Salhadaar
- Dimensius