Published
- 11 min read
A Complete Guide to Rik Reverb
Intro
Mythic ability previews were clipped from Instant Dollar’s monk Milli.
This is a two-phase encounter against a single boss, with lightly spread moderate-health adds spawning periodically. The main gimmick of this encounter revolves around dealing with Amplifiers the boss drops over the course of the fight. You must manage their energy and avoid their mechanics in order to defeat the encounter.
The first phase is the majority of the encounter, with the second phase occurring when the boss reaches full energy, and lasting roughly 36 seconds. During this time, the boss is nearly immune (99% reduction) to damage.
When the boss enters phase two for the third time, he will not have this damage reduction, but will continue this phase until he dies or the raid dies.
Full List of Abilities for Reference
All links sourced from Wowhead through their generous API
Phase One
- Amplification
- Feedback Nullifier
- Lingering Voltage
- Resonant Echoes
- Noise Pollution
- Haywire
- Echoing Chant
- Entranced
- Sound Cannon
- Faulty Zap
- Static Jolt
- Sparkblast Ignition
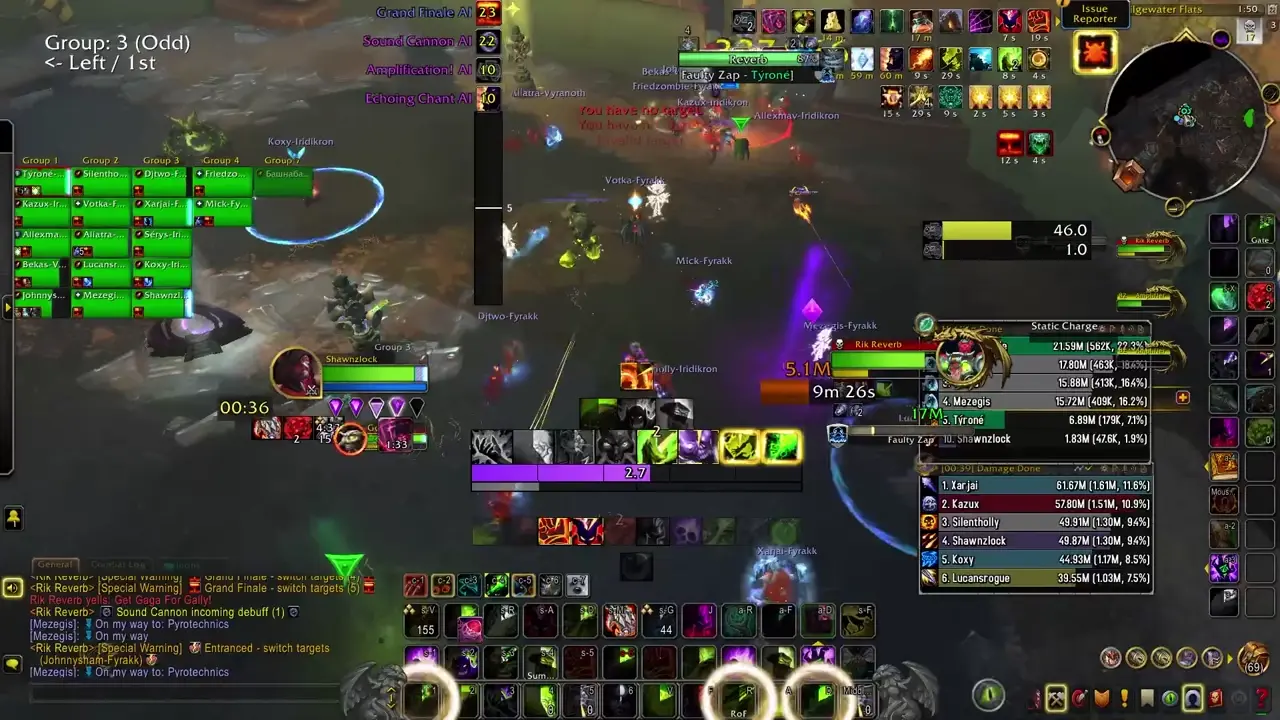
- Grand Finale
- Excitement
- Resonance
- Sonic Blast
- Tinnitus
Phase Two
Important Abilities
- Amplification - The boss will briefly rise in the air and them slam down, dealing high damage to anyone caught in the radius. The very first cast of each Phase One (including on pull) will drop only a single Amplifier. Every cast after that will drop two—one under the boss, and one baited by ranged. After each Phase Two, one Amplifier will be left over. Rik will rapidly charge any Amplifiers within 15 yards.
-

- Lingering Voltage - All amplifiers gain energy over time. If they reach full energy, they will start casting Haywire, dealing very high sonic damage to the entire raid. This can be stopped by clicking on an Amplifier, draining it of its energy and afflicting the player with a moderate DoT. This however grants a stacking debuff to the draining player, increasing their damage taken from this DoT. The energy of the Amplifier can be observed where a nameplate would typically be, on default UIs.
-
- Sparkblast Ignition - Rik will spawn around 4 bombs that will explode after 15 seconds. They have moderate health and will spawn loosely spread.
-
- Resonant Echoes - Amplifiers will cast this, shooting out medium-sized discs in random directions. Touching this afflicts you with a high damage DoT for 6 seconds that can stack.
-
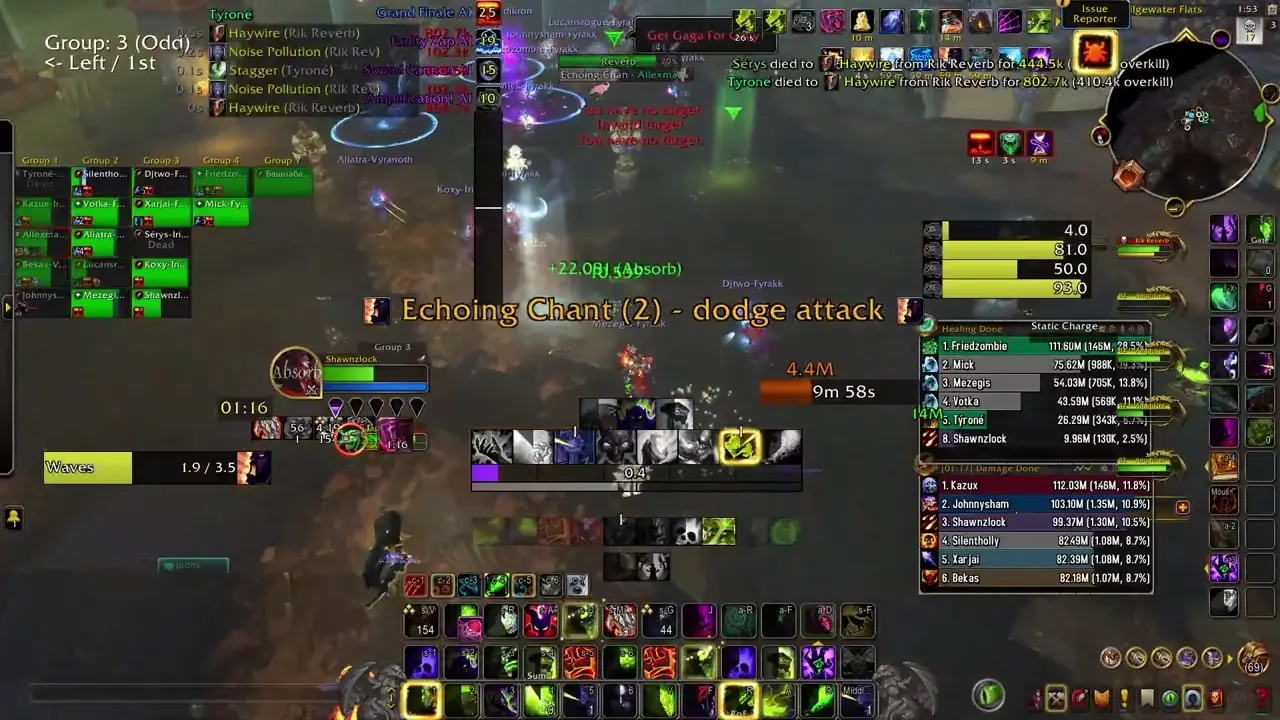
- Echoing Chant - Rik will activate all Amplifiers simultaneously, causing them to all shoot out Resonant Echoes
-
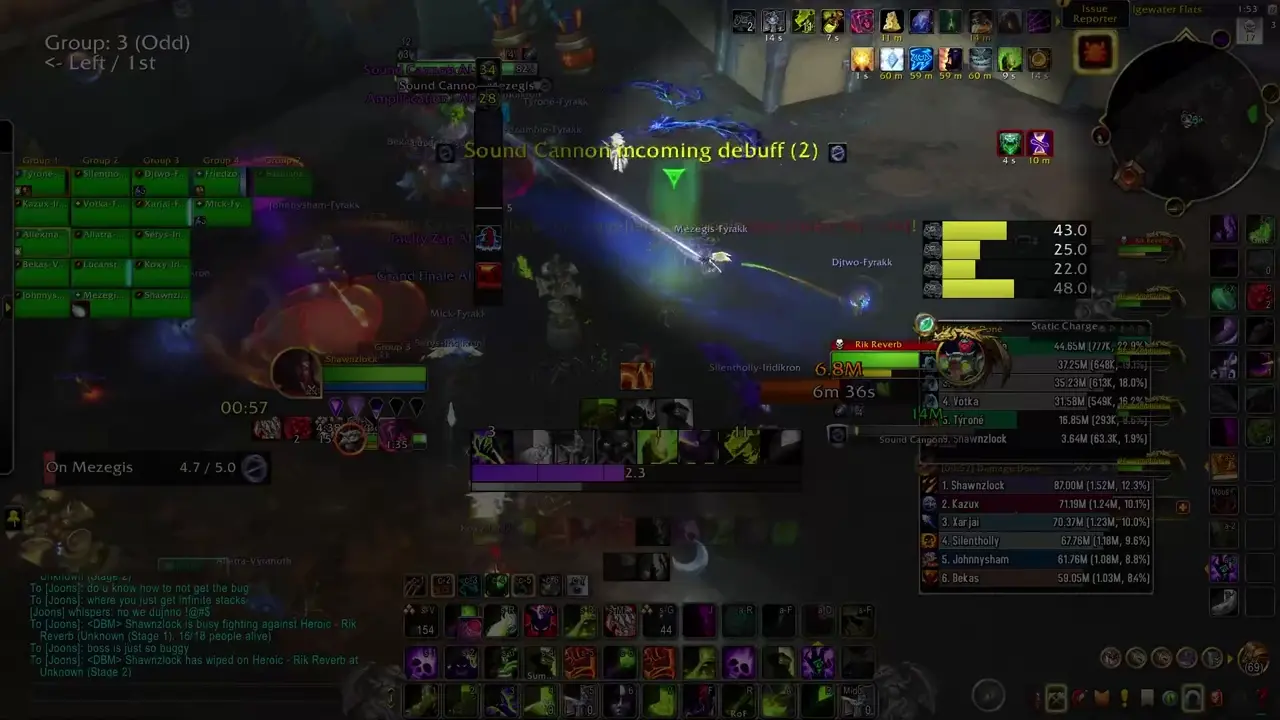
- Sound Cannon - Rik will focus on a target, tracking them with a beam. After several seconds, he will shoot the target, dealing damage to them and anyone else caught in the blast.
-
- Faulty Zap - Rik will afflict several players with a DoT that light damage but makes them take 75% increased nature damage.
-
Phase Two
- Soundcloud - Rik will encase himself in a protective shield, reducing all damage taken by 99%. He will then begin to cast Blaring Drop, sending out a wave that deals lethal damage to anyone who touches it (besides tanks). This functions quite similar to Ansurek’s Venom Nova/Frothing Gluttony, and can be traversed over by similar classes (blinks, leaps, double jump etc).
- Blowout - The Amplifiers from Phase One will explode one-by-one, launching up anyone nearby. This functions quite similarly to Ansurek’s pops, however it triggers automatically when the Blaring Drop gets close enough.

Strategy (Normal and Heroic)
Phase One
- It must be determined how you want to place the Amplifiers before the pull, and who will drain them. You can yolo it, but this will make things significantly more chaotic. As of writing, there are two popular placements. One is just a straight column from where he begins down towards the entrance, with another column parallel to that (this can be observed in Raid Plans, Useful Weakauras, and Macros section.) The other way, which is more popular on Mythic, is to create somewhat of a diamond shape that runs horizontal. I also recommend enabling Amplifier Marking, which exists in BigWigs, and I assume DBM has an equivalent feature.
- The best way to drain each Amplifier is to let it gain up to roughly 80 or so energy, and then drain it all at once. This ensures that each Amplifier only need be drained twice each phase, but does mean that those players will need extra attention and must also be far more careful in dodging mechanics, as they will be constantly taking damage from Lingering Voltage. Note that, as of testing, it was not possible to cast while draining either, so you must dedicate that time towards draining. You can move freely however inside the radius of the drain, which is a light blue circle around the Amplifier.
- Sound Cannon targets should either remain still or move out of the group, whichever makes the most sense at the time.
- Players with Faulty Zap should just loosely spread so as not to splash damage to others, and should be careful when draining with this debuff as they will take far more damage.
- Tanks should swap at around 5 stacks, and should be careful with the boss’s positioning. The boss charges any Amplifiers near him at an accelerated rate, and also cleaves damage and applies the tank debuff to any in front of him. The tank not currently tanking should thus stand behind the boss or off to the side with the other melee, and the tank currently tanking the boss should always make sure to pay attention to Amplifiers and drag the boss away if necessary.
- On Heroic and higher, the Pyrotechnics spawned by Sparkblast Ignition are the highest priority while they are alive and should be immediately burned down. Doing so always gives you a small haste and movement speed increase. Players may need to drain while these are up, so you may consider having some players hold damage for these overlaps.
- On Heroic and higher, if available, you may also choose to simply have a willing player swap to tank and drain every Amplifier by themselves, as it will not threaten their health at any point, concentrating all the healing from that mechanic onto them.
Phase Two
- This phase is rather simple, but punishing if you make a mistake. Resonant Echoes will continue to shoot out during this phase and must be dodged. Besides this, there is very little outgoing damage and you cannot damage the boss, nor does he need to be tanked, so everyone should be focused on making it to each Blowout.
- The next Amplifier to Blowout is clearly marked with a blue circle, and everyone should use whatever movement abilities they have to make it there without getting Entranced. Then, simply stand within the radius of the circle and you should be popped up as the Blaring Drop approaches. Do note that, as of writing, if you stood too far forward you could possibly touch the ring before the Amplifier popped you up, resulting in death to anyone not incredibly tanky. It is best to simply sit at the back of the circle, to be safe.
- Once this phase finishes, you may note that one Amplifier did not Blowout, and that one will remain active for the rest of the fight, slowly increasing how many things there are to dodge and overall raid damage.
Mythic Changes
Mythic introduces some mechanical changes that do alter how you approach some parts of the fight, but nothing that largely affects overall positioning and the intent behind many of the solutions performed in Heroic.
- Amplifiers now spawn with a protective shield called Feedback Nullifier that prevents them from being drained. It also prevents them from being able to cast Blowout during Phase Two.

- Sound Cannon now splits damage to all targets in the line, and if any player reaches 75% HP while soaking it, they become Entranced.
- Faulty Zap now triggers a Static Jolt if two afflicted players collide (the circle of one player needs to overlap with another player’s character model to qualify as a collision). This Static Jolt removes Feedback Nullifier from Amps and causes a raidwide explosion for moderate damage.

Mythic Strategy
- Reaching two stacks of Resonant Echoes (as in, getting hit by two or more Echoes) within 6 seconds will Entrance you, mind-controlling you and requiring you to be damaged to be broken out.
- Like Heroic, you should have a static set of assigned Amplifier drainers, or utilize a third tank to handle the mechanic.
- Causing a Static Jolt will immediately transfer those Faulty Zap debuffs to new players, so you are not simply rid of the mechanic once you’ve collided enough and must continue to watch out for it.
- Every single player that can should strive to soak the Sound Cannon to make it so that it deals as little damage as possible.
- You will of course want to make sure the raid is relatively healthy whenever you need to break an Amplifier, and ideally the raid leader should simply call out each time a break is needed. However, as long as the players with Faulty Zap understand the mechanic, you can also do this without any communication.
- The players both doing the breaking and draining take significantly more damage on Mythic, so it is important to watch their health carefully.
- As you gain more Amplifiers throughout the fight, it becomes more and more necessary to quickly break their shields so that you do not fall behind.
Notes on Healing
There is overall not that much healing required in this fight. There is light rot present throughout, with occasional moderate healing required on the players draining the voltage, or players who are hit by stray Resonant Echoes. If a Grand Finale goes off, it isn’t entirely unrecoverable but it will require multiple healing CDs to survive, at least on Heroic. Mythic it is incredibly likely you will simply wipe.
There should be almost no healing required in the intermission and HoTs alone can keep everyone topped. However, in reality many players will be hit by Resonant Echoes and thus you should be ready to top players accordingly. You should take this time to let your mana regenerate as much as you can. Mythic does change this, especially towards the end of the fight as more and more players are required to drain, as more Static Jolts are required and as positioning gets more hectic. Tanks also take quite a bit of damage, depending on class, so you may need someone to watch them.
Notes on Tanking
This is the first boss where you might need to look at your monitor as a tank. You will want to swap on around 5 stacks—more if you can handle more, but I see no real reason to go beyond this. Each stack increases your sonic damage taken by 100%, making you more and more vulnerable to the rest of the fight’s ambient damage. If an Amplifier ever goes Haywire while you have high stacks of this debuff, you will almost certainly die if you do not react accordingly.
Beyond that, you will want to make sure you have a clear plan for where you are taking the boss, and make sure to never abruptly turn it any direction. Move steadily and consistently, and above all make sure to drag the boss away from any Amplifiers in your path.
Defensive Usage
Almost certainly, you will use defensives throughout Phase One. There is practically no real need to save them for Phase Two, as there is so little damage going out throughout that part of the fight if you play well. If you have an immunity, you may elect to save it in case you ever miss a Blowout, but otherwise, defensives should be used if you get tagged by Resonant Echoes, or if you have to drain an Amplifier. At this time, you can easily get combo’d if you are not paying attention and it is better to be proactive and safe than die randomly.
Movement Cooldowns
Movement cooldowns are quite effective in this fight, and all available ones should be scheduled and used. Movement is particularly effective towards the latter half of Phase One, and for any particularly far movements required in Phase Two. Gateways are useful especially in Phase Two, but also can be used for ranged for uptime in Phase One when baiting Amplifiers.
Damage Profile Best Suited for this Encounter
While this is a single target fight, any class that can do their single target build while also having a bit of cleave or target swapping is very useful. Almost every class has some way of effectively cleaving these bombs now that they spawn closer together, but again, classes such as Spriest/Lock/Mage/Shaman/Boomkin can do this the most effectively while retaining a large portion of their single target damage.
Raid plan, Useful Weakauras, and Macros
- Raid Plan for Normal and Heroic
- Raid Plan for Mythic (NYI).
- No fight specific macros or Weakauras. Refer to the Resources and Weakauras page
Table of Contents
- Vexie
- Cauldron of Carnage
- Stix Bunkjunker
- Sprocketmonger Lockenstock
- One-Armed Bandit
- Mug’Zee
- Chrome King Gallywix