Published
- 16 min read
A Complete Guide to Priory of the Sacred Flame
Intro
Cover image for this article sourced from Wowhead
Timer - 31 Minutes
All clips in this article are sourced from YoDaTV’s YouTube channel. You can find his Twitch here as well. He is a high-ranked M+ tank main, and as I was unable to obtain any good footage of Priory during the PTR cycle, I substituted his in place of mine until I acquire better once the content has gone live.
This is the hardest key of the dungeon pool, but it’s no longer by a country mile. It is a rather short but intense experience that requires fighting quite an incredible amount of trash that has quite extreme amounts of health and does an exceptional amount of damage if handled incorrectly, combined with a tight timer.
You will want a balanced composition for this instance, as too many melee can make the second and third bosses quite difficult.
This guide is focused on providing a complete understanding of the dungeon at a base level of +10, and the warnings I provide will focus around such. There is still plenty of knowledge to be gained here even for more advanced players, and everything here still applies to lower keys, but you should approach comprehension with this in mind.
Trash to Captain Dailcry
This is a rather open area with a wealth of patrolling mobs, which can make the space feel quite cramped at times. You will need to draw out two of Dailcry’s companions in order to make fighting him possible, and thus can technically choose what combination you would like to fight the boss with. I will recommend, as of current tuning, the easiest possible companion to fight Dailcry with, and take you through the path that will achieve this. This does not mean you cannot choose to path towards the other one, but that I have found this is more often than not the more successful path. Please note that, as of writing, I will have to recommend that you take the path that you feel your group would be more comfortable handling, but I will only cover the mini-bosses I typically fight for brevity’s sake.
The dungeon will begin with a patrol coming down the corridor in front of you. You should pull that pack into several others and Lust, scaling the pull size as you feel comfortable with. For full details, observe the Routing and Lust Recommendations section.
You will choose to engage with Guard Captain Suleyman, who patrols the courtyard and summons Sergeant Shaynemail, and High Priest Aemya, who summons Taener Duelmal as of current writing.
- Arathi Knight - These are a lieutenant mob, and they have two abilities. The first is Impale, which targets a random player and deals moderate damage before afflicting them with a heavy bleed, and Disrupting Shout, a non-interruptible cast which deals moderate damage to the group and interrupts any casts when it completes.
- Fervent Sharpshooter - These are ranged type archer mobs that do not move easily. They spam Shoot for moderate damage on a random target and cast Pot Shot, a non-interruptible cast that deals heavy damage and also cast Caltrops, a non-interruptible instant ability which spawns several traps around players, rooting them and afflicting them with a heavy bleed if they are caught in them. They will leap towards melee after a random period of time if they are left by themselves long enough, which is more helpful than anything. If they live long enough, they will also leap out of the melee stack.
- Caltrops

- Arathi Footman - These melee and cast Defend, a non-interruptible cast that provides an observable barrier around them, reducing theirs and any allies damage taken by 50%. Disrupting this with stops shatters their defenses, causing them to take 25% increased damage instead.
- Defend

Mini-boss 1
- Guard Captain Suleyman - He has two abilities: Thunderclap, which deals moderate damage to the entire group and slows everyone by 30%, and Shield Slam, which deals moderate damage to the tank and knocks them back quite a ways.
- Shield Slam
- Defeating Suleyman will cause Sergeant Shaynemail to run to the location where he was killed.
- You may choose to engage Suleyman with other mobs, but I’d advise against doing so with Shaynemail until you are more comfortable with the dungeon.
Mini-boss 2
Note that you may choose to completely skip this lieutenant, as all lieutenants that are summoned by killing a mini-boss can be.
- Sergeant Shaynemail - He has two abilities, Lunging Strike, which causes him to leap to a random player and deal light damage to them and anyone within 5 yards, as well as afflict them all with a moderate bleed, and Brutal Smash, a moderate, non-interruptible cast that deals lethal damage to anyone around Shaynemail in the indicated visual as well as stunning them.
- Lunging Strike

- Brutal Smash

I will now return to covering the remainder of trash in this area before discussing the other two mini-bosses.
- Devout Priest - This is a caster that has two abilities. They will spam Holy Smite, an interruptible cast that deals moderate damage and lastly cast Greater Heal, an interruptible cast that heals a random ally for 50% health, preferring the lowest nearby target.
- War Lynx - These will melee and do an ability called Pounce, which causes them to leap at a random player and afflict them with Grievous RIp, a heavy DoT that persists until they are healed to full HP. Players may dodge this if they pre-move/strafe quick enough, and are far enough away. It may also be stunned mid-leap to nullify the cast.
- Fanatical Conjuror - These casters have two fire abilities: the first is called Fireball, which deals borderline heavy damage to a single target, and is interruptible. The second is Flamestrike, which after a short, non-interruptible cast, deals high damage to anyone in the indicated area.
- Flamestrike

Mini-boss 3
- High Priest Aemya - This is a fairly easy mini-boss, having only two abiltiies of note. The first is Reflective Shield, which puts an absorb on her that, while active, reflects 70% of the damage dealt by each player back at the player who dealt it to her (so like, not the total damage done, but if you do 100 damage to her, YOU specificially take 70 damage. I’m probably making this more complicated than it is. You’ll take damage when you hit her). The other is Holy Smite, a moderate cast that does a small amount of damage to her current target. Kick it if you like.
- Reflective Shield

Mini-boss 4
Note that you may choose to completely skip this lieutenant, as all lieutenants that are summoned by killing a mini-boss can be.
- Taener Duelmal - This is a rather easy mini-boss, as most of his damage is avoidable. He will spam Fireball, an interruptible cast which does moderate damage to his current target, and also do another interruptible cast called Cinderblast. This stuns his current target and also applies a high damage magic DoT that can be dispelled. His other abilitiy is Ember Storm, which fires a barrage of fire at players’ feet over a moderate duration, dealing high damage to anyone hit.
- Ember Storm

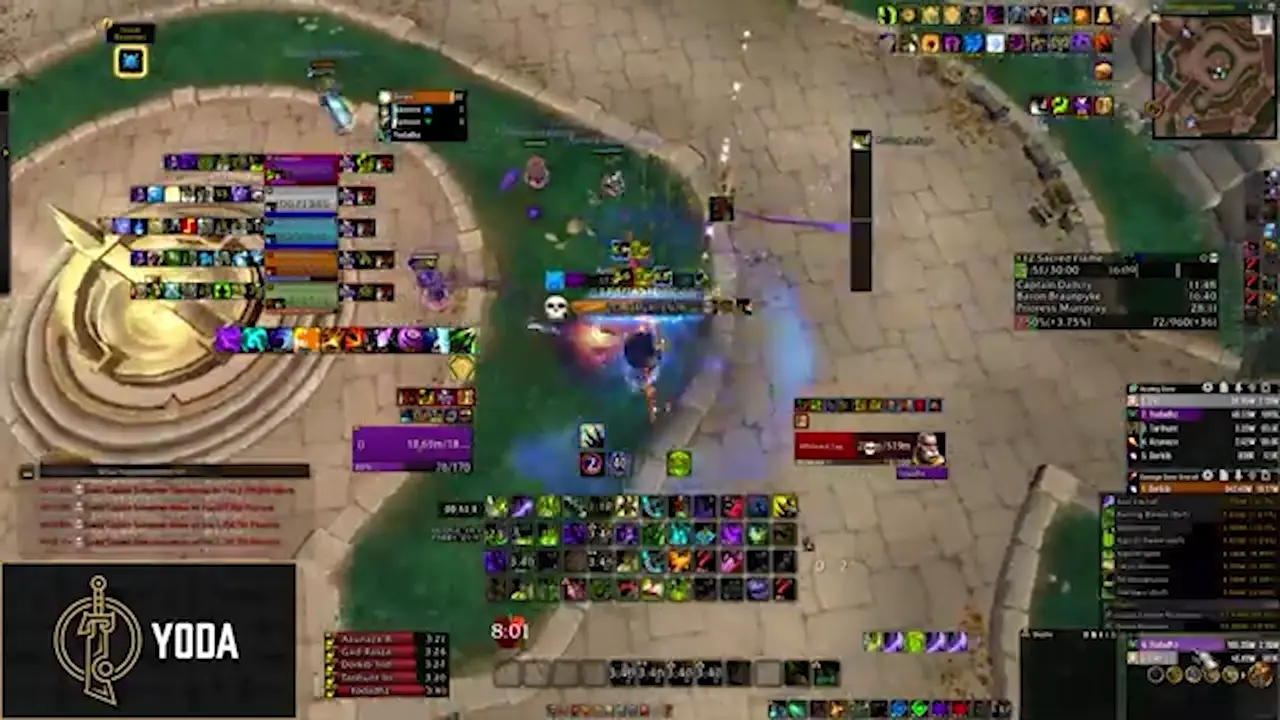
Captain Dailcry
This fight takes place against Dailcry and whatever companion you chose to leave by his side. You need only to kill Dailcry to end the encounter, though you will deal with both of their abilities. I will only explain the abilities of the companion I currently recommend you battle, and will update it if tuning changes this.
Captain Dailcry
- Pierce Armor - Dailcry uses this on his current target, dealing moderate upfront damage and applying a moderate bleed to them. This can stack.
- Hurl Spear - Dailcry selects a random player, throwing a thin spear in their direction, dealing lethal damage to any player hit.
-
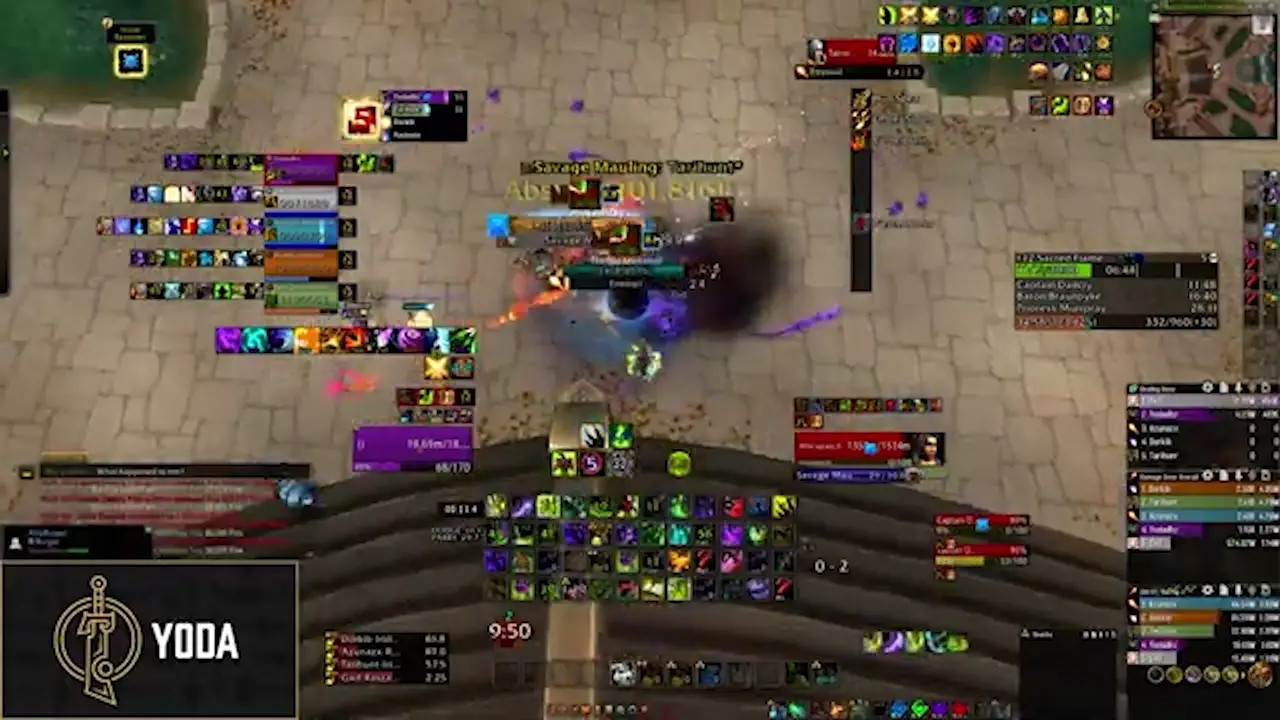
- Savage Mauling - The boss will leap towards a random player, rooting them in place and dealing moderate damage to them over time. He will gain a shield during this time, and the shield must be broken to free the player from the root and damage.
-
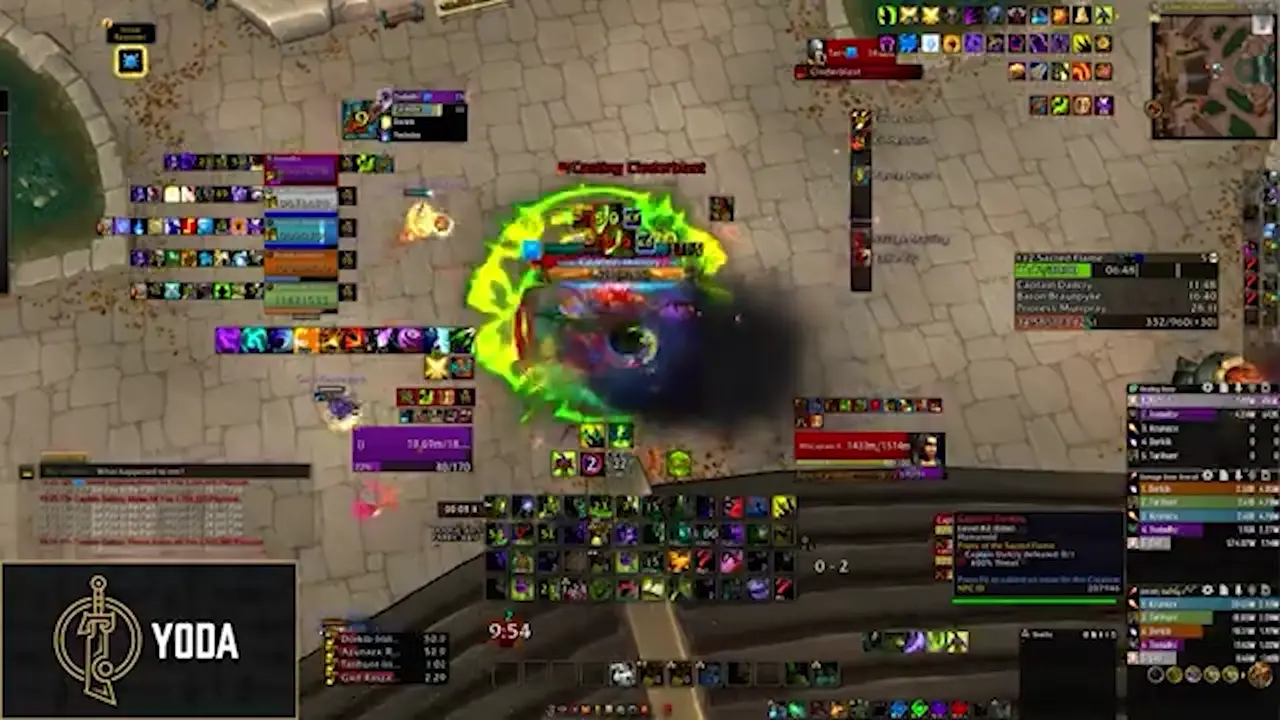
- Battle Cry - An interruptible cast that deals high damage to the entire group and increases his and his companion’s damage by 50%, as well as granting them half of their energy bar. Missing this kick is almost certainly a wipe.
Elaena Emberlanz
- Divine Judgment - This is a small tankbuster that increases the tank’s damage taken by 25%. Isn’t super threatening by itself, but with the Pierce Armor it does increase the pressure on the tank.
- Holy Radiance - At full energy, she will channel this, dealing moderate damage over the duration of the channel.
Strategy
- Tank both bosses together. Even though you do not need to kill Elaena, this makes it simpler for kicks and for any player that gains funnel. Though, of course, everyone will cleave anyways.
- The tank should simply have active mitigation and be topped for each Pierce Armor.
- One player should dedicate themselves to interrupting Battle Cry, although everyone can realistically kick it.
- Positioning of everyone else generally does not matter, although I recommend ranged stand close to the boss to make breaking Savage Mauling quick and painless.
Defeating this boss sets the instance respawn location to the steps of the Cathedral itself.
Trash to Baron Braunpyke
You will not have to travel far to engage the second boss, and must clear the entirety of the Cathedral foyer to spawn him.
After the very first pack, defeating the left side will cause a pack to descend from the stairs on the left. Defeating the right side will cause a pack to descend from the stairs on the right.
- Ardent Paladin - These have two abilities—Consecration, which places a high damage field under their location, and Sacred Toll, which deals a high amount of damage to the entire group.
-
- Devout Priests and Fanatical Conjurors are retained from the first area
- Zealous Templar - These melee quite hard and cast Seal of Light’s Fury, increasing their attack speed and granting them holy damage on hit, and Templar’s Wrath, increasing all damage done by 30% for 10 seconds. Both are non-interruptible and instant.
- Arathi Neophyte - These are cannon fodder mobs that melee relatively hard.
Baron Braunpyke
This is on paper a quite simple boss, but is complicated by tuning and becomes quite difficult if handled incorrectly.
- Hammer of Purity - The boss spawns several rotating Hammers at the location of a random player, preferring DPS and ranged. When empowered by Vindictive Wrath, this targets all five players. These hammers expand their orbit outwards with each revolution.
-
- Sacrificial Pyre - Similar to the last boss of Tazavesh - So’leah’s Gambit, the boss will spawn a pool of holy energy that lasts for 30 seconds. At the end of these 30 seconds, the pool will explode, afflicting the party with stacks of Sacrificial Flame equal to the amount of charges remaining. A player can touch the pool to expend a charge, shrinking it and instead dealing a moderate amount of damage to the entire group and afflicting only themselves with a stack of Sacrificial Flame. This has 3 charges typically, and grows to 5 charges during Vindictive Wrath.
-

- Castigator’s Shield - Braunpyke will throw shields at the location of several players, slowing them, and which after several moments detonates to deal lethal damage.
-

- Vindictive Wrath - Braunypke empowers himself, increasing his physical damage done by 25% and modifying his abilities.
- Burning Light - A moderate cast that deals a large amount of damage to the group and heals the boss. This can—and should—be kicked. During Vindictive Wrath, the cast time is reduced.
Strategy
- Everyone should stack in melee and just move together to make things simple.
- Castigator’s Shield will be placed under the group. Just move out together, using movement speed increases if possible. Anything that clears slows/snares is useful here (Rescue, Freedom, etc).
- Outside of Vindictive Wrath, 1-2 players can handle the Sacrificial Pyre, clearing it as the party health allows. During Vindictive Wrath, the tank and any other players should help clear it, and defensives should be used here as the damage can get quite extreme.
- If the boss is low enough, you can choose to ignore Sacrificial Pyre, but you should have a Time-to-die Weakaura to make an informed decision, as you are 100% dead as hell otherwise.
Trash to Prioress Murrpray
This is in general the sketchiest area of all Season 2 dungeons. However, you will be forced to pull aggressively in order to time the dungeon. There are several patrolling mobs and packs of dangerous mobs, and it is very easy to accidentally pull packs you did not want to do together. Once you are in the final boss’s room, you should LoS pull many of them back into the corridor that you climbed to reach it. Note that the final two packs near the Prioress’s stage will pull upon engaging her if you do not kill them beforehand.
- Ardent Paladins, Zealous Templars, and Devout Priests are retained from previous areas.
- Risen Footman - These melee and emit Light Expulsion on death, which deals moderate damage to the entire group. Too many of these dying together can result in massive amounts of unavoidable damage that can easily combo people unawares.
- Lightspawn - These melee and cast Purification, a non-interruptible spell that does high damage over 6 seconds. This mob cannot be disrupted with stops either, so you must simply heal this damage. When low on health, they will cast Burst of LIght, dealing lethal damage in a radius around themselves as well as healing all allies in that same radius for 35% HP. This can be disrupted with stops, but it does kill the Lightspawn, so it is best to let it cast unless there are other, more dangerous mobs in the radius.
-
- Risen Mage - These also emit Light Expulsion, dealing moderate damage to the entire group on death and cast Fireball, dealing moderate damage to a random target. This is interruptible.
A mini-boss sits in the middle of this room, accompanied by two Devout Priests. You must kill him before fighting the Prioress, as she engaging her will aggro him.
- Sir Braunpyke - He has two abilities—Radiant Flame, which is a passive aura that simply deals damage every 0.5 seconds to the party, resulting in an incredible amount of unavoidable damage that must be healed through, and Blazing Strike, a light attack on the tank that applies a light DoT. When he dies, he also emits a Light Expulsion, which can finish off any party members that are low.
Prioress Murrpray
No longer the fearsome foe she once was, this encounter is relatively simple and boils down to handling the intermission properly to succeed.
- Holy Smite - Murrpray will spam this on the current target, dealing light damage to them. It is interruptible but only truly threatening during Inner Fire.
- Holy Flame - The boss will call down a beam of light at a player’s location, which strikes after several seconds to do lethal damage to anyone in the indicated area.
-
- Purify - Murrpray selects a target and tracks them with a laser over several seconds, dealing lethal damage to them if caught by it. It also leaves pools of Sanctified Ground as it moves, which deal high ticking damage to anyone inside.
-

- Inner Fire - Murrpray empowers herself for 10 seconds, increasing all holy damage done by 50%. While empowered, she also pulses moderate damage.
- Blinding Light - After a short, non-interruptible cast, she deals moderate damage to the entire group, disorienting any players facing her at its completion. You must face away from her to avoid this effect.
-
- Embrace the Light - At 50% HP, she’ll ascend above the stairway to the alcove overlooking Hallowfall. She’ll then place a large absorb on herself and pulse damage until interrupted, but the shield prevents her from being interrupted. This damage increases every second she continues to channel.
-
- Arathi Neophyte - After casting Embrace the Light, she will summon waves of Neophytes for the rest of the encounter. These fixate on random players and attempt to melee them. They are also empowered with Overwhelming Power, gaining 50% damage and dealing incredibly high damage to any players within 4 yards.
-
- Stoke the Flame - The Prioress places Sacred Flame below the alcove, making it impossible for players to fight her below there or on the stairs.
Strategy
- Melee is not favorable on this encounter due to the various mechanics, and the Neophytes.
- Ranged should stand along the edges of the arena to bait the Purify, and run it so that it covers as little space as possible. They may stand spread out otherwise to reduce movement when Holy Flames come out.
- Turn around during Blinding Light, and remain wary of this cast if you are kiting Purify.
- The first part of the fight is relatively lax, but the second phase is where things begin getting extreme.
- All players should ascend on the same set of stairs and begin burning the shield as soon as possible. You should lust at this point and pop CDs.
- Ranged should stand generally together now on the same side to bait the Neophytes into a funnel. Melee, including the tank, should be extremely careful when assisting in killing and cc’ing the Neophytes.
- Blinding Light and Purify will overlap much more often in this second half of the fight, and you will need to be careful to manage your space properly.
- Neophytes are the absolute highest priority while they are alive. You can get multiple sets if you are too slow on the shield.
- Neophytes can also be simply cc’ed by abilities such as roots, fears, or traps and they will simply die on their own.
Routing and Lust Recommendations
This is the order in which you should Lust:
- First Pull
- Big pull after first boss, or Baron Braunpyke, or Captain Dailcry. Basically all are fine.
- Prioress Murrpray P2/Sir Braunpyke mini-boss.
THESE ROUTES ARE OUT OF DATE. WAITING FOR MDT/KEYSTONE.GURU TO UPDATE TO REMOVE THESE. SORRY
Here is the route I recommend for early in the season, and for PUGs. This will, as I mentioned before, have you fight the High Priest Aemya.
!nA12YTniq0)OocbIlpNoTtANXntvEQpOXGeKOwzRmYsPoV4V9k0fUiqP5fmGoC2Dz39ykafpwK3k(TSS)Y40(I8QALQUCOP)TIdGKpLuK)xP8pfhG6PVYBgK6Juo01jp3)5HZpjBpFF11rWGmnKlYMrYQBppt3cWhgAAgHOb0lLNQp)uXHjY7Qv9)qPUixT)lJi1tNa7)ZHuZa0mGmdzMbWeA80uTvoqmRPMLmZYzm619Z0VApONr7xq66n6iSTPTRiNkajcPldUmbwoV7w2ObaJqp0JEPQsLKQbbJCVKmFEIZEyd7zZFK9HdmGFKLsazeHgfAbe5)ezSyKcc9rKND4kfcmDdMnJXfkjmiWXScAjlMeaC1mOkIIJ0GWH3K2Ymuwy9qKqaeZjSLPzEMMX5PkOlfGaQwXMKXPmUglDgdDxOuHKtqBUEm1gz2Cn2M7jM2gii8QLelQOlBI2ThinboQc4EY0ynbSDJeHmLRWtGwIb8UT)6Cd49(k6dRCGnkhVVqHF2uqQejtzO1wD8MABV(pVQgsKaaTHDiLnFFbdz32DtIWo1QSWctUR75zCBvITiH4Rabumo0TcW1HSMKf6qR6tSW9wzptbryWe7lD)PWDltqmrvgBcmo0vMLZt3t0j1PGinYnX2iXQBKmMVNmkjIrdvZ9mQJI7Iefah0h53B5F9Jes2sRbnuECBx(wUOrSP1Lw9OSG)(Xpg9RqZkXvOsVoAuKU9SOkJGKiEeytv9QLkRKYsQRUUxStSX(ACUVyzcLj4u3SEAeVonUx)bE7b2mqmduBky1nWcEftNoTVrkFq0iFv2y84E51XXh6QB7E72Xw1TJ9plVDmNx2jRUD8ln8tJlFuE6L2oUgYpBh6Lf5NQQ1Vrt1jLp32u9T26ZYQcHDNLxIjKpnu3m9wSflouxnQIFP5x93D31RF)RJ7v8paHere is the route I recommend for more advanced groups. This has you fight overall easier trash, but makes the first boss a little more difficult in return.
The below is an MDT (Mythic Dungeon Tools) string, and can be copied and pasted into the addon in-game.
!fA12oUjmq0)OkFh73RAvBLsxv6t9buaJDw2scRyHTzLQY3EXgJXgC2Qi5aJN5mx8C8qbS4Nf5DvpPKdVm94qrEDJw3ihBhER4ae8bqr(FuQFxCazE81Y2rLXe5yFV6YWhhVCs1D5l1xNugsnQ8IQDcSMUlZW5u8HX22jvmkmOuNBUCQ4Gf8(g9W316xul()5jnnpAvo(pBmmVqmlyZcnXR24(aZ(OXWHzRwGbBfLl7A76lYlLqzfzJolQY8EmZ7cU3JI9yJMfzJGyzl(Jce1LmJs49(dUMIqCcOIdDrjsIKgLioDcdfxMhbF2k8CFcbzrOcWAjvzmL6mnBpQzBksdZvJ44m(Wdeh7zamvyuI5ukQKj8bk2d4bmWx6rCxTp0kBhOl9IZjQOKuVnWxmJSwviS9hPz7ZyCQJz8kmyECffYz4AJb8eEhSV8ztKn(0jZ32wRQW4adfVZ5Sjuj7oXwGcJq4YQW8jclwcasfFXGcrA2CVj0LT4KmzSFH4xO(fMFH7jHc)RZ8CHNN7emtICsWRsChKq8U25LGMdH4ABr1ZKe3vzTGpr)creHURYsMKk1H1r2g6YAnX0)bVBXkGT))RKmFLm7DRKX9wyfaHNZm6(GnbFakse2X3DgukY08klBaY2J(kXNV3pOeCLn3RilbAG968LRTcrN4rpvhCwISGeHELsraLw057rNLatEc2DQQfDt7csXHw)4SeD)U2YQsAgo82WWGAMtGchggvsxBGqWeXf3VTi2PyaaHcvN9(ZXICAqdpXXkzjMIs2125jFkDj0YN8KoYMUOG23nmLL6qKpt0qGIt5jwrPWo52FyqsmVLUrMZNGe(eEhkIsxZP2JFKZdrH16T7lJbH872DWWt)S0n0sKrVlJy((dMFJm)gC)gIeZdbXJRdgZRzCj3695eFzdKidLz2y9JeZhRAvVQA9zWG6606d9nD9VD7yN(2XHhv3oo9jB9Q6Bh)uB55Px)7KKMZp3QkYpx3yCHUxPESRT(RDnxu1fvRsCFdAL60ytR9RqDUASPUi)hD9m5t)661V95jzf)dSkips
Listed here are demonstrations of any pertinent skips I am currently aware of.
- Gateway/Leap shorcut to P2 of Prioress

Profession or Dungeon Buffs
- Blessing of the Sacred Flame - May be activated by Priests and Paladins at various Braziers throughout the instance and this buff fades on death. Has been nerfed as of writing to be about a 1% damage increase overall, and should not be a significant factor in your composition choice.
Respawn Locations
- Dungeon Entrance
- First boss
- Bottom of steps to final area
Table of Contents
- Operation Floodgate
- Darkflame Cleft
- Operation: Mechagon - Workshop
- Rookery
- Cinderbrew Meadery
- Theater of Pain
- Motherlode