Published
- 13 min read
A Complete Guide to Operation Mechagon-Workshop
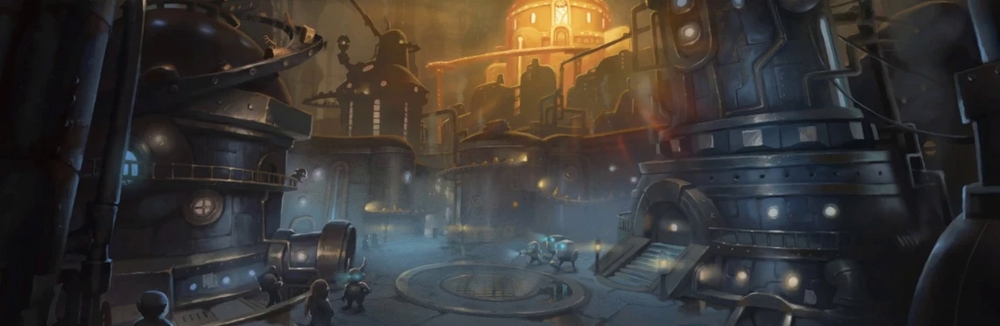
Intro
Cover image for this article sourced from Wowhead
Timer - 32 Minutes
This dungeon hasn’t been touched too much, and has seen a few face-lifts to a few mechanics. It is still a very short dungeon which can be made even faster through aggressive pulling and clean play.
You will want a balanced composition, as too many melee can certainly make some of the encounters more annoying than they need to be.
This guide is focused on providing a complete understanding of the dungeon at a base level of +10, and the warnings I provide will focus around such. There is still plenty of knowledge to be gained here even for more advanced players, and everything here still applies to lower keys, but you should approach comprehension with this in mind.
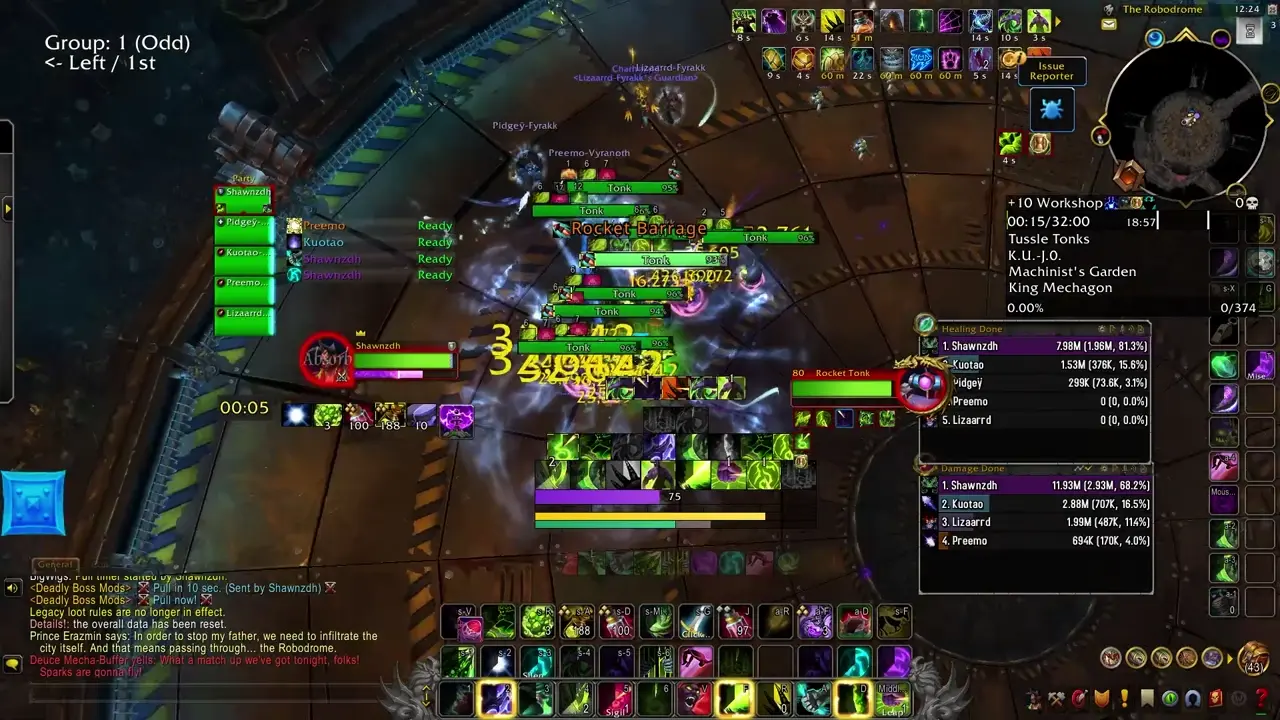
Trash to Tussle Tonks
You’ll begin the dungeon in the very same arena that you will battle the first boss. There are four trash packs guarding the way.
- Strider Tonk - This mob doesn’t do much besides melee and cast Flying Peck, which targets a ground location and then causes the Strider to leap to that spot, dealing high damage and knocking back anything caught within its radius.
- Rocket Tonk - This mob will melee and cast Rocket Barrage, targeting a random player’s location and firing a swirlie at it, dealing high damage to anything caught.
-
- Bomb Tonk - These will melee and attempt to cast Detonate, a long cast that deals massive groupwide damage if allowed to go off.
-
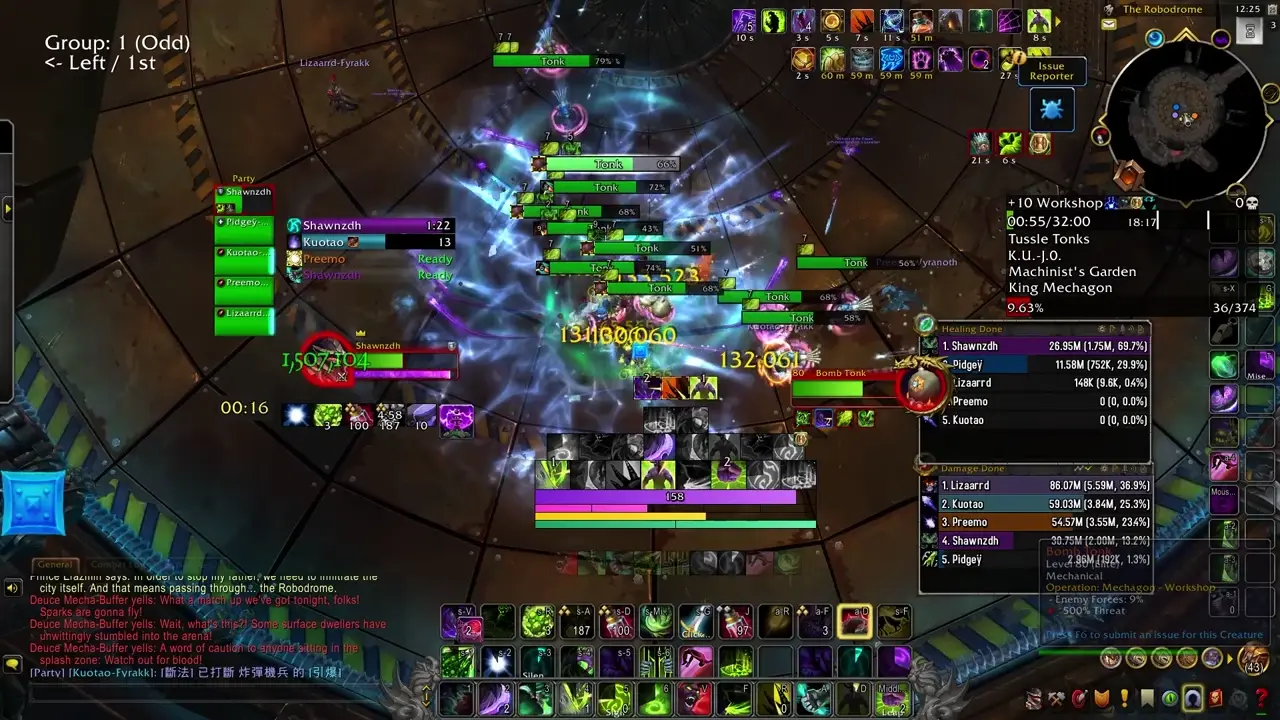
The daring group will pull the entire room, lust, and see what happens. Do note that you will have to deal with Buzz Saws during this trash as well as the boss.
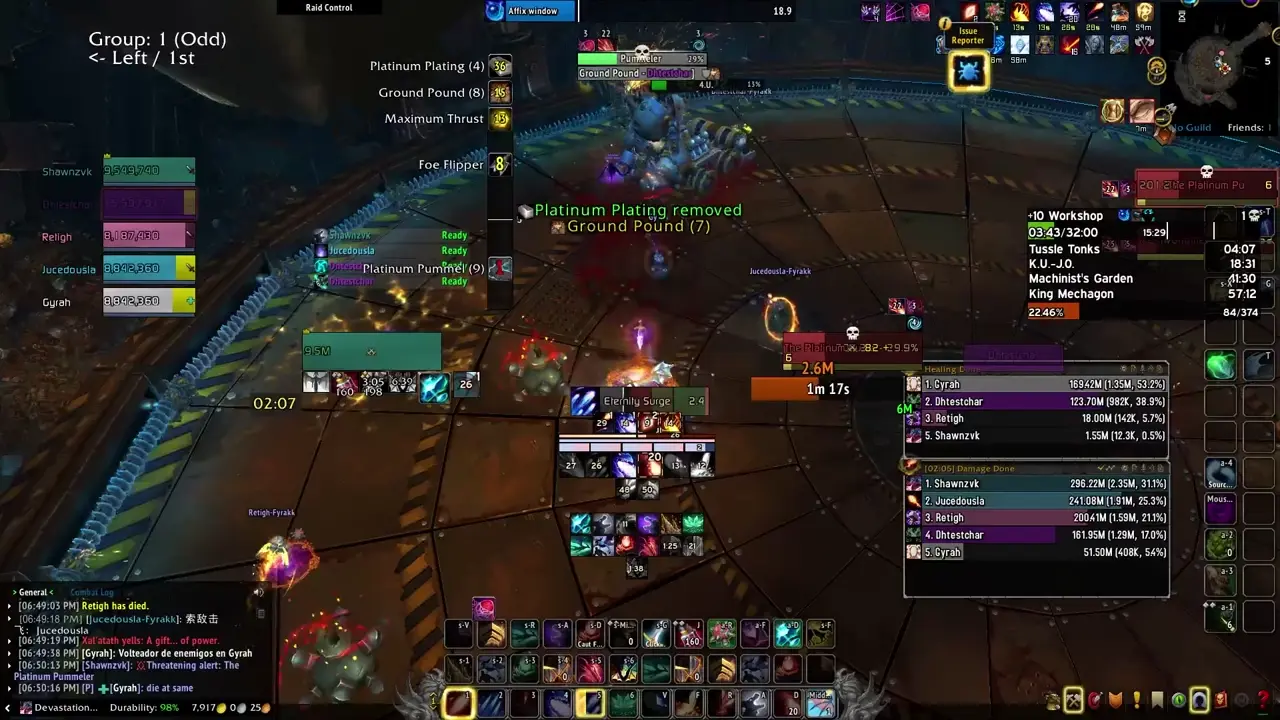
Tussle Tonks
This encounter isn’t changed too much, although the addition of the B.4.T.T.L.3 Mines and the changing of the Gnomercy 4 U’s behavior has made it significantly more annoying to play.
Shared
- Electrical Storm - When one of the bosses die, their body will continue to pulse damage to all players until the encounter ends.
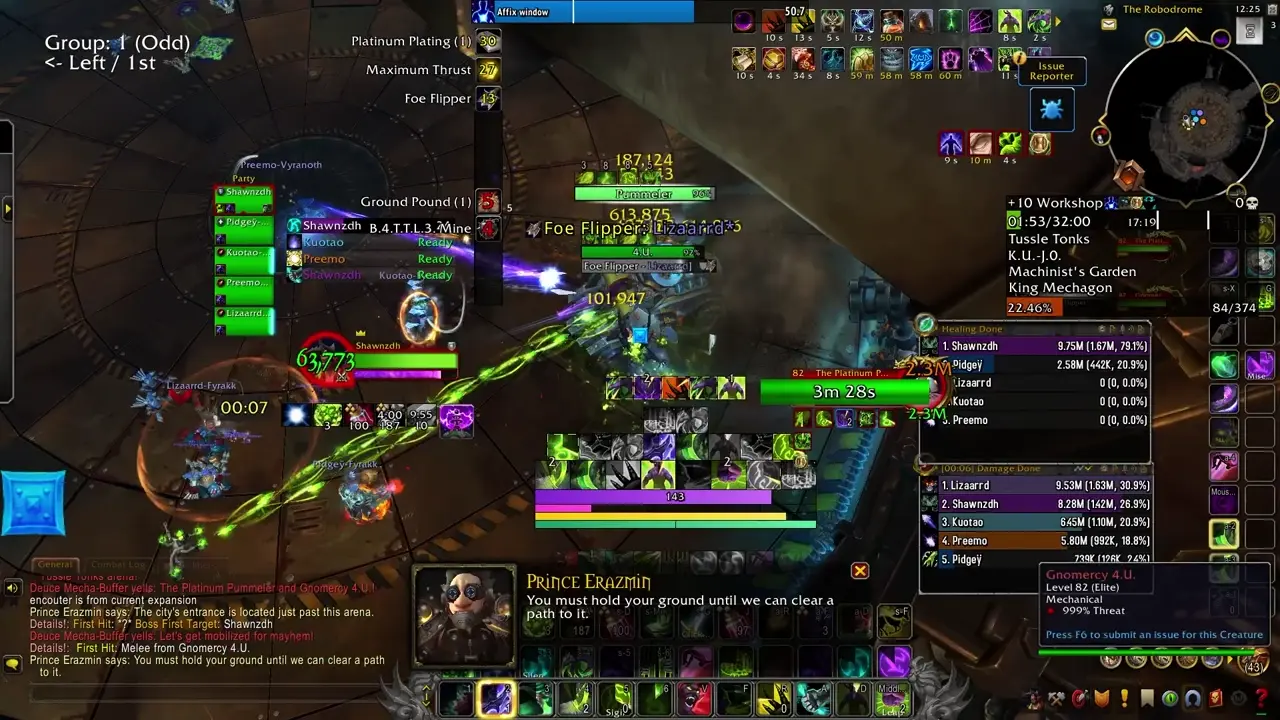
Gnomercy 4 U
- Foe Flipper - This will select a random non-tank target and charge them, knocking back anyone within the path and the original target.
-
- B.4.T.T.L.3 Mine - Gnomercy will cast this at a regular frequency, placing 2 mines at the location of a random player. These mines do near lethal damage to any non-tank that touches them.
-
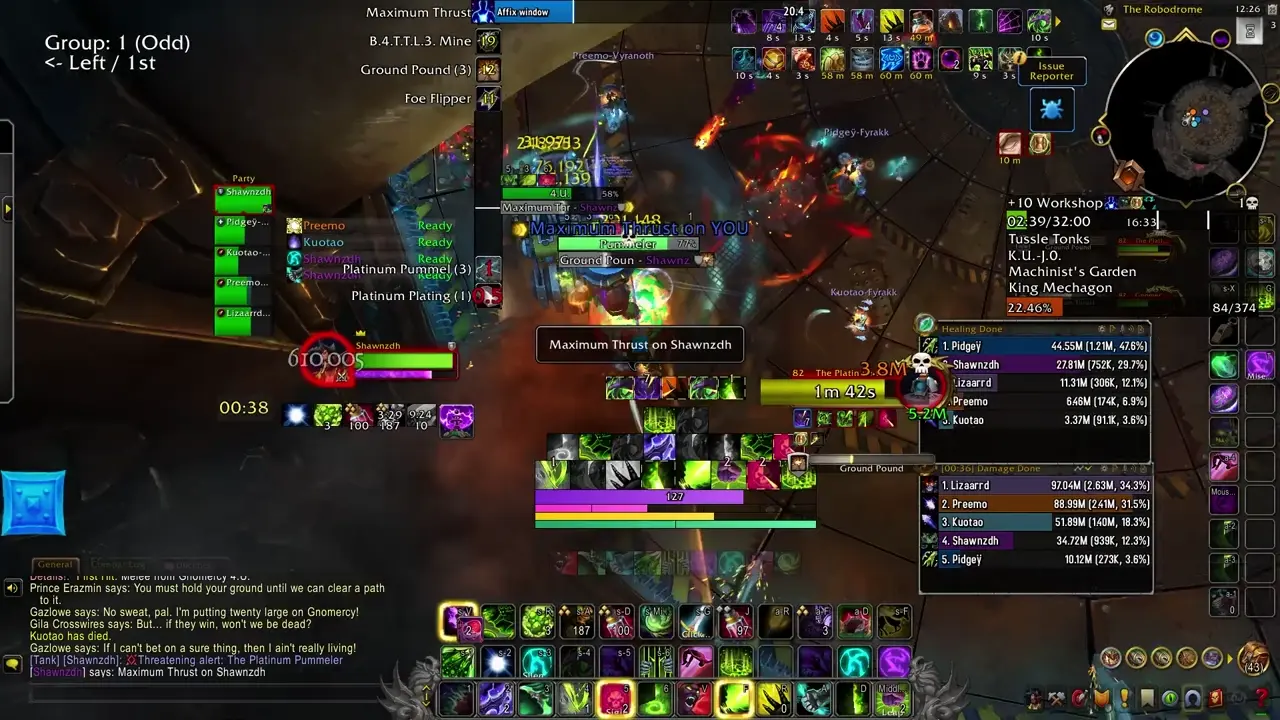
- Maximum Thrust - At full energy, Gnomercy will charge in a line towards the tank. Anyone hit takes lethal damage. If it hits the wall of the arena, it will be stunned for 5 seconds and launch a set of Mines towards a random location.
-
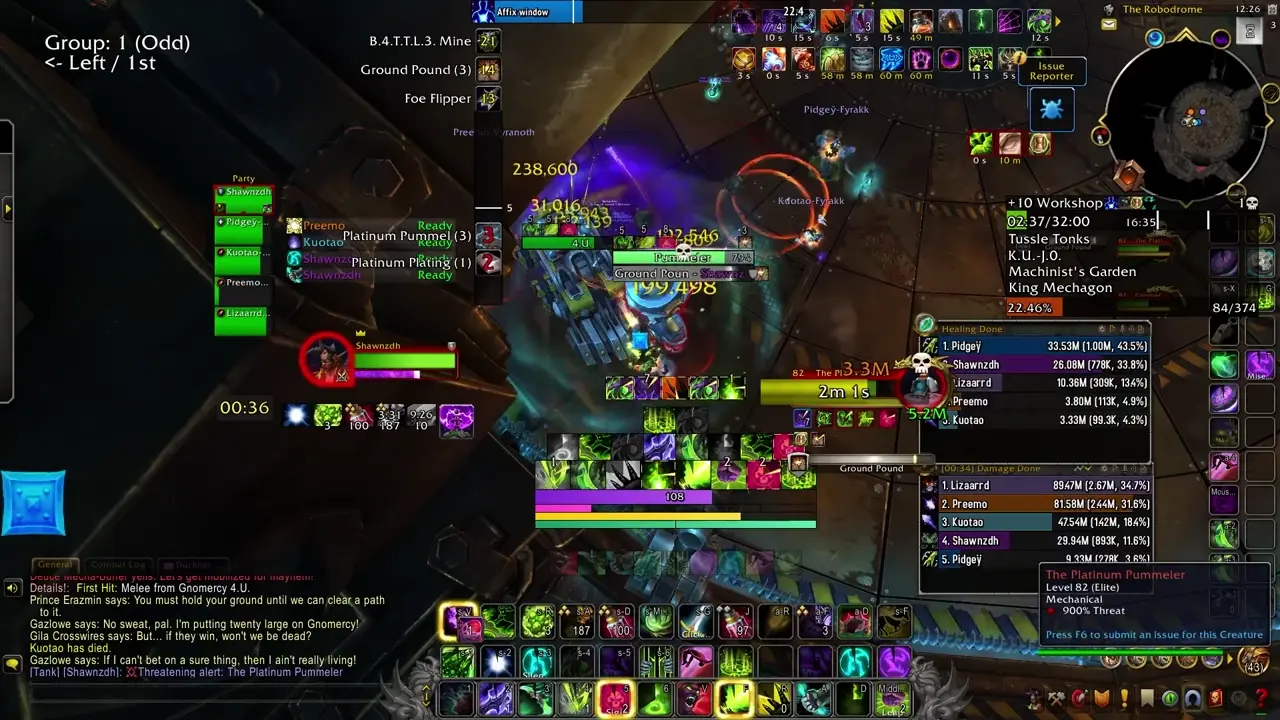
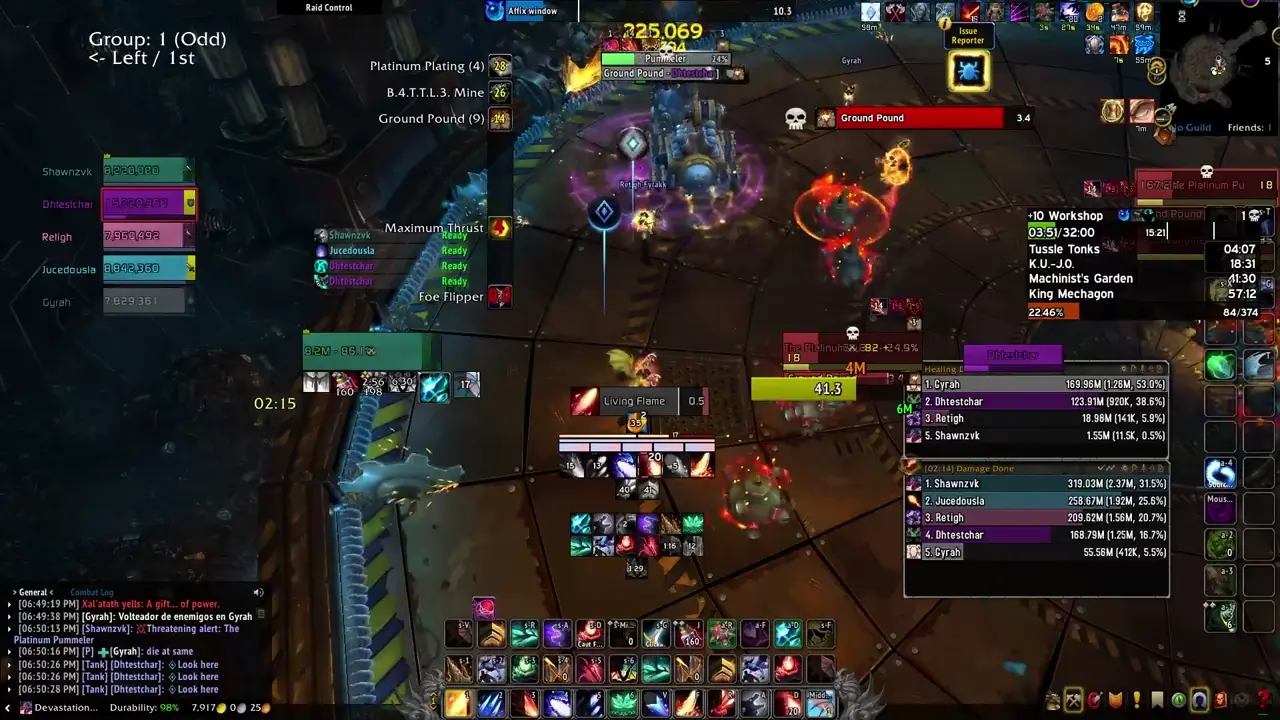
Platinum Pummeler
- Platinum Pummel - The Pummeler will use this on their current target, dealing a large amount of damage to them and anyone within the indicated radius.
-
- Ground Pound - The Pummeler will cast this at regular intervals, dealing high AoE damage over 4 seconds to the group.
- Platinum Plating - At full energy, the Pummeler will use this, reducing its damage taken by 33%, stacking. This can be removed by dragging it under one of the hammers around the arena, of which there are four. Removing a stack of Plating in this fashion renders the hammer unusable for 2 minutes.
-
Strategy
- Both bosses should die around the same time.
- The tank should pull both bosses near the first hammer, keeping them near the edges of the arena and rotating to each hammer as necessary. Ranged should trail behind the tank and be careful not to be knocked into Mines. Both bosses hit full energy around the same time, so the tank should bait the Maximum Thrust near the hammer that they will use to remove the Platinum Plating to ensure they are both able to be cleaved while stunned.
- Ground Pound must simply be healed through, but some of the casts can be interrupted if the tank plays wisely by timing the hammer smash properly.
- Melee should be careful of the Platinum Pummel, so that they are not inadvertently one-shot.
Trash to K.U-J.0
This area has seen a slight re-design and is much less annoying to play than before.
- Waste Processing Unit - This lieutenant mob has two abilities: Puncture and Mega Drill. Puncture is a fairly heavy bleed on the tank, while Mega Drill is a large amount of AoE damage to the group over a short duration.
- Mega Drill
- Metal Gunk - These mobs melee and apply a debuff to the group by way of a cast called Corrosive Gunk. This applies a DoT and healing absorb. This cast can be stunned, though it will re-cast right after.
- Living Waste - Cannon fodder that melees.
- Junkyard D.0.G. - These melee and cast an ability called Fiery Jaws. This causes them to leap to a random player, applying a heavy-hitting magic DoT. Players can be targeted by multiple of these casts and receive multiple of these DoTs, and will almost certainly die without defensives or externals.
K.U-J.0
- Blazing Chomp - The boss will bite his current target, inflicting a heavy-hitting magic DoT on them. When dispelled, this DoT explodes, doing heavy damage to the entire group.
-
- Air Drop - A Junk Cube will be flown in, dropping down in the indicated location and dealing heavy damage as well as knocking back anyone still in the area.
-
- Explosive Leap - K.U-J.0 will target several players, leaping between them after a few moments. Any other players overlapping with the indicated radius will take additional damage. Any Junk Cubes that are hit by this ability will be heated up.
-

- Venting Flames - After a lengthy cast, the boss will channel this, dealing lethal damage to anything within Line of Sight. This also heats up any Junk Cubes, destroying any that are already heated.
-

Strategy
- This is mostly a tank/healing check. There will be 2 Blazing Chomps each cycle. One immediately into the cycle and one just after the Explosive Leap, before Venting Flames. The first should be immediately dispelled and the second should be dispelled when the party is topped. The tank should use something in both cases each time.
- The party should spread out for the Explosive Leap, taking care not to accidentally hit the Junk Cubes with it.
- When the Venting Flames begins, the party should hide behind a non-heated Junk Cube. If the tank positions properly, ranged can quite easily continue DPS’ing the boss if they find the sweet spot (where they have the “Hidden” buff but can still cast at the boss). This can be done with melee too, but is much harder to pull off consistently.
Trash to Machinist’s Garden
There are two…obstacle courses on the way to the third boss. The first is immediately after K.U.-J.0 and involves moving about a conveyor belt and dodging flaming pipes. Anyone with a targeted leap or a gateway can skip most of this and hit the button for others, reducing the time it takes to complete this section.
After you traverse that section, you’ll come into a room with some neutral mobs and an alarm bot. After triggering the RP, the next section of trash will begin.
- Mechagon Tinkerer - These will cast Giga-Wallop, a very high damage, interruptible cast that also arcs to a nearby player. Their other cast is to summon an Anti-Personnel Squirrel. This will summon a smaller mob that is not feasible to kill, and will run towards a random player then detonate in a large radius around them after a few moments.
- Anti-Personnel Squirrel
- Defense Bot Mk I - These melee and cast Arcing Zap, placing a high damage magic DoT on random players.
- Defense Bot Mk III - These do everything the Mk I did, but also cast Short Out, dealing high nature damage to the entire group over 3 seconds.
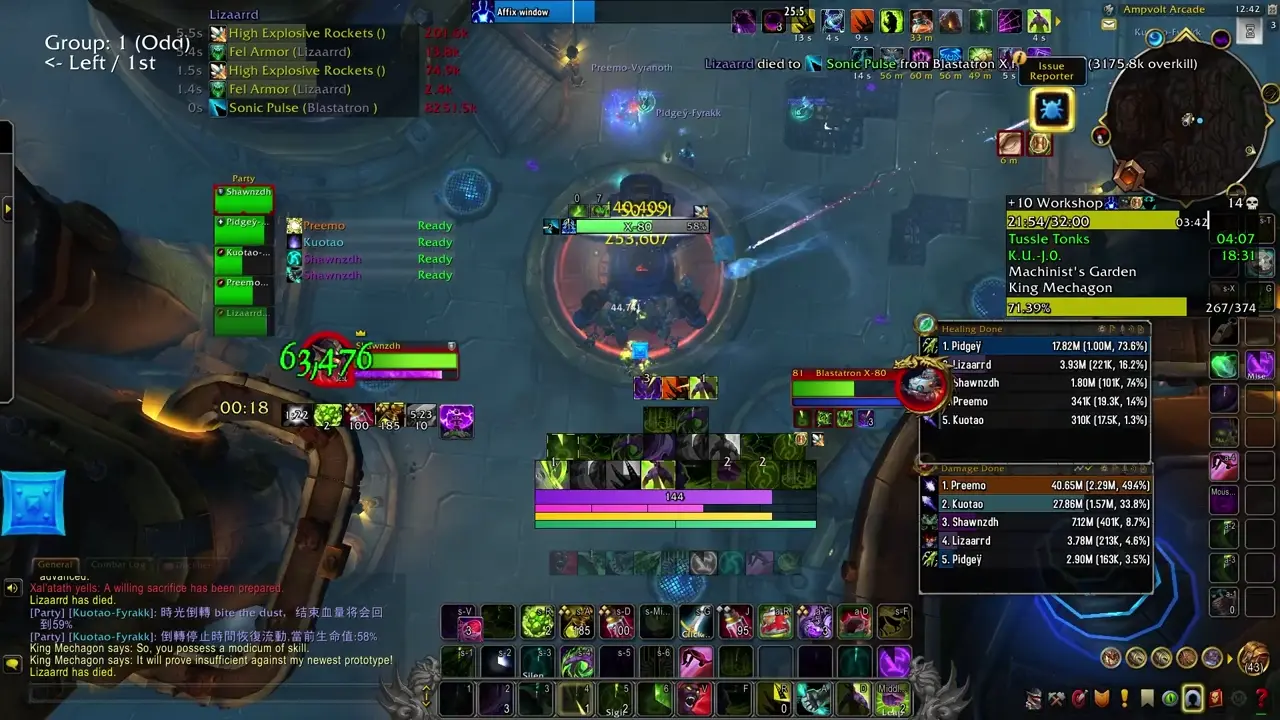
- Blastatron X-80 - This miniboss will conclude this short gauntlet. Its first ability is simple a passive damage aura, manifested as High Explosive Rockets. This is simply constant AoE damage and despite how the visual appears, it is unavoidable damage. It will also cast Sonic Pulse quite frequently, dealing lethal damage to any player hit and silencing them if it does not outright kill them. Lastly, it will cast Capacitor Discharge, channeling over a moderate duration and dealing damage to anything not in the safe zone that appears.
- Sonic Pulse

- Capacitor Discharge
After this, you will encounter a rather infamous portion of the dungeon in which you must successfully sneak past various patrols. Being caught at any point will stun you and return you to the beginning of this section. You can simply hug the right, wait at the middle smoke cloud, wait for an opening to appear to reach the northwestern smoke grate, then wait for the final patrol to begin patting away from you, at which point you can guaranteed run past it.
There are two new mobs in this pack that you have yet to encounter.
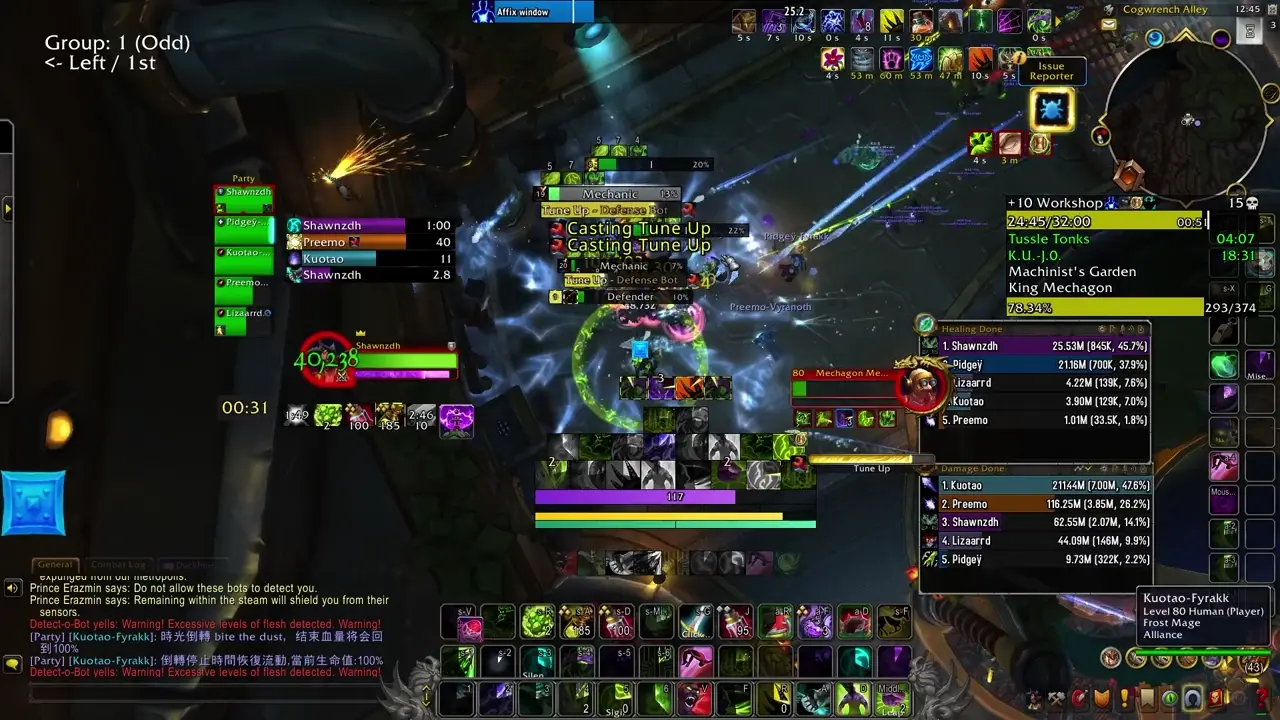
- Mechagon Mechanic - This mob has two abilities—Overclock, and Tune Up. Overclock is a haste buff to any allies nearby, and Tune Up is a heal channeled on the lowest health mechanical creature. Both are interruptible, and should be disrupted.
- Workshop Defender - This mob will melee and occassionally cast Shield Generator, spawning an attackable shield that reduces the damage taken of anything within it by 75%. You should stand in this to make these pulls much easier to heal, and try not to kill the Defender early in the pull.
-
Machinist’s Garden
This encounter has not been changed much besides updated clarity. The only significant change is that you may now stun the Inconspicuous Plant.
- Self-Trimming Hedge - The Machinist will spawn a Hedge that travels around the room for the rest of the encounter, dealing very high damage to anything it touches.
-
- Activate Plant - The Machinist will activate a nearby Inconspicuous Plant, which will focus a single target and cast Blossom Blast, dealing moderate damage to them.
-
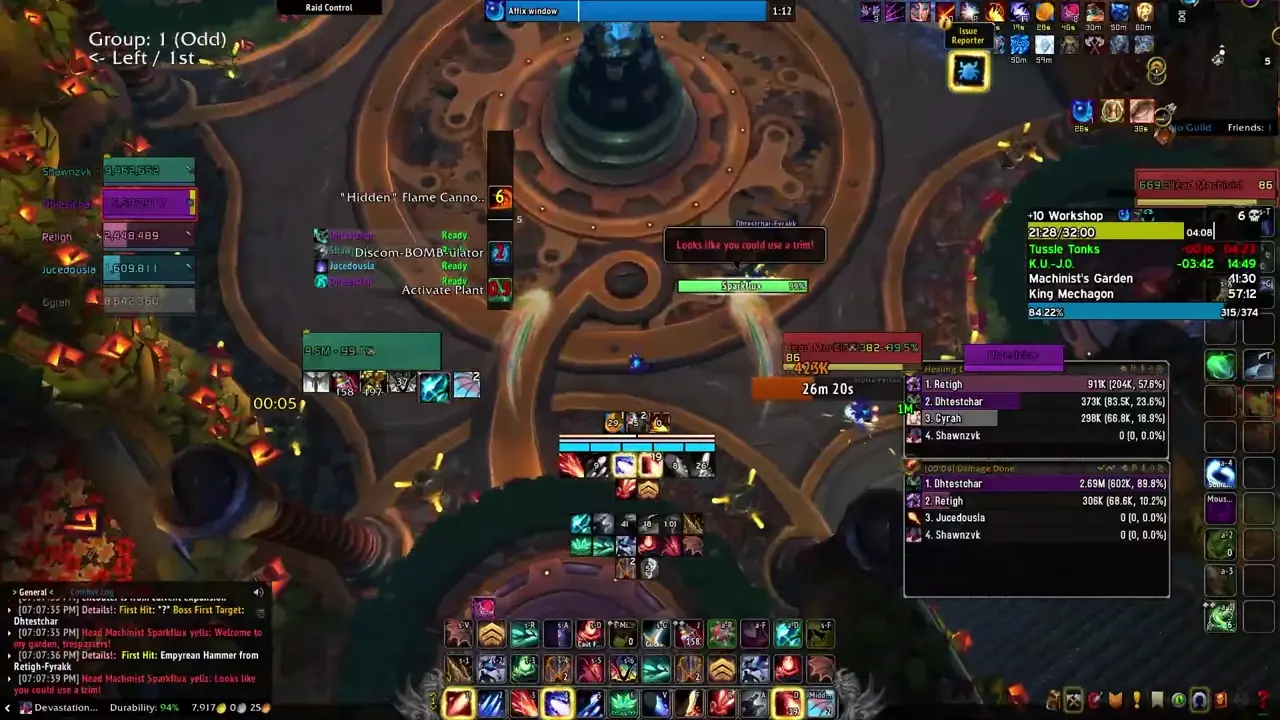
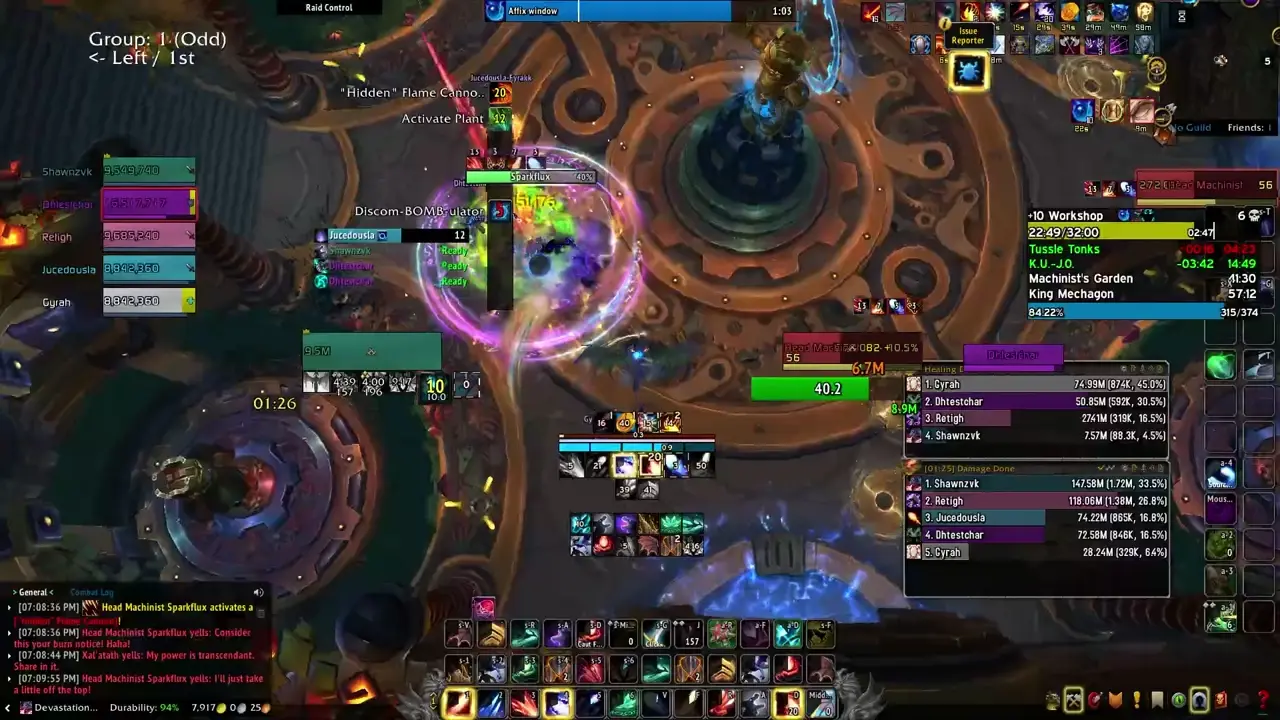
- Hidden Flame Cannon - The Machinist will activate the Flame Cannon in the middle of the room, causing it to shoot three beams of fire and rotate either clockwise or counter-clockwise.
-

- Discom-BOMB-ulator - The Machinist will lob a bomb at a target’s location, disorienting and dealing high damage to anyone within the indicated visual after a few moments.
-

Strategy
With utmost sincerity, you simply need dodge.
- The boss can be tanked anywhere, but everyone should stay relatively grouped. The second the Plant spawns, all players should swap to it and stun it to prevent it from doing too much damage.
- Shortly after the Plant spawns, the Hidden Flame Cannon will activate. You should all take care to not get too separated in case you require healing. Be wary of stray Hedges during this time.
- The Discom-BOMB-ulator will occur shortly after or during this, and you should avoid it while still keeping an eye on any Hedges.
- More and more Hedges and even swirlies will begin to occupy the encounter space as the fight progresses. Simply dodge as best as you can. You should arrive at this boss with lust available, and you should kill the boss before it gets too dangerous.
Trash to King Mechagon
There will be two smaller versions of the miniboss you fought earlier guarding your path to the final boss.
- Spider Tank - These have the High Explosive Rockets and Sonic Pulse from the mini-boss you fought in the previous section. Simply dodge the Sonic Pulse and deal with the moderate AoE damage.
The rest of the trash is a mix of what you fought in the previous section. The final pack has now been split into two, and you can choose to fight the larger pack or skip it, only fighting the Defense Bot pack guarding the entryway.
King Mechagon
This fight comprises of two phases, though they share practically the same abilities.
Phase One
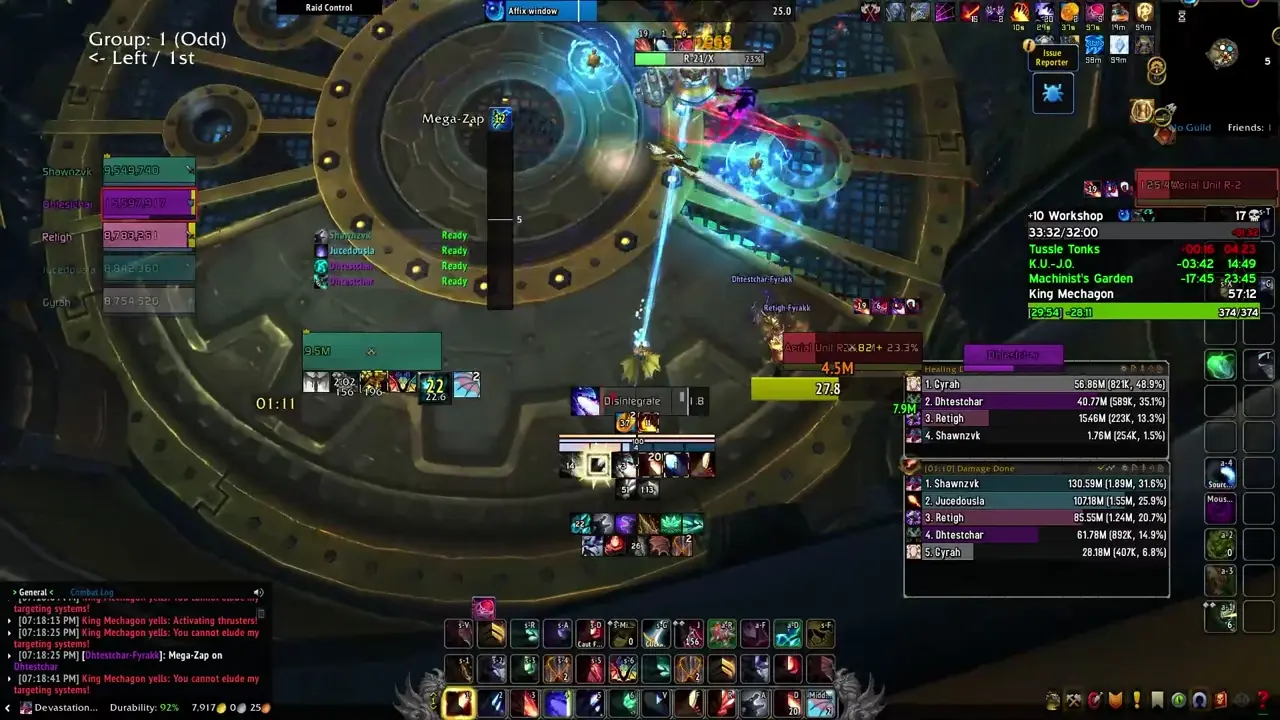
- Instead of using melee, while King Mechagon fights within his Aerial Unit R-21/X, he will spam Pulse Blast at his current target.
- Recalibrate - The boss will re-orient the Plasma orbs around the room, causing them to move towards the locations of the various players. Being struck by the orbs as they travel or when they arrive at their location will deal high damage and knock back any players caught.
-

- Mega-Zap - King Mechagon will take aim at a random player, firing a few moments later and afflicting them with a moderate damage DoT.
-
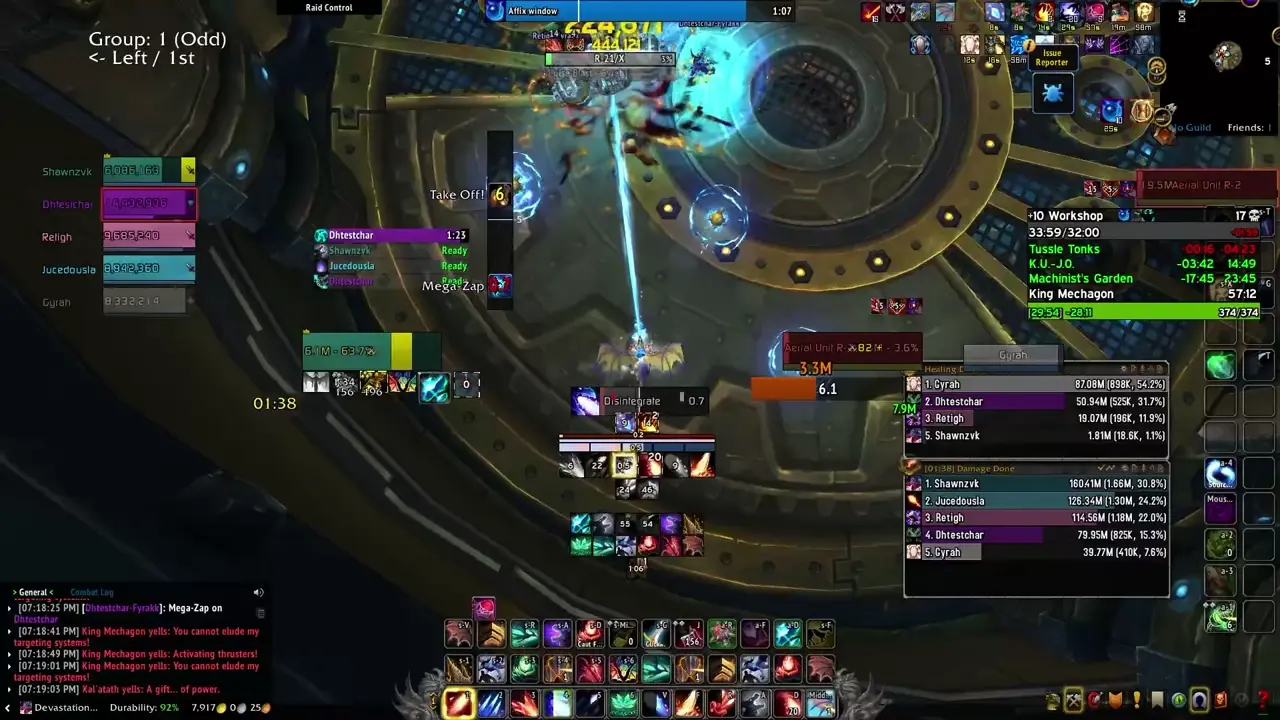
- Take Off! - King Mechagon will rise in the air, dealing damage to anyone within 8 yards when he does so. He will then begin channeling Cutting Beam, dealing lethal damage to anyone caught within its effect and dealing moderate AoE damage to the group.
-
Upon his Aerial Unit’s defeat, he will stun the party and enter his next phase, entering a gigantic mechsuit.
Phase Two
- He retains Mega-Zap and Recalibrate, but both have wider radiuses and deal more damage in this phase. Mega-Zap now also fires in sets of three.
-
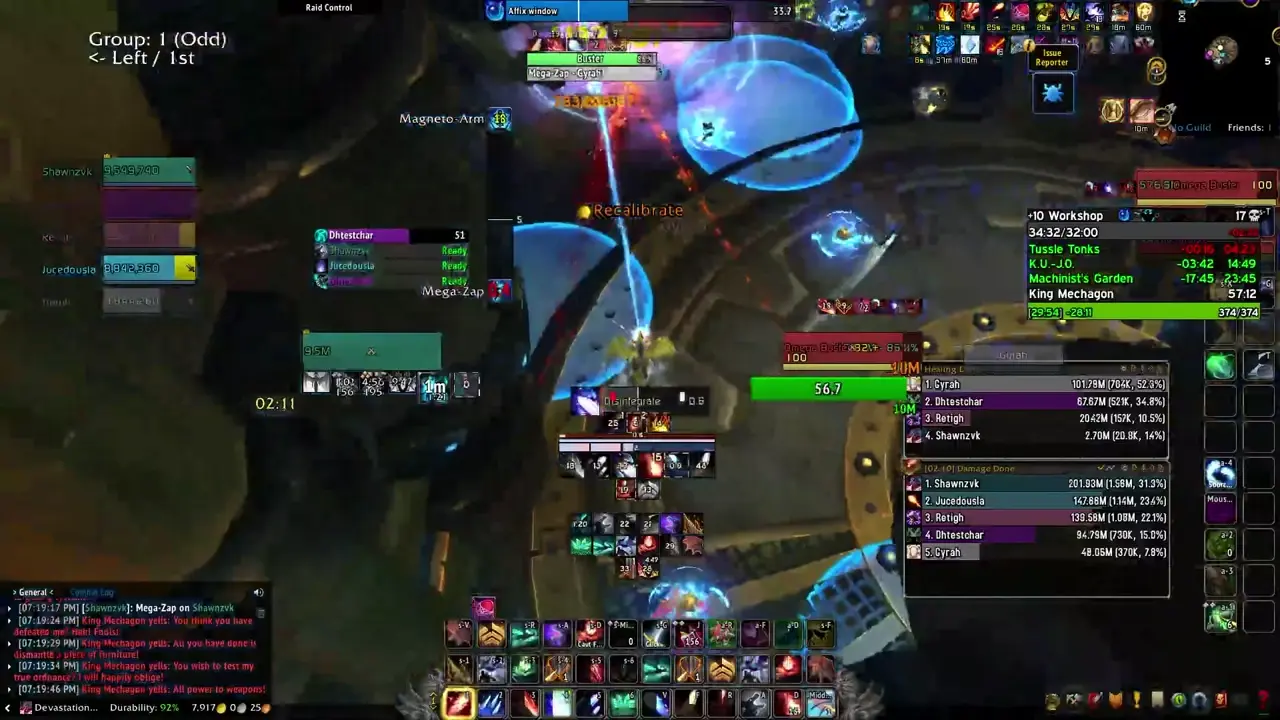
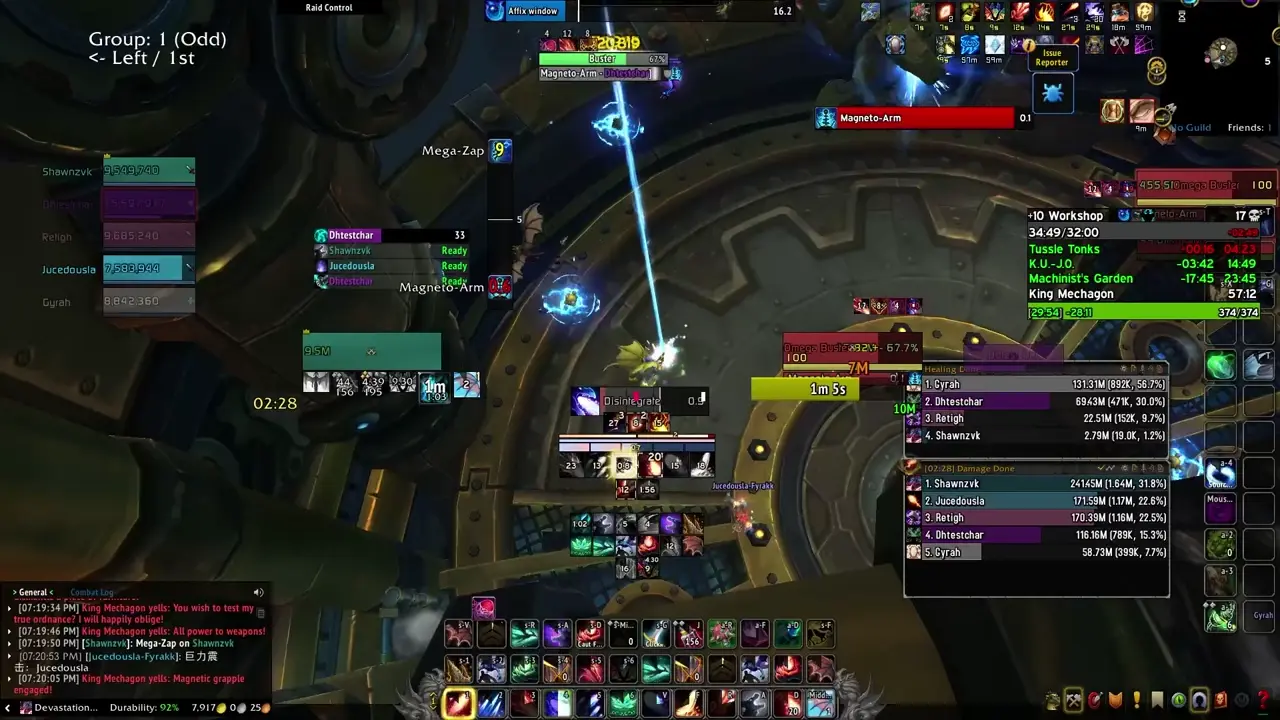
- He exchanges Take Off! for Magneto Arm, throwing a magnetic arm and pulling in all players towards it, dealing high ticking damage for the duration of this spell.
-
Strategy
- In Phase One, all players should spread out and avoid the Recalibrate the best they can. When selected by Mega-Zap, players should stand still, unless it seems more intelligent to move.
- During Take Off!, the player who was last Zapped should be careful of their health, using whatever is necessary to remain healthy.
- In Phase Two, the fight is played much the same, but tanks and melee should play near max range of the boss and move in after each Recalibrate to make dodging it more consistent. Be wary of the Recalibrate that occurs during Mega-zap, and be careful not to inadvertently strike your teammates with it due to the movement forced upon you.
- Defensives are best used for the Magneto Arm, which deals a very large amount of damage.
- Once the giant mech is defeated, King Mechagon will exit it and you can quickly kill him to end the fight.
Routing and Lust Recommendations
You should Lust the following:
- First Pull (even if you don’t do the whole room).
- 3rd boss
- Last boss/on CD.
Here is the route I recommend for pugs and the early season. You may choose to split up the first area into two pulls, as doing the entire room is quite intense until you’ve done it a few times. You may also choose to split up the Waste Processing Units and the Metal Gunk pulls as these can be quite healing intensive if you do not properly stop Corrosive Gunk.
The below is an MDT (Mythic Dungeon Tools) string, and can be copied and pasted into the addon in-game.
!nw12oUjmq0)OkFbWqFUsvD32KQYk13SIXEiHUeiIaBtEjF7f7LyZft6(cymNZCMXZfZX8x4P1z)bKTN7x2Ytvf55fYUY2R8ny0Nq80)cWR8nu9Y3eLDGMISRPbQA)sx1EOU6BQl9GjenKZqzVXkQRE3Cda)zxzzpenGwaowuTNVXy8MI82T55NH76FQhPEPbS(vWW7(xgNOTFD4S92OLEtG9Zq7NrdmI(pmISFgAyKkRlRB4P5yuuwK2eep(tG1sHESK7hypEbZcj2YnXYfB5s8eZylxYeVvelreIgoDanBglTLIxS3D(zscLA4peLe8duTpL79Vu7JGjNQdXdAGmEv3aK9HrSg09GEmwFIhzfNzfp2kEIlr8E2DACrNiosiaetd6E2AsuISkHDftyx1e2vaAkvMlw4KIVrh9ICGP0WzEIzQNyM48KiNNWCEsSZts84jSj6timfXe23lpqRM69LHDwIXsymJCjESKl(tConAApxonGAokSmtwTwrHZrIGXfu0hvYsqFG2iQIre0Xh4KhzZ17NumHcJngAKx5hBOmaRKgSblfLoRSzsuomKlyzVU)HgrteowMPeXJNXeTENzFIbfoEwg7JCEMRai3WITmhfS07NwPn7iEw7AiMeigpxly5jt8QJkg1aYYaHPb4E1wINzN01Z1sK0CtH7wV0USs4nO0cTfU0)C7jOrOVI82UFaYdI91vF(2UFx3865d1NUT7f44P6grZ1B7(vDxlWtpQk036M3aWH6s1t1fvGIN52z4U1myFxrP521bf7ku80YRvF)52TxU88x73J)paSkips and Pathing
Listed here are demonstrations of any pertinent skips I am currently aware of, as well as demonstrations of how to traverse the 2 sections between the 2nd and 3rd bosses.
-
Conveyor Belt
-
Stealth Section
-
Final Pack Skip

-
Stealth Section Skip

Respawn Locations
- Entrance
- Beginning of Trash to K.U-J.0.
- K.U.-J.0.
- Machinist’s Garden
Table of Contents
- Operation Floodgate
- Darkflame Cleft
- Rookery
- Cinderbrew Meadery
- Theater of Pain
- Motherlode
- Priory of the Sacred Flame