Published
- 19 min read
A Complete Guide to Operation Floodgate
Intro
Cover image for this article sourced from Wowhead
Timer - 32 Minutes
This is the only true new dungeon of the season, and is rather open and takes place largely outside. Overall, most of the trash is quite easy comparatively and the majority of your challenge will come from the bosses, which are varied and quite interesting.
As has been the trend this season, too many melee make some of the instance quite frustrating, and you will want a balanced composition. Two of the bosses in here present a moderate and extreme healing check, respectively.
This guide is focused on providing a complete understanding of the dungeon at a base level of +10, and the warnings I provide will focus around such. There is still plenty of knowledge to be gained here even for more advanced players, and everything here still applies to lower keys, but you should approach comprehension with this in mind.
Trash to Big M.O.M.M.A.
While you can technically encounter most of the dungeon’s trash on your way to this boss, depending on what you choose to go pull, I will cover only the trash you encounter on the path I advise you traverse. You will need to steal 5 stockpiles of weapons throughout the area as you go, and the route I advise you take will make certain you pass by each one.
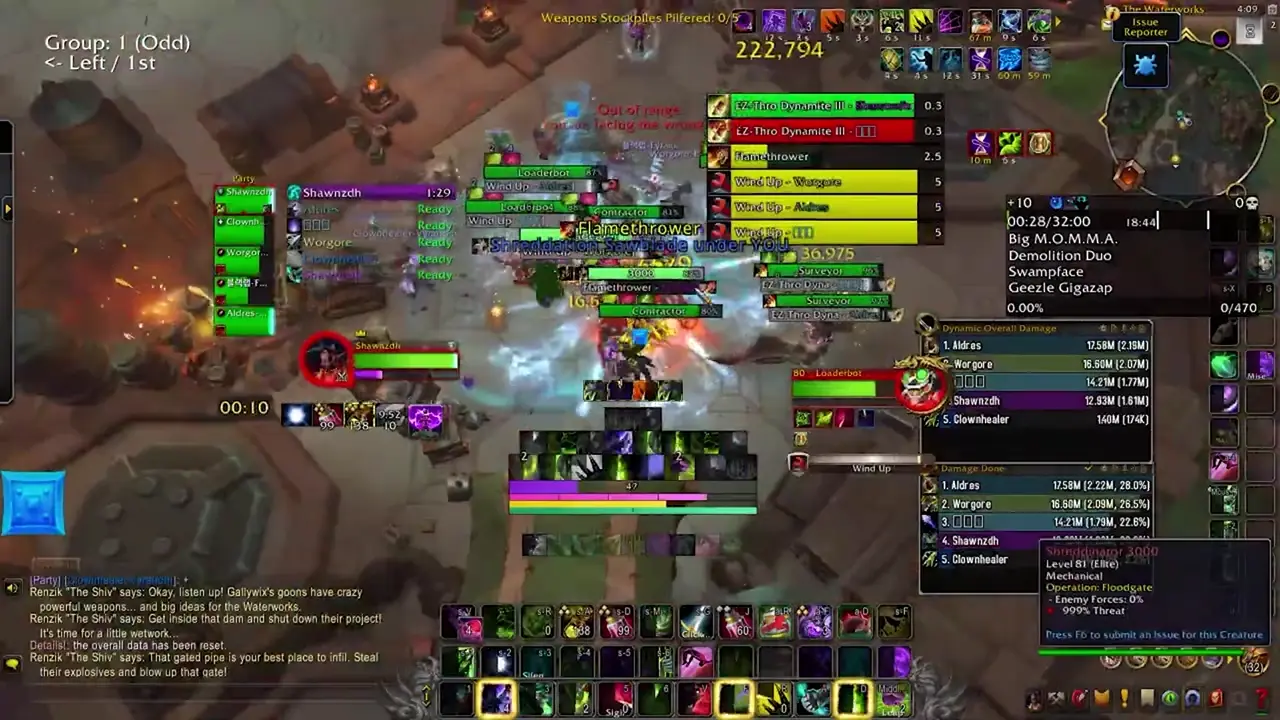
- Shreddinator 3000 - These are one of the lieutenant mobs in this area, and have two high impact abilities, one of which severely restricts space. The first is Shreddation, which after a cast spawns a Sawblade at the location of every player, which deals high ticking damage for every second they stand in it. You should move as this is cast, and bait these at the edges of whatever space you are fighting these in each time. The second ability is Flamethrower, which has them rotate about clockwise, spewing flames in front of them, dealing moderate damage to any player who remains in the fire.
- Shreddation
- Flamethrower
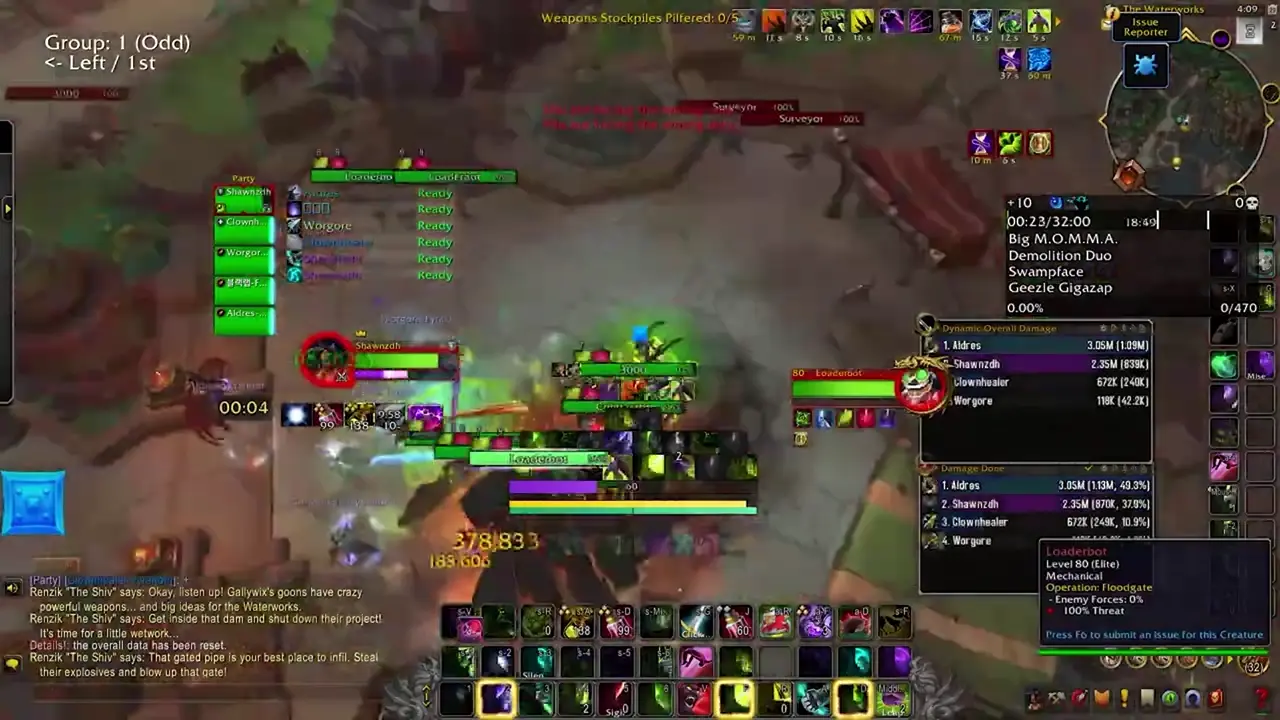
- Loaderbot - These melee and cast Wind Up, which causes them to fixate on a player and spin about, dealing high damage to anything nearby. This can be disrupted with stops, and should be whenever possible.
- Wind Up
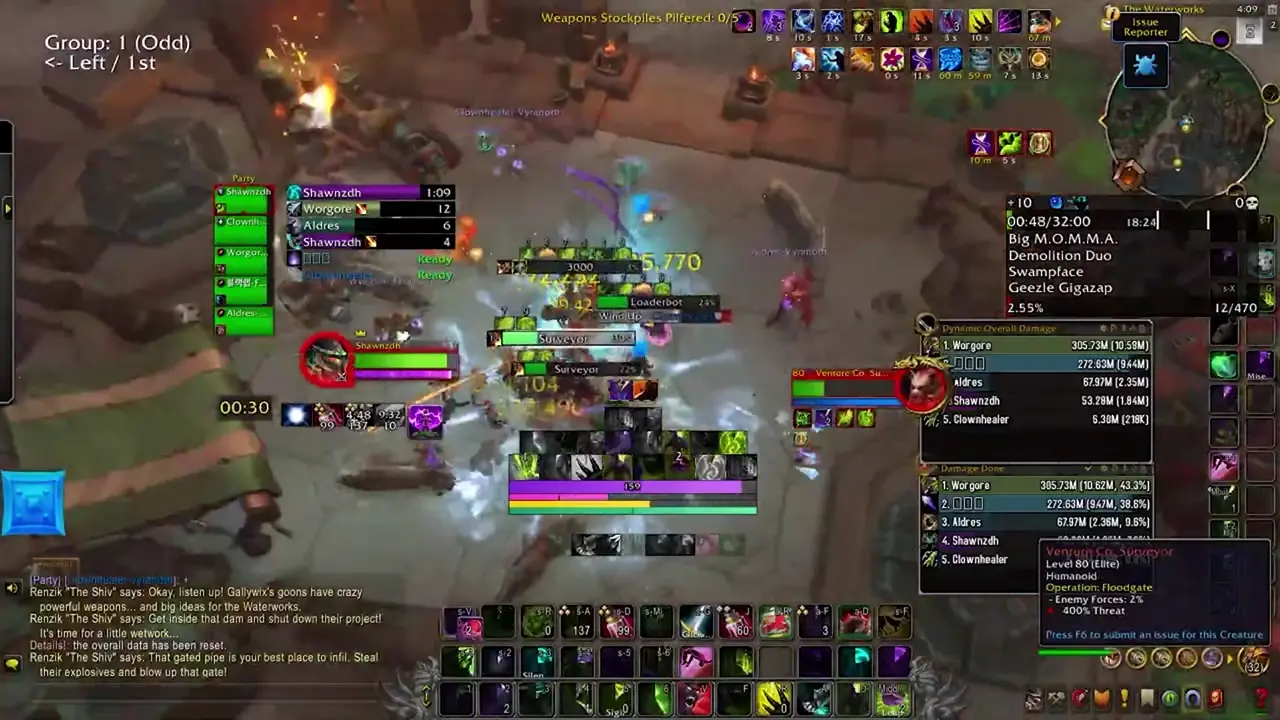
- Venture Co. Surveyor - These have two abilities. The first is Surveying Beam, which is an interruptible channel that fixes a laser on a player, burning the ground beneath them and spawning fire pools that do high ticking damage to anyone within. The other is EZ-Thro Dynamite III, which deals damage to random players.
- Venture Co. Contractor - Cannon fodder mobs that simply melee the tank.
- Mechadrone Sniper - These are ranged archer type mobs that do not move easily. They spam Snipe on random players, and cast Trick Shot, which targets a random player with shoots them, this bullet then ricocheting to the rest of the group.
- Darkfuse Soliders - These melee the tank and apply a stacking debuff called Black Blood Wound, dealing a light DoT.
- Darkfuse Hyena - These melee and cast Bloodthirsty Cackle, causing all Hyenas to heal themselves on each melee hit.
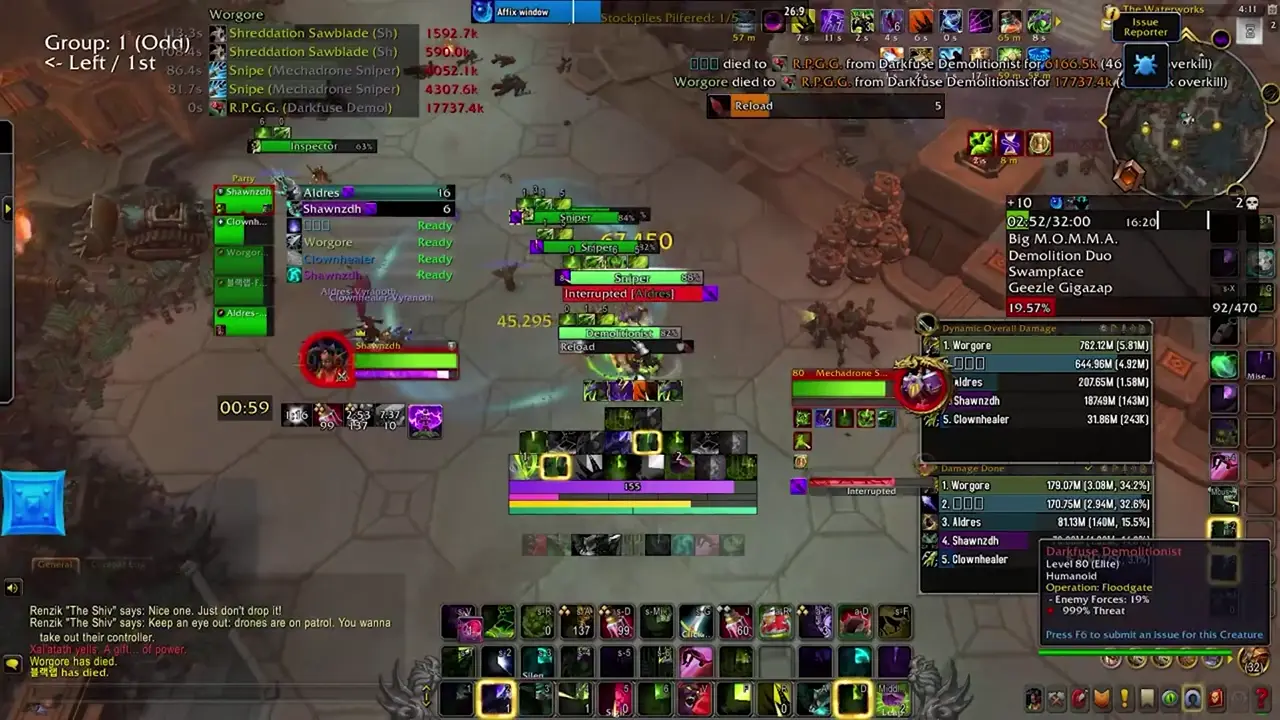
- Darkfuse Demolitionist - These cast R.P.G.G, which is a moderate non-interruptible cast that fires a barrage of avoidable swirlies, dealing lethal damage to any player caught. After they fire this ability, they must Reload, a lengthy cast that is non-interruptible. Both casts can be disrupted with stops, but will re-cast. You should allow the first R.P.G.G to go off, then disrupt the Reload casts for as long as possible.
- R.P.G.G.
- Darkfuse Inspector - These melee and cast Surprise Inspection, a non-interruptible cast that teleports them behind a random player, aiming a frontal cone at them that deals lethal damage to any player caught.
-
There is a pack that I avoid pulling in the route I advise so long as you have the utility to do so. I will mention the abilities of the single lieutenant in this pack regardless in the event that you cannot skip it, as it requires Mind Soothe, Gateway, Imprison, Sap, or anything of similar effect.
- Darkfuse Bloodwarper - These cast Blood Bolt at their current target, which is interruptible, and Warp Blood, a channel that deals high ticking damage and places a healing absorb on the entire group, and cannot be interrupted.
THIS IS OUT OF DATE AS OF MARCH 1ST. REFER TO ROUTING AND LUST RECOMMENDATIONS FOR MORE INFO
- Warp Blood
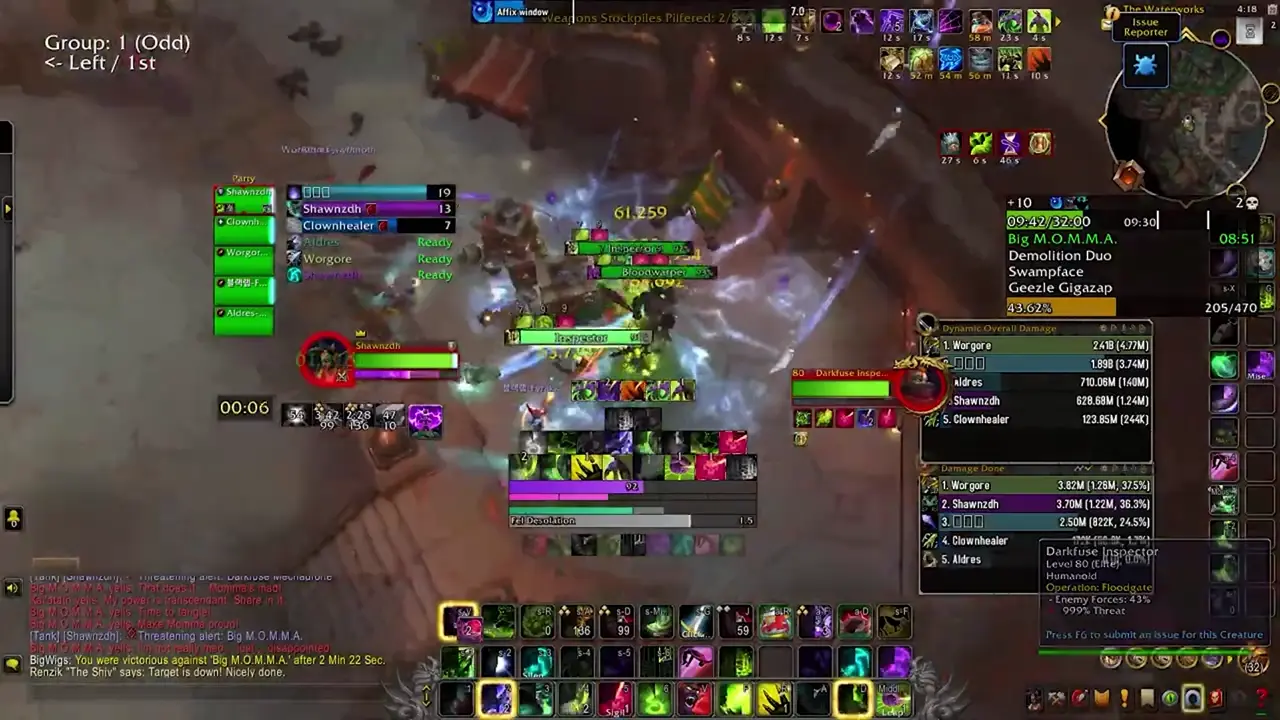
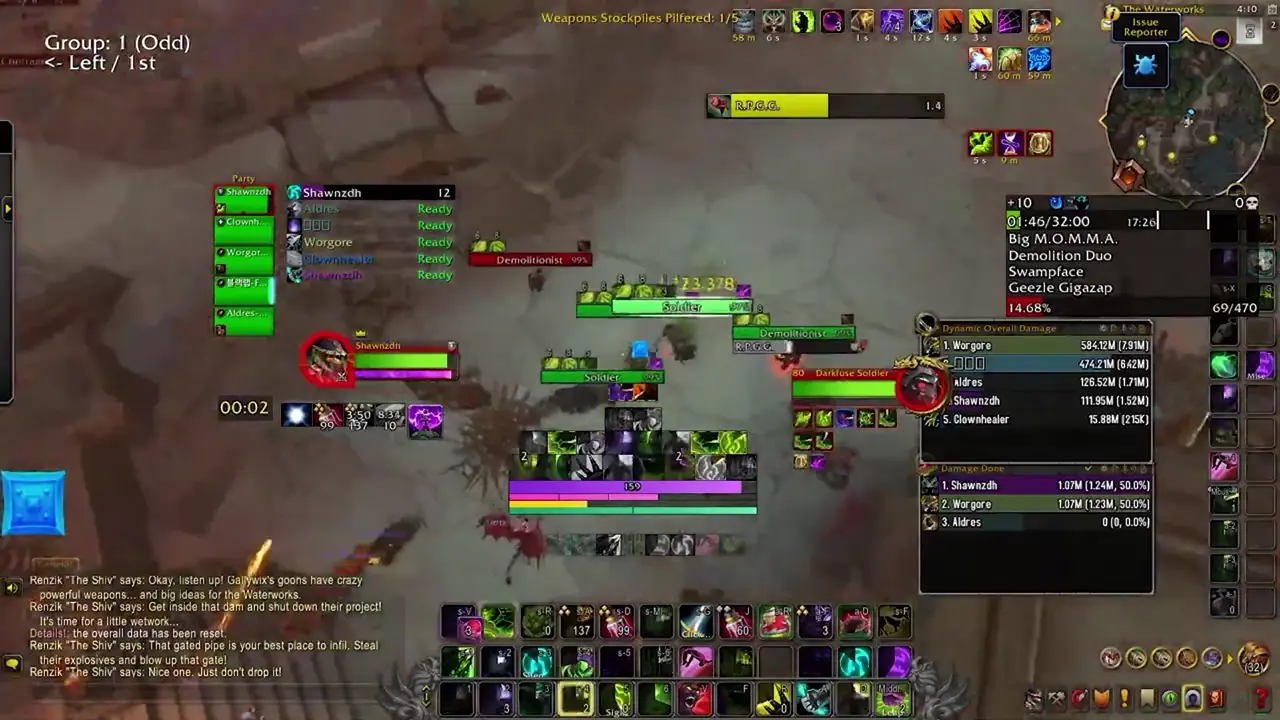
Big M.O.M.M.A
This boss alternates between two phases. In the first, you kill the security drones protecting her, and in the second you take intense damage while burning the boss while she takes increased damage.
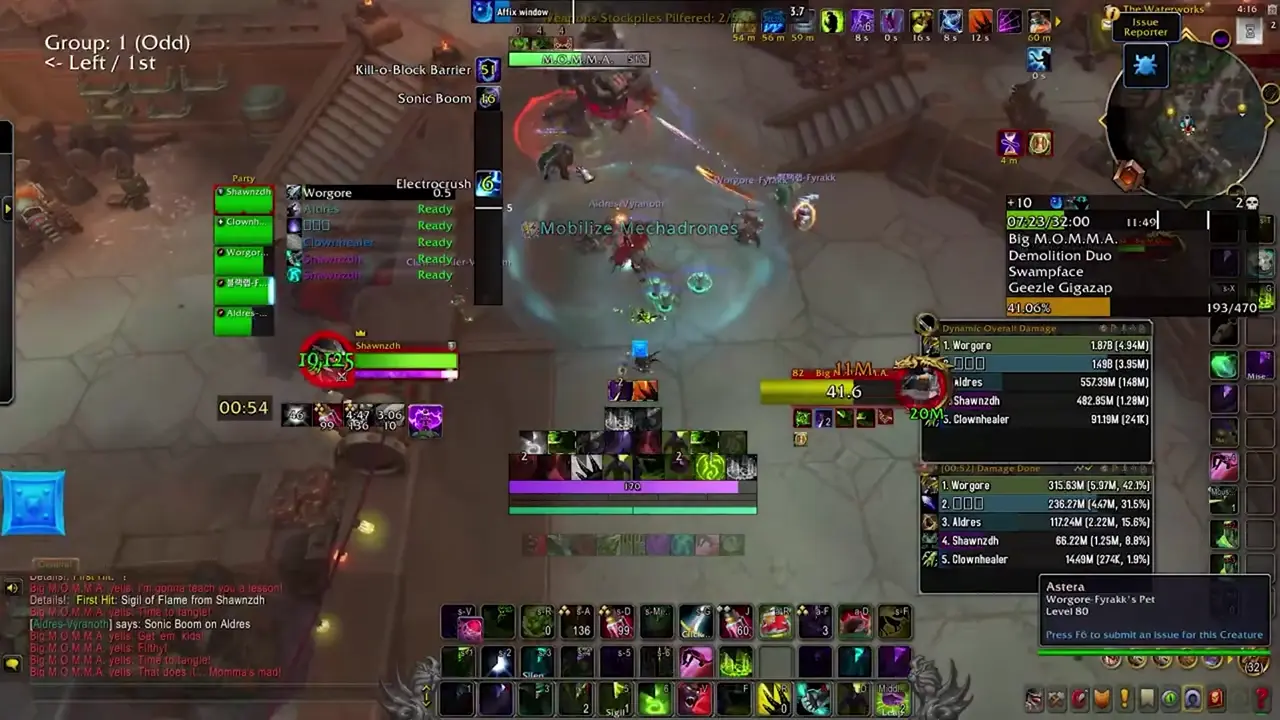
- Mobilize Mechadrones - The boss will begin combat with 4 Mechadrones assisting her. When all 4 Mechadrones are dead, she will enter her alternate phase.
- Darkfuse Mechadrone - These cast Doom Storm, which targets a random player and causes them to do a strafing run towards their location, dealing lethal damage to anyone caught in the indicated visuals, and Maximum Distortion, a moderate cast that morphs into a channel upon completion, dealing massive damage to the group over time. You can kick either the cast or channel, and this should never be allowed to finish.
- Doom Storm
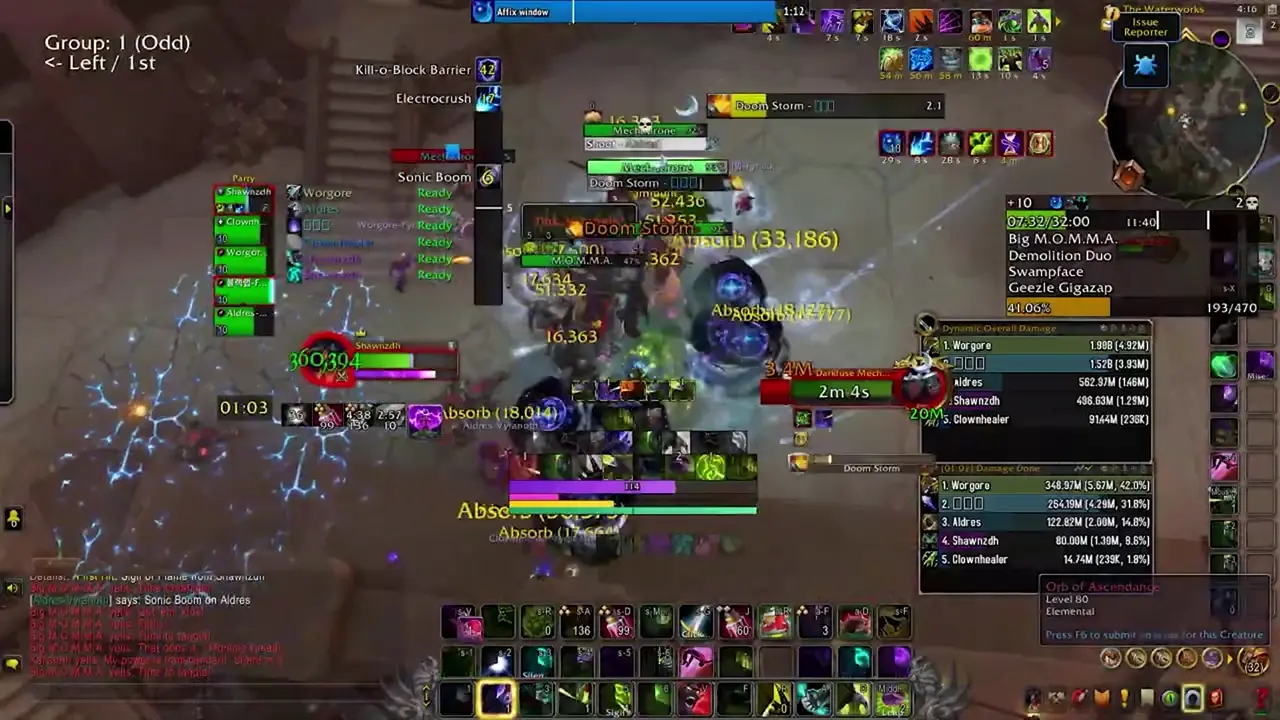
- Electrocrush - The main tankbuster, and one of the strongest in all of the dungeon pool. It does large up-front damage then heavy ticking damage. You need something for this every time.
- Sonic Boom - The boss turns towards a random player, charging up a sonic blast. It then releases the charged blast, sending a disc of sonic energy towards their location, dealing moderate damage to anything hit as well as pushing and silencing them. Upon collision with terrain, it explodes dealing lethal damage to any player caught.
-
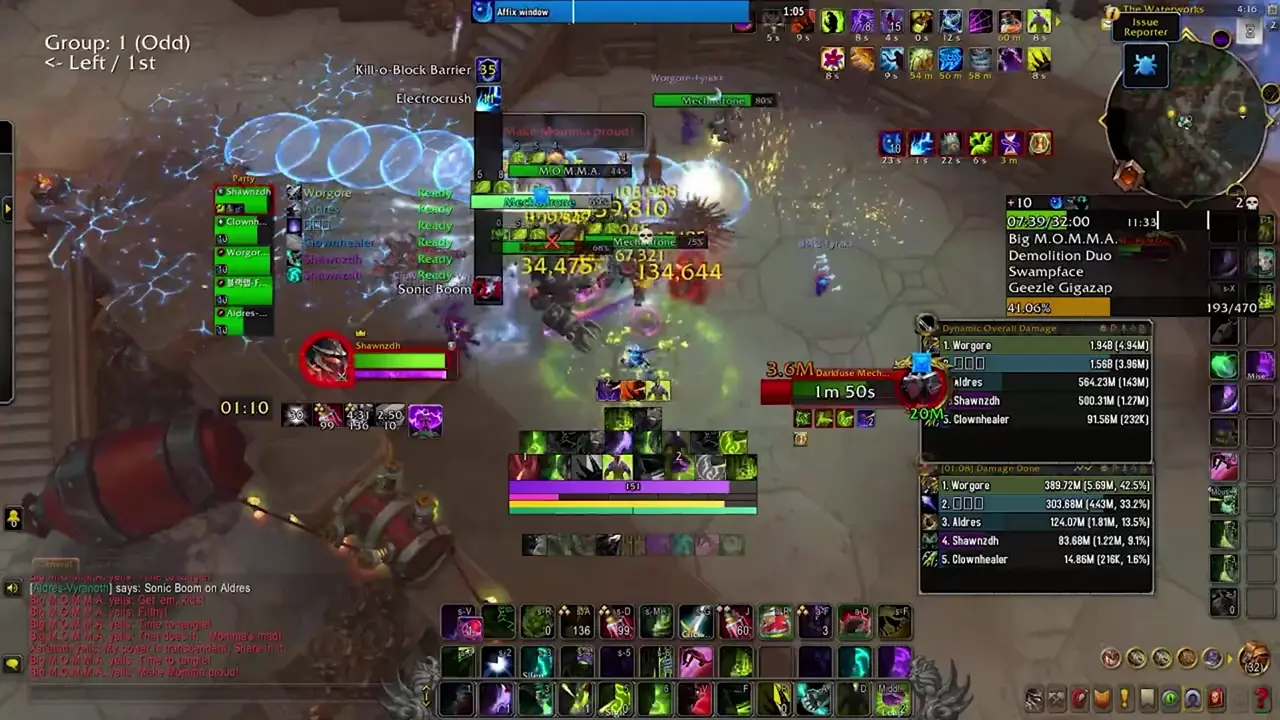
- Kill-O-Block Barrier - After about a minute into any Mechadrone phase, she’ll buff herself with this, reducing damage taken by 80% and dealing high pulsing damage to the entire group.
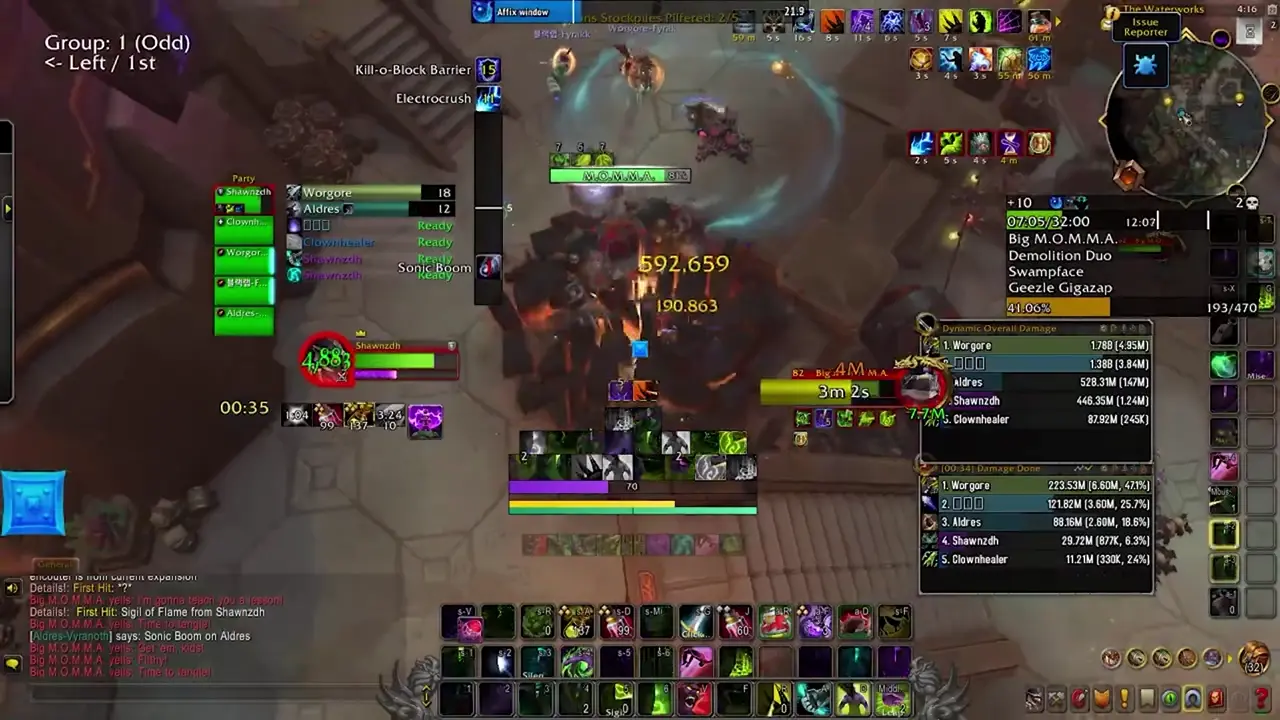
- Jumpstart - When all Mechadrones die, she enters this phase. During this time, she takes 200% increased damage and emits heavy damage to the entire group for 12 seconds. Upon exiting this phase, she leaves behind Electrified Ground, which slowly expands. Anything standing in this effect takes heavy damage.
- Jumpstart
- Electrified Ground
Strategy
- As of writing, you want to save your cooldowns for the Jumpstart and lust there if it is available. However, on higher keys, with current tuning, you may notice you need at least 1 person to use CDs to finish the standard phase before the Kill-O-Block Barrier is casted, as this will likely wipe you above a +14.
- All players should stack together towards the edge of the arena (the nearby ledge that leads back down). This will ensure the Doom Storms do not travel far, increasing cleave uptime and making it simpler to kick the Maximum Distortion cast.
- It may be worth establishing some sort of order to the interrupts for the Distortion, but it is not strictly necessary. Just make certain to kick it as soon as possible.
- If you are targeted by Sonic Boom, you should aim it out of the stacked group and back up so you are not dragged with it, then move horizontally to dodge it and rejoin the stacked players for baiting.
- If the Kill-O-Block Barrier is active, hard tunnel the adds to get out of this phase, and pop defensives as needed.
- The boss takes normal damage in the standard phase, and on a +10 you typically only need 2 Jumpstarts to kill the boss, and can safely tunnel her on the 3rd standard phase, so long as she is sub 20% HP. You should make absolutely certain everyone is on the same page for this, however.
Trash to Demolition Duo
As before, I will only mention the trash I expect you to encounter on the way to this boss.
- Darkfuse Bloodwarper - These cast Blood Bolt at their current target, which is interruptible, and Warp Blood, a channel that deals high ticking damage and places a healing absorb on the entire group, and cannot be interrupted.
-
- Venture Co. Contractors, Surveyors, Darkfuse Hyenas, and Darkfuse Inspectors are retained from the first area.
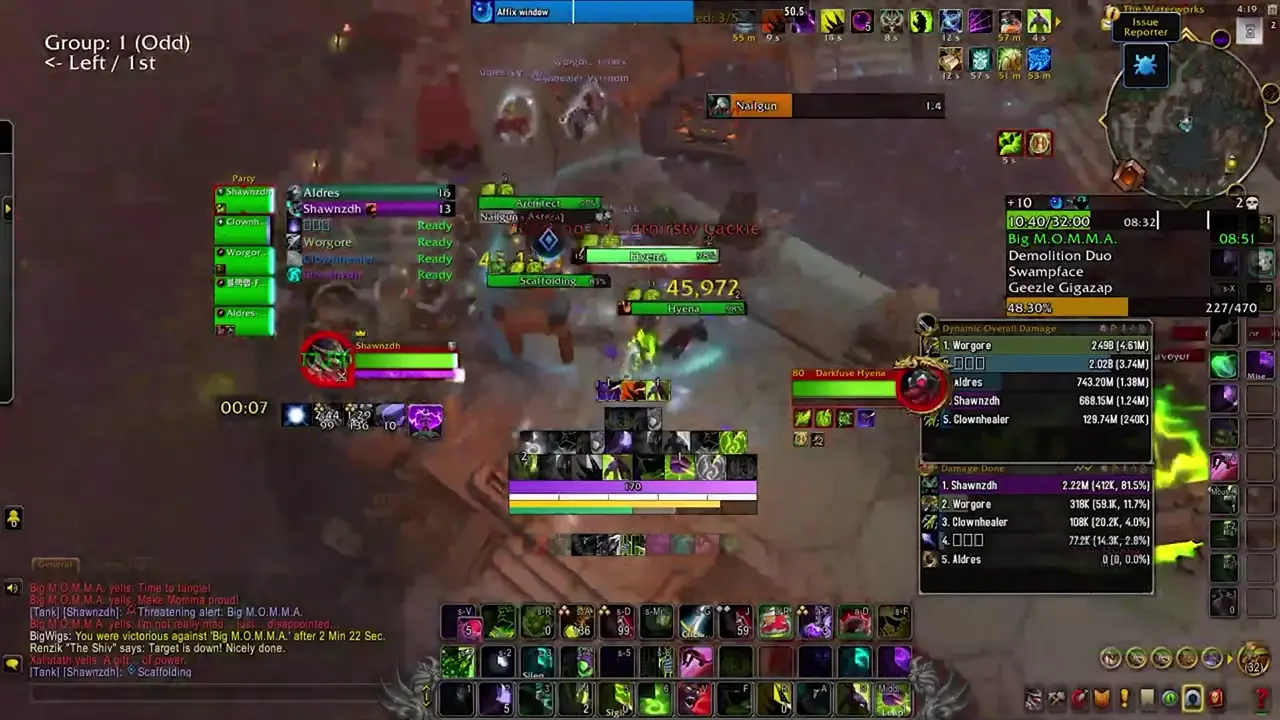
- Venture Co. Architect - These begin combat atop Scaffolding, but can still be damaged normally, however they will not move while the Scaffolding exists. Upon destroying the Scaffolding, which has little health, they will move and behave as any normal elite mob. They have two abilities otherwise: Nail Gun, which causes them to shoot random targets and afflict them with a bleed that also roots them for its duration, which is 3 seconds, and Rapid Construction, which constructs another Scaffolding for them to rest atop.
- Scaffolding
You will need to cross the river running through the middle of the map to make your way to the other boss. There are moving spotlights in the river that, if they detect a player, will begin firing a heavy barrage of swirlies under them. You should avoid fighting in the river due to this. You may choose to take a Goblin Glider at the top of the dam to fly across and skip the Divers.
- Venture Co. Diver - These have two abilities: the first being Harpoon, an interruptible cast that applies a moderate bleed to a random target, and Plant Seaforium Charge, a non-interruptible cast that places a bomb beneath them that arms itself after a few moments, detonating if any player makes contact with them. This can be difficult to see if fighting them in the water where they patrol, and I recommend generally not fighting them there in addition to the other constraint.
- Bombshell Crab - These do nothing but melee, but upon death they explode, dealing light damage to the party and applying a light, stacking DoT.
Upon crossing the river, you will encounter many of the same mobs as before. Guarding the entrance to the second boss are 2 Shreddinator 3000s. You may choose to fight them there, surrounded by other packs, or pull them down the stairs, which is more cramped. Either is not ideal, and I have no real good solution to this pull besides skipping it if you have a warlock or enough classes that can make the leap to the boss arena without pulling them and rezzing those that cannot.
Demolition Duo
This encounter takes place against two bosses which do not share health, but should die around the same time as the other gains a large damage increase when their partner dies.
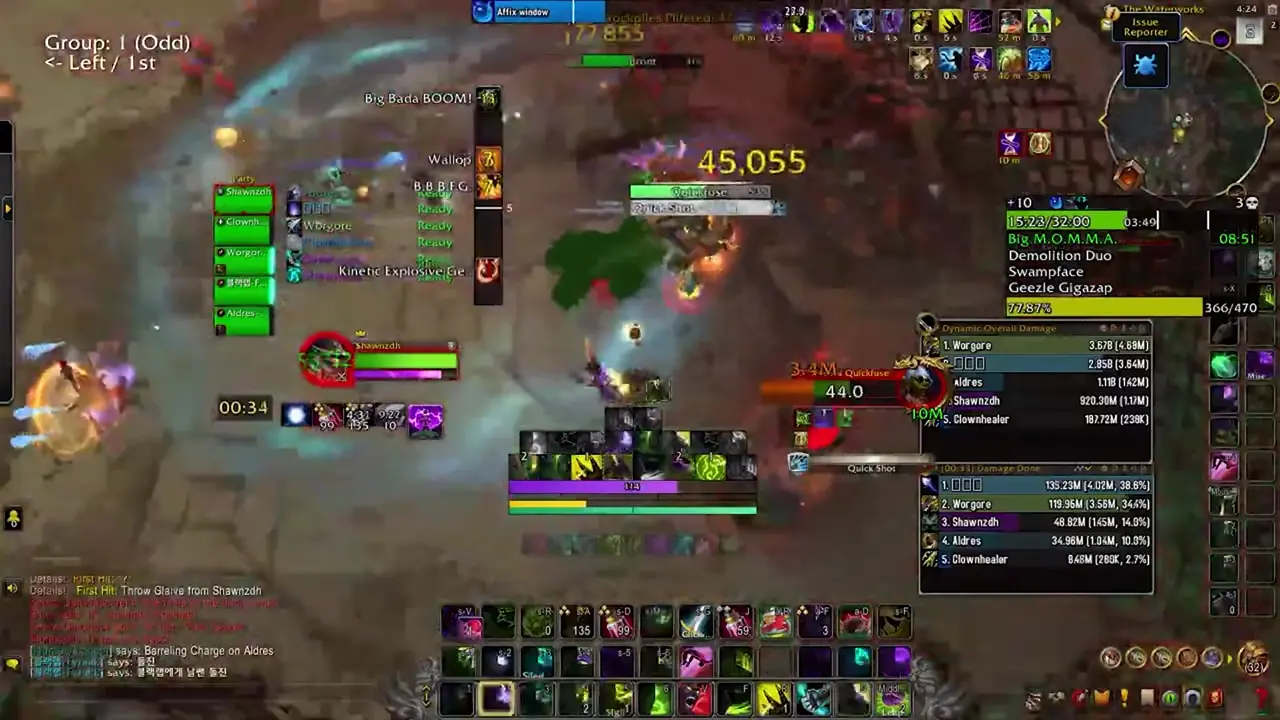
Keeza Quickfuse
- Big Bada Boom - Keeza summons around 6 bombs, which detonate after 30 seconds, dealing large up-front damage and applying Deflagration, a DoT that stacks. If these bombs are instead knocked into the air for any reason, they will detonate out of range of players, causing their fragments to rain to the ground instead, dealing lethal damage to any players caught in the indicated visual.
-
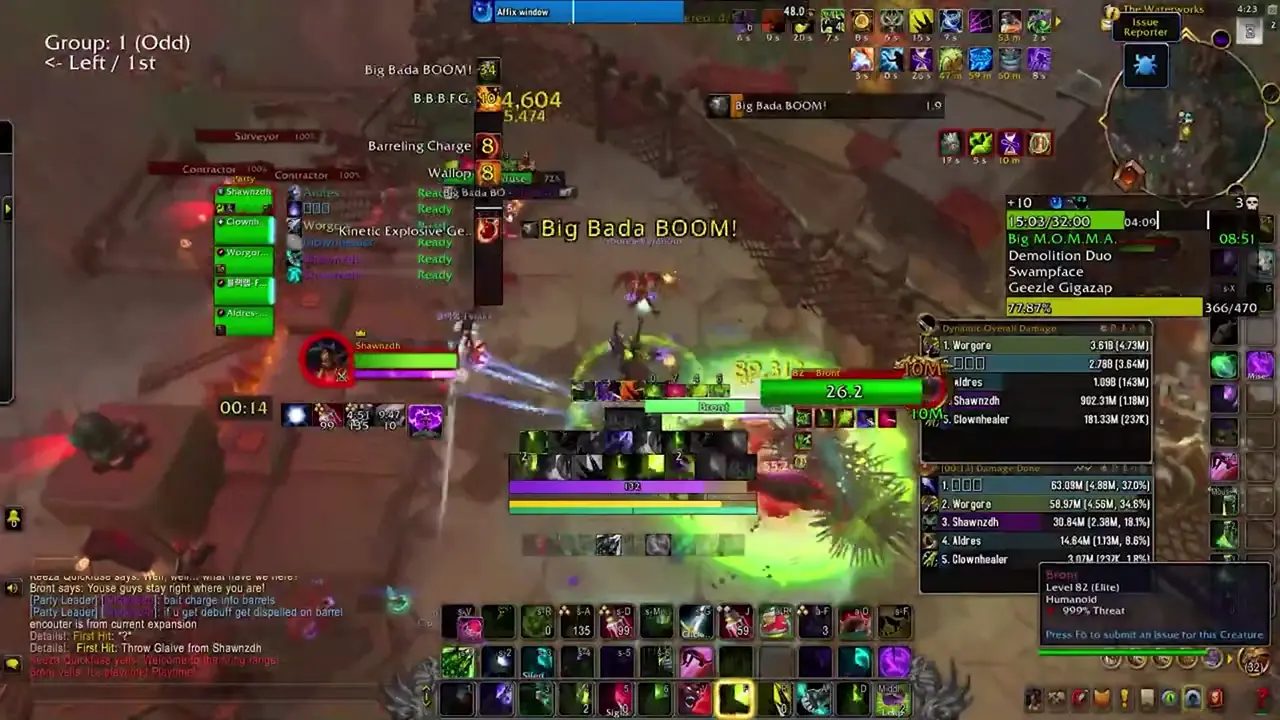
- Quick Shot - The boss will fire at a random player, dealing a moderate amount of damage to them.
- Kinetic Explosive Gel - She will apply a magic debuff to one player, which afflicts them with a high damage DoT. DIspelling this deals damage to nearby players and knocking nearby bombs into the air.
- B.B.B.F.G - Keeza fires, for lack of better diction, a bunch of lasers in random locations, dealing lethal damage to any player struck.
-

Bront
- Wallop - Bront will use this on his current target, dealing moderate damage to them and knocking them up.
- Barreling Charge - Bront will pick one random player at a time, charging towards their location and dealing lethal damage to any non-tank he strikes, stunning them. If he encounters a bomb during this charge, he will knock it into the air.
-
Strategy
The fight revolves around clearing the field of all bombs before they explode while dodging all the mechanics.
- Generally speaking, you should keep the bosses together as much as possible. Bront can be moved freely while Keeza will plant in one location and occasionally leap across the field to another spot. I have found that sometimes, if the group is not playing well, it is best however to tank Bront in such a way that he is forced to travel through most of the bombs, even if that means he is not near Keeza for optimal cleave.
- The player who receives the Kinetic Explosive Gel should move to a bomb and wait to be dispelled there each time, and should liberally defensive the application. As of writing, whether intended or not, if you stand too closely to the bomb when you are dispelled it seems to instantly strike you with the debris, killing you. As long as you are not physically standing inside the bomb, you should be fine.
- Bront will pick 3 players total for each Barreling Charge, giving you 3 chances to eliminate as many bombs as you can. Be aware of the positioning and make sure to actually move out of the way of the charge.
- If a single bomb is left alive, it is more than livable with defensives or group-wide damage reductions on a 10, even without, so long as you are topped.
- Make certain they die around the same time as they gain a large damage increase when their partner dies.
Trash to Swampface
You should loot the final weapon stockpile behind the boss you just killed, and then disable the spotlights by standing in the highlighted area and pressing the ExtraActionButton, then make your way down into the river. You should only need to pull the Disturbed Kelp to make enough room for you to fight the third boss.
- Disturbed Kelp - These cast Restorative Algae, an interruptible cast which applies a light HoT to themselves and all other Kelp and Jettison Kelp, which deals high ticking damage over its duration to the entire group and must be disrupted with stops.
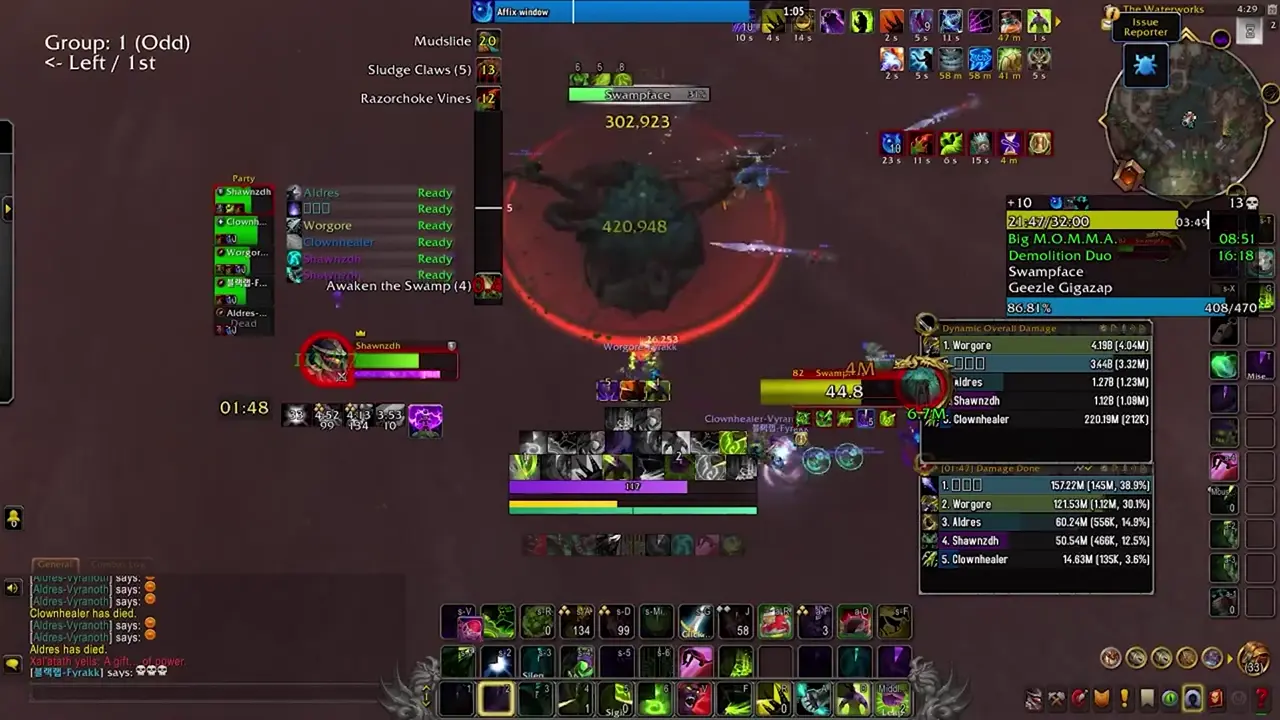
Swampface
This encounter plays similar to Mythic Sludgefist, and will see you chained to a fellow party member, and encourages moving together as a unit to dodge all mechanics. I would consider this a contender for hardest dungeon boss as of now.
- Razorchoke Vines - This binds two sets of two players together, preferring non-healers. If only 4 players remain, and the tank is one of them, they will become an eligible target. This lasts for 24 seconds and deals light ticking damage, and also will yank both players together if they move more than 14 yards apart.
- Sludge Claws - A heavy hitting tankbuster that deals massive damage to his current target and applies a healing absorb. You will need something each time this is cast and at minimum should be fully topped.
- Mudslide - Swampface will turn towards a random player, shooting a wide line towards them that deals lethal damage to any player caught. You should note that this line is more than 14 yards apart, and if a pair of players bound by Vines doesn’t go the same direction, they will be yanked in and die.
-
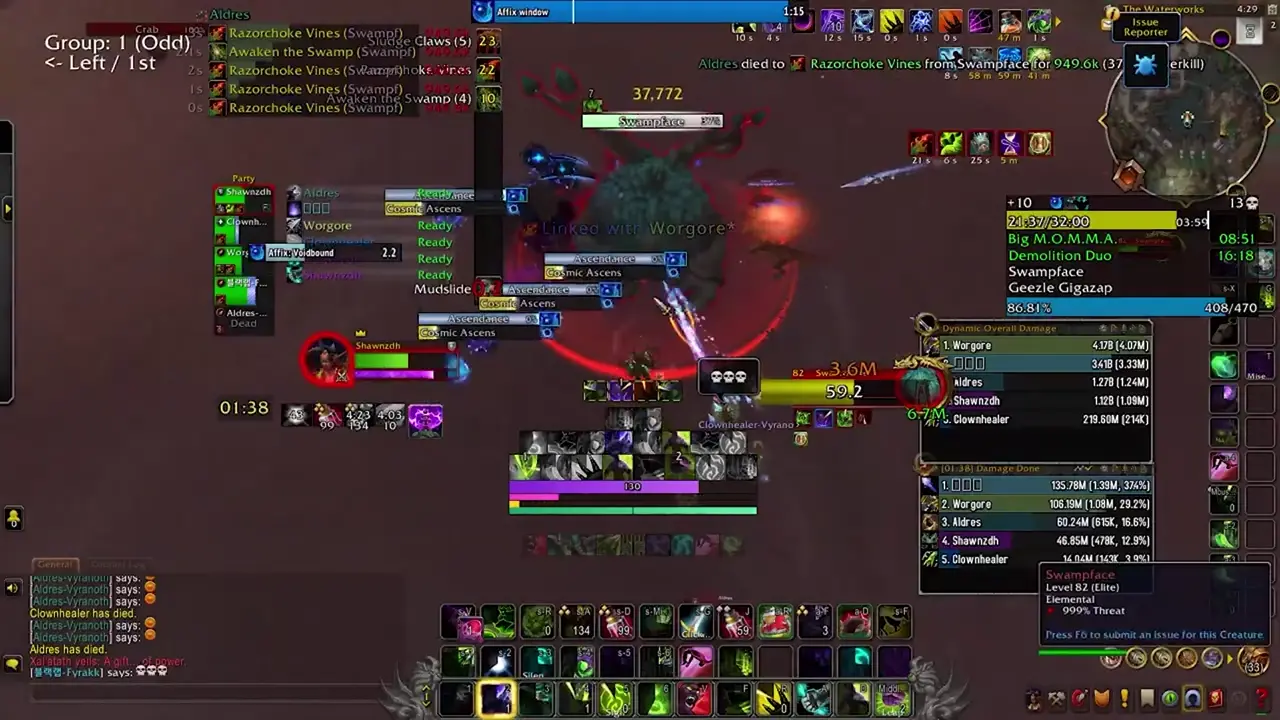
- Awaken the Swamp - This has two components: first, the boss will do a 5 second cast in which he will summon Skewering Roots that can be observed. After that cast completes, he will channel, dealing high ticking damage to the entire group and causing Rushing Tides to erupt from the location of the Skewering Roots. Touching these Rushing TIdes is near-lethal to any non-tanks.
-
Strategy
- Mark one player. It can be anyone, but preferably someone you trust. The entire party, no excuses, should follow that player the entire fight in melee.
- The Razorchoke Vines are fairly intense rot with current tuning, and turn this into a fairly heavy heal check.
- The group should also agree ahead of time a direction to move the entire fight, and, no excuses, should follow that direction.
- Dodge in that direction for Mudslide. Move in that direction to get away from the locations of Skewering Roots before the Awaken the Swamp’s first portion completes to give you the space necessary to dodge the Rushing Tides. You may also choose to specifically free-move for this mechanic, as it can be easier. In a coordinated group, you should simply have the Mudslide be a single direction and then reactively move for Awaken the Swamp.
- It is worth using defensives on every Awaken the Swamp, as the healer will be forced to move during this time.
- The tank should make sure to be at least topped and have active mitigation rolling for each Sludge Claws, as it hits extremely hard.
- If you live the first cycle, that is the hardest it ever gets, and you should have the movement down to defeat the boss.
Trash to Geezle Gigazap
After defeating the third boss, you will need to enter the sewers below. Simply walk through the door you had to blow up to summon Swampface and swim up onto the steps in front of you.
- Venture Co. Architects, Contractors, and Darkfuse Inspectors are retained in this area.
There is a miniboss that spawns when you walk close enough to the NPCs on the bridge in front of you at this point. Do not actually damage the NPCs on the bridge or you will also have to fight them, and they provide no count.
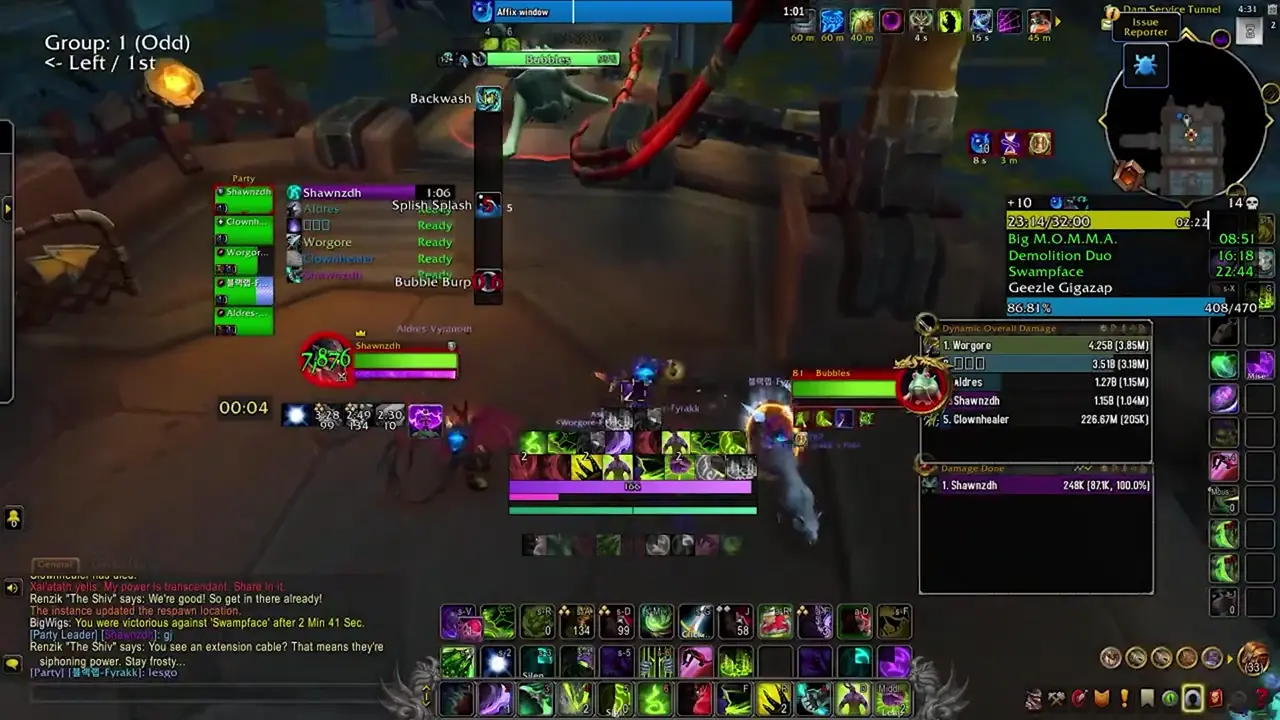
- Bubbles - You will want to pull this back away from the bridge to give you the space needed to fight him. He has 3 abilities. Splish Splash, a large frontal that deals lethal damage to any player struck, Bubble Burp, which spawns several bubbles that deal lethal damage to non-tanks that touch them, and which persist for the entirety of this pull, and Backwash, which deals a heavy amount of ticking damage to the entire group over its duration. You should use damage CDs on this, and defensive each Backwash.
- Splish Splash
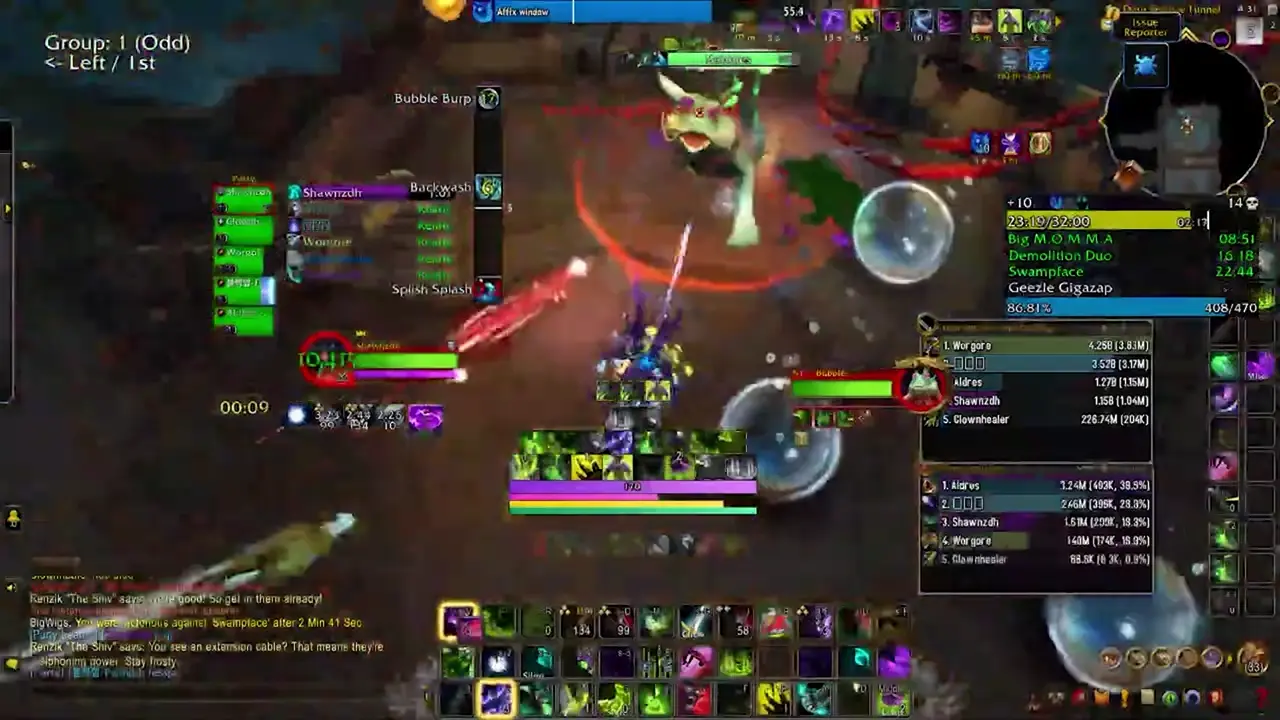
- Bubble Burp
- Darkfuse Electrician - These cast Lightning Bolt, an interruptible cast that deals a heavy amount of damage, and Overcharge, which is a magic DoT that can be dispelled. If it is not dispelled, it stuns the target for 5 seconds. Pulling more than two of these is a very bad time.
- Darkfuse Jumpstarter - The lieutenant mob of this area. These have two abilities: Sparkslam, which deals a large amount of damage to the current target, and Battery Discharge, which deals high groupwide damage and spawns several swirlies that deal lethal damage to any player caught by it.
- Battery Discharge
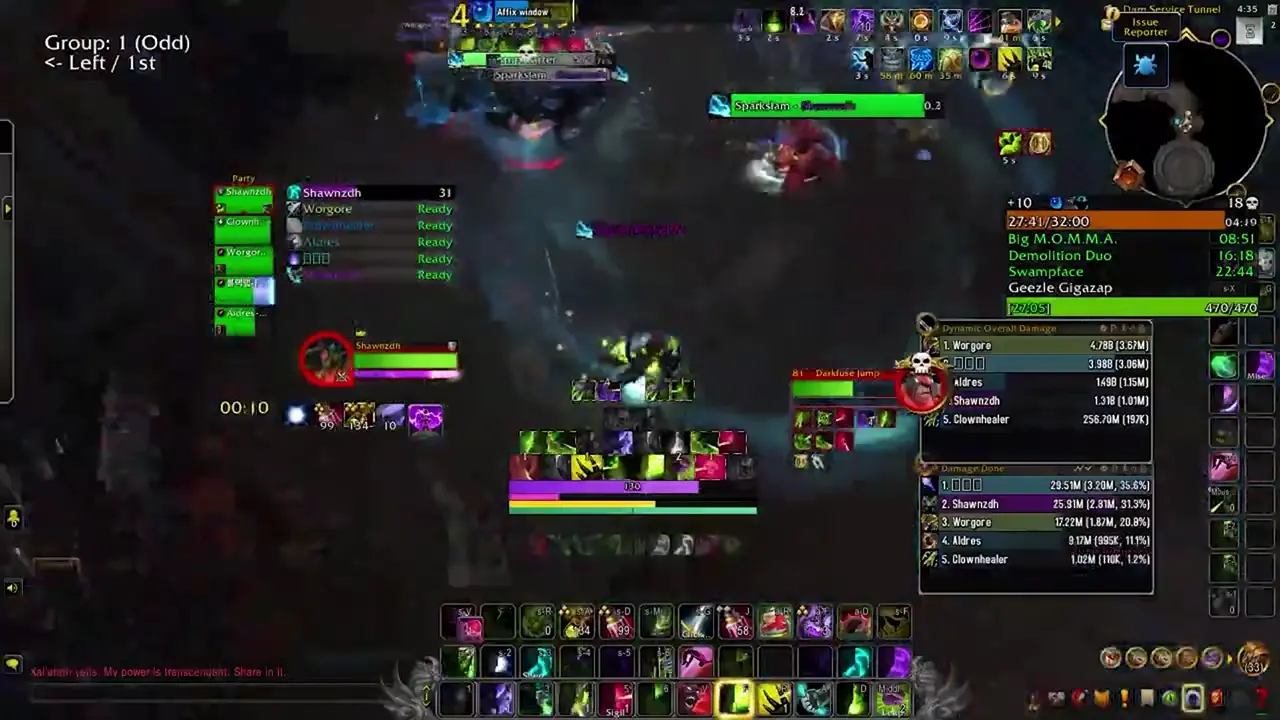
Two Darkfuse Jumpstarters guard the entrance to the final boss room. You should select one and burn that one down first, cleaving off of it.
Geezle Gigazap
This can be a fairly intense heal check despite having periods in which little damage is outgoing.
- Turbo Charge - The boss uses this on pull and whenever his energy is fully depleted, emitting massive group damage over 10 seconds and firing lines at players that deal lethal damage. After this cast completes, the Dam above destabilizes and leaks water and debris. Any player caught in this debris also takes lethal damage, and the pools of water interact with other abilities.
-
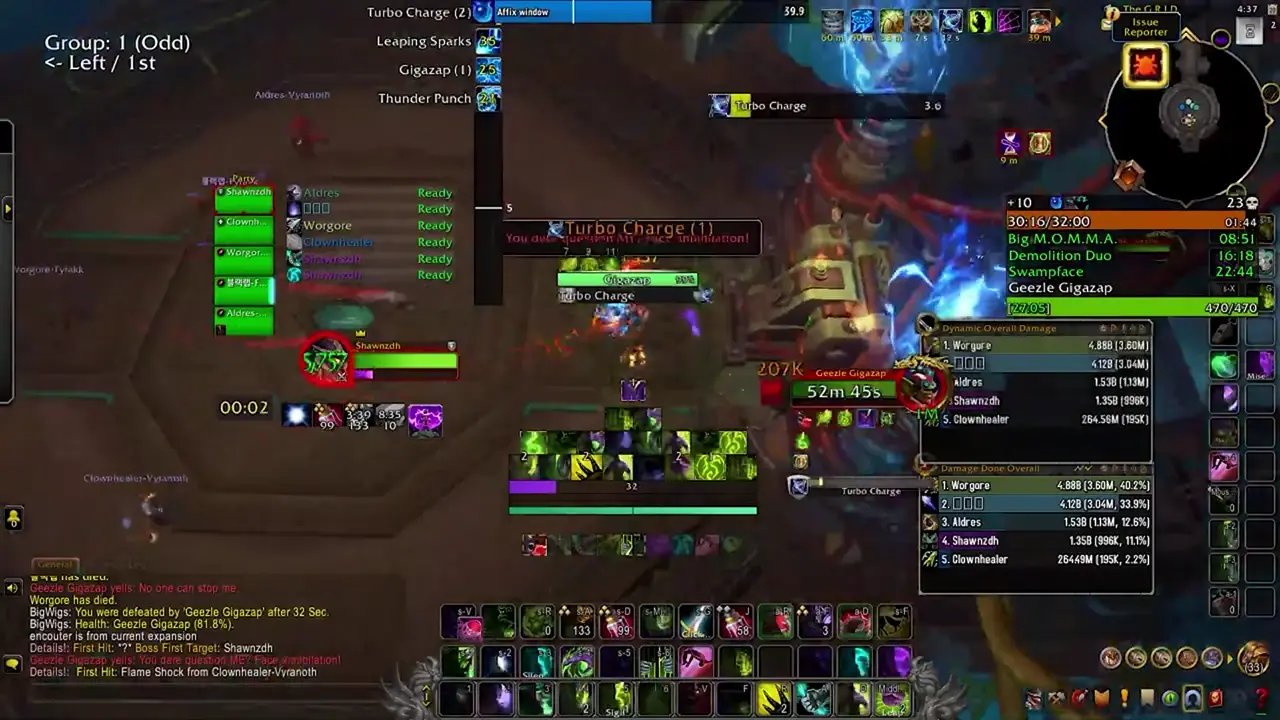
- Thunder Punch - Geezle slams his current target with this, dealing a large amount of upfront damage and knocking them back, inflicting a heavy DoT on them. If the tank makes contact with any water pools while the DoT is on them, they will electrify it.
-
- Gigazap - Geezle consumes energy to shock two players, afflicting them and anyone within the indicated radius around those players with a heavy DoT. If the indicated visual makes contact with a pool of water, they electrify it.
-
- Leaping Sparks - The boss summons a Spark for each player in the group, which can spawn near them or far away. This will fixate on the player and attempt to reach them, dealing lethal damage to ANY player they make contact with. These will continue pursuing them unless they are kited over a pool of water that has not been Electrified.
-
Strategy
- The boss will go straight into a Turbo Charge on pull. You should hold defensives unless necessary and let the healer solo the first one with lust.
- The tank can keep the boss pretty much where he stands on pull, getting knocked into the machine behind him. However, if pools are nearby, you should pull the boss away to give them space if they are targeted by Gigazap. Be careful not to be knocked off the platform or into pools of water.
- If targeted by Gigazap, get away from other players and pools of water.
- When the Leaping Sparks spawn, do your best to kite it over a pool of water. Prioritize letting the tank and healer get rid of theirs first if possible. If the group takes too long to do this, be wary of also having to dodge other players getting Gigazap during this.
- The most dangerous part of the fight is the Gigazap straight into Turbo Charge. The players who receive Gigazap here need to have a defensive or external or they will certainly die.
- You will want groupwide damage reductions for every Turbo Charge after the first, and are basically on a timer until the healer runs through their mana or cooldowns and has nothing for the next Turbo Charge.
- For healers, if you are forced to choose between life and keeping a player alive, just keep yourself and the tank alive at least, as the fight is quite salvageable in this instance, but it is impossible with you dead.
Routing and Lust Recommendations
You should Lust on:
- First Pull/First Boss
- Swampface
- Geezle Gigazap
For early season and PUGs, I recommend the following route. The below is an MDT (Mythic Dungeon Tools) string, and can be copied and pasted into the addon in-game.
THESE ROUTES ARE OUT OF DATE. WAITING FOR MDT/KEYSTONE.GURU TO UPDATE TO REMOVE THESE. SORRY
The 3rd Weapon Stockpile you need is now above the Dam guarded by the Bloodwarper pack there. As of March 1st, this has not been yet fixed on Keystone.Guru or the MDT addon itself.
!fA12UXjmq0)OkSnGT7RPnvTvAtvjpBfdmElTSlreiz3x2V9InGVWLePvJ8IpEoZzUyqGepkYAY)lu09YWYorwzLsvv0x3DvCaf9Pir2Ba8pXbIE5RY6EqFKI(2w4C3x6pFeAo)9YldGrCnKxG6bNv1CE0Dta)vFD9aenGoaovD(O4GX5TvQUhuQxGz(FEaPEPb8JJ8o9Vbk0wSzPXsml12oXHypKjwGPwCuTrd6aZcHBoAwrtDtRidriGcP9fEYxrE(eBnteM4hAmxOn60zbGMP1JNcfxwOXmPoSVNIDEkXjYuB0JO2W3WA3OiTNN4o)iTgLpVTB3WykIr4sSxEK)ohkSQSFaVG7KagtuqCEPxI0plG9s54nePRaptuqirDBZct9uepr65UGJXDKgTUPY0nm5vxAbHDvMyxLHeqlUqckQF(G574rUWKfpBrl3OjEDTtwqYtm9TtELTkPhuodNo8IYyLmL5HoOdp1PE6uhE0Qw8GewyBJ7VDtPQT7lWfucsf4FYUJHlhT5w9XSt)XwiHB4OKYlqSydLO1kh7Oe74eBlehWjBikx6ARS1YDDrcPS00OG8gh(OcxzUIaMUABQIVr)v0QNzZ5OOHFbAi5dY5o5NynPwtOQ4mwj30yn7wmA3yHQsJGrWZJ8P7cwXOi6OYPRRCe3elbTEoWDlbZkR5lV3)2BfojoAm(MNZq760fm6)gSOW7FtbgBui8n8kF55S6DJjiKIqX8Gso9DErMTjqLNkncBU6GX7M4LyImwd29s(S(8A4vO2cTdUmyF4zOvQ)IGpF7P7RBAkpk7GBp9iC65Mwz71Bp97M(oqKDQSs)TfQwa(ttD5pAQodLIC3tM(cIC4yFvT5BiMiQVQuK91RNQE7U7UC5NFB4zI)dFor more advanced groups, you can basically play the above route but simply skip the Snipers and pull the entire area by the first Weapon Stockpile with Lust, which is a much less forgiving pull.
Skips
Listed here are demonstrations of any pertinent skips I am currently aware of.
- Darkfuse Soldier Skip. This is not nearly as useful now that it only skips Soldiers instead of a Bloodwarper, but it’s still something you can do.

- Double Shreddinator Skip You can do this lower down on the stairs, just need to jump and do a Soulburn: Gateway instead, but you won’t pull it either way (don’t forget to dismiss pets).

Profession or Dungeon Buffs
- None I am aware of.
Respawn Locations
- Entrance (until you defeat Swampface)
- Sewer Entrance
Table of Contents
- Darkflame Cleft
- Operation: Mechagon - Workshop
- Rookery
- Cinderbrew Meadery
- Theater of Pain
- Motherlode
- Priory of the Sacred Flame