Published
- 18 min read
A Complete Guide to Mug'Zee
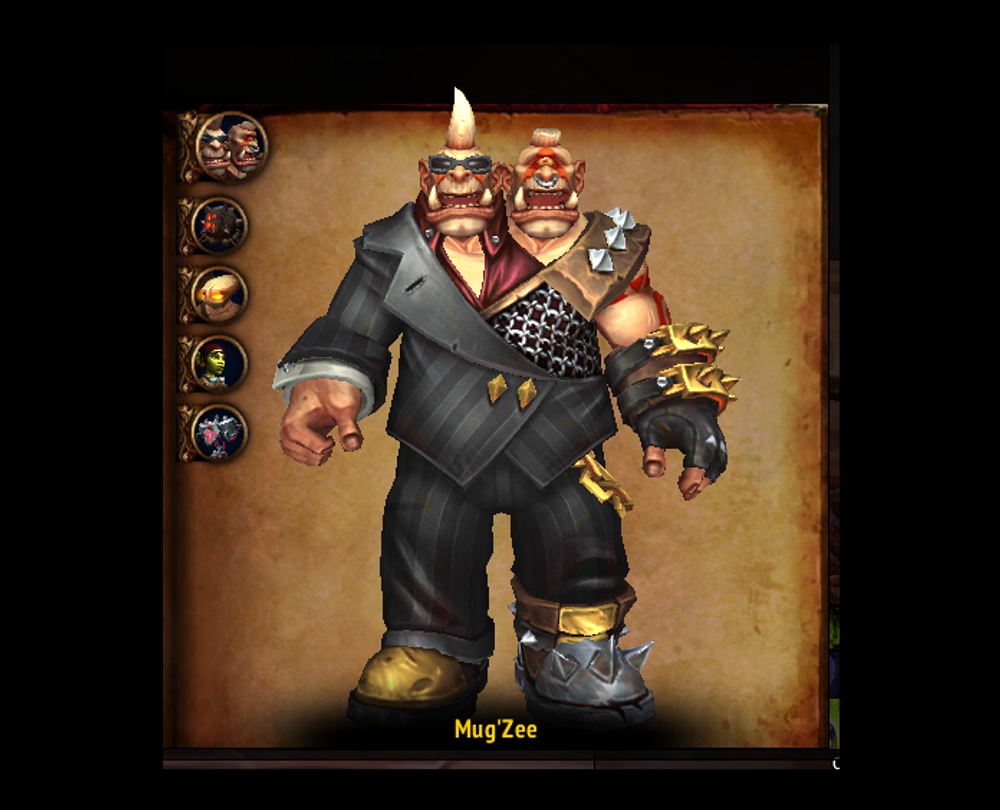
Intro
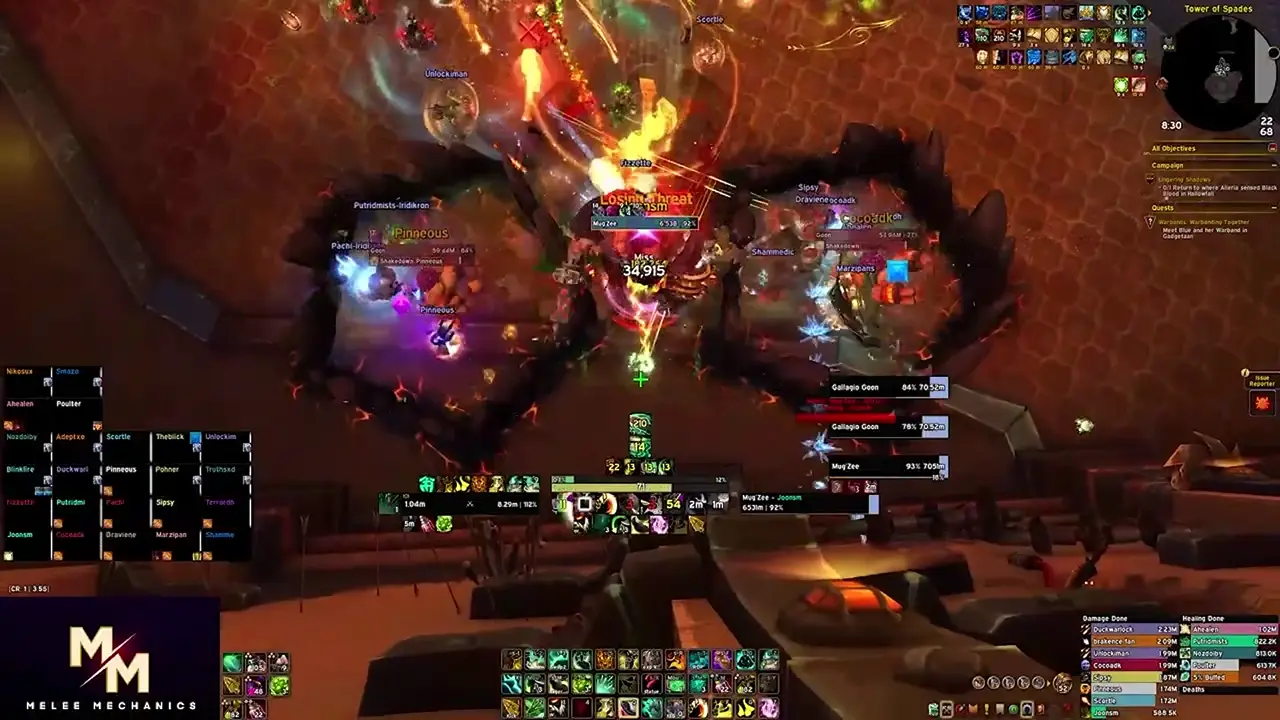
This takes place in a heart-shaped room divided into two sides—red and blue, with Mug’Zee triggering a different ability set based off of how many players are on each side. Mug’s abilities will trigger if the majority of players are on the red side, while Zee’s abilities triggers if the majority are on the blue side.
Similar to Silken Court, the boss’s abilities can be utilized against them to overcome the challenges of this encounter. Similar to Kurog, the boss will also gain damage and energy over time and require you to switch sides to deplete this energy, or you will be guaranteed to wipe.
At 40%, Mug’Zee will no longer concern themselves with sides, and will utilize their full arsenal independent of the raid’s positioning. At this point, it becomes a race to kill the boss before they reach full energy and wipe the raid.
This is a very complex and technical encounter that will test every aspect of your raid’s abilities.
Full List of Boss Abilities for Reference
- Head Honcho
- Moxie
- Elemental Carnage
- Uncontrolled Destruction
- Double-Minded Fury
- Elemental Calamity
- Uncontrolled Burn
- Earthshaker Gaol
- Enraged
- Shakedown
- Pay Respects
- Gaol Break
- Shaken Earth
- Frostshatter Boots
- Frostshatter Spears
- Stormfury Finger Gun
- Stormfury Cloud
- Molten Gold Knuckles
- Solid Gold
- Golden Drip
- Molten Gold Pool
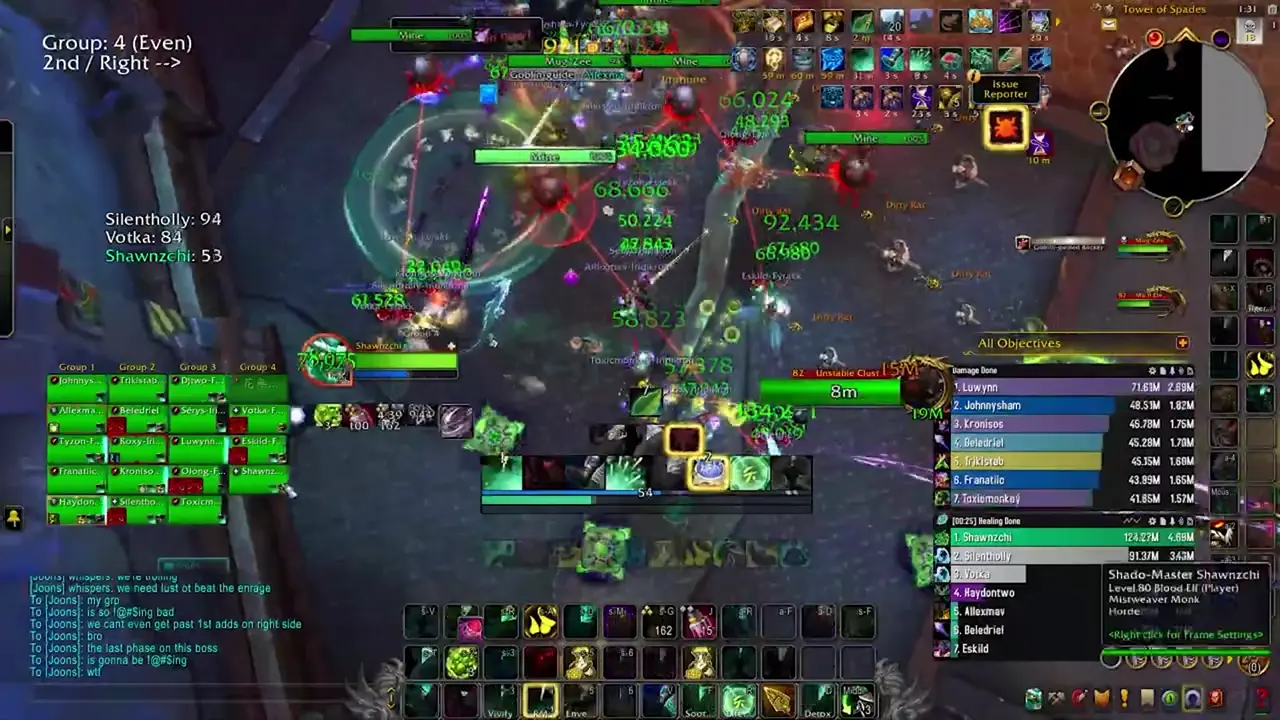
- Unstable Crawler Mines
- Unstable Cluster Bomb
- Searing Shrapnel
- Surging Arc
- Faulty Wiring
- Double Whammy Shot
- Perforating Wound
- Explosive Payload
- Bulletstorm
- Static Charge
- Spray and Pray
- Goblin-Guided Rocket
- Hot Mess
- Radiation Sickness
Important Abilities
Mug (Red Side) -
- Earthshaker Gaol - Mug will target two players and, after several seconds, deal massive damage to them. This damage can be split amongst several players before they are locked in a Gaol with a Gallagio Goon. This Gaol blocks Line of Sight and can be destroyed by other mechanics the boss uses. If these Gaols overlap with any others, or Mug’Zee, the Goon will enrage.
-
- Gallagio Goon - This will spawn with the creation of the Gaol. It does have aggro and will melee, though it does not require a tank. It will simply spam cast Shakedown, a frontal cone that deals high damage as well as an interruptible cast called Pay Respects, which grants the boss a moderate shield that grows over time.
- Gaol Break - Defeating the Goon you are trapped with triggers this, dealing damage and knocking back all players within the Gaol. Colliding with a Gaol wall as a result of this knockback will cause the walls to break. The foundation of the Gaol will persist through the rest of the encounter as a damage zone.
-
- Frostshatter Boots - Mug will debuff several players, causing them to take a light DoT but also making them slip’n’slide as their regular movement. On Heroic, Mug will also launch a Frostshatter Spear at these players, dealing lethal damage to them. Frostshatter Spears can be blocked by Gaol walls or Crawler mines.
-
- Stormfury Finger Gun - Mug will turn towards a random player and channel a frontal cone, dealing high damage to anything within the radius. Random swirlies will also spawn in this area, stunning and dealing light damage to anyone hit.
-

- Molten Gold Knuckles - Mug will strike at his current target, dealing damage in a frontal cone and afflicting anyone hit with Golden Drip. The affected players must continuously run for the duration of this debuff, dropping Molten Gold pools as they do. If they do not do this, and thus do not rid themselves of stacks of the debuff, they will be stunned for 30 seconds. These pools last for 3 minutes.
-
Zee (Blue Side) -
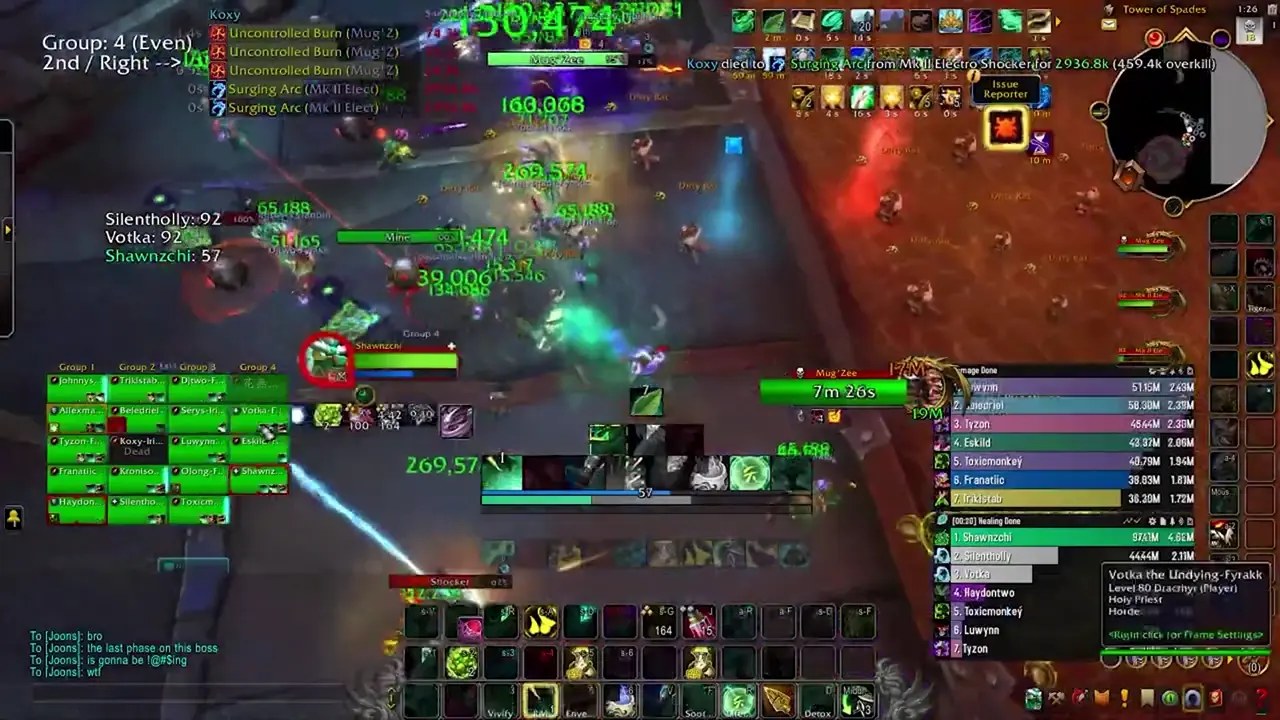
- Unstable Crawler Mines - Zee will spawn several of these, which will fixate on players and chase them. These cannot be damaged but can be affected by most slows and snares. The only way to destroy them is to run into them or hit them with abilities from Mug. On Heroic, players who physically detonate these mines are also afflicted with a debuff preventing them from soaking another for some time.
-
- Unstable Cluster Bomb - Upon detonation, Crawler Mines will spew out several small swirlies that deal very high raid damage if not soaked. Soaking one gives you a healing absorb and a light DoT.
-
- Volunteer Rocketeer - Zee will spawn one of these shortly after engaging his side, and an unknown interval afterwards. These will select a player and after a moderate cast launch a Goblin Guided Rocket towards their location. This deals massive damage to the player, but can be split with additional players. Once the cast is successful, it will also leave a fairly large pool of fire behind called Hot Mess. On Heroic and higher, soaking the Goblin Guided Rocket prevents players from soaking again for another minute. If this does not hit at least 5 players, it will deal massive damage to the entire raid.
-
- Disintegration Beam - After casting their Rocket, the Volunteer will channel this on a player. This cannot be interrupted, and the damage of this spell increases every second, which is the same interval in which it ticks. It can channel for up to 12 seconds, but it will kill a player at roughly the ~6-8 second mark and be unhealable past that point.
- Spray and Pray - Mug’Zee will aim towards a random player, channeling a frontal cone at them, dealing high damage to anyone who remains in that location.
-
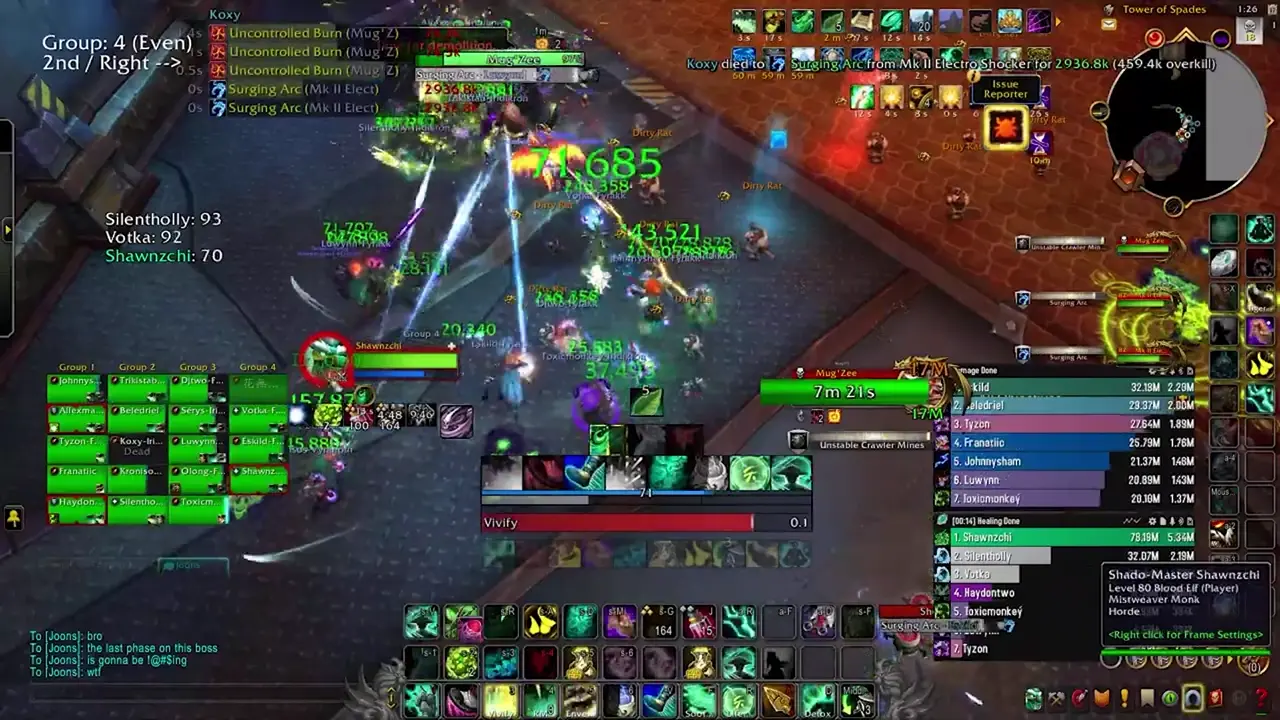
- Mk II Electro Shocker - Two of these will spawn at opposite ends of the blue side. These cannot be moved and cannot be tanked. They will simply spam Surging Arc, dealing high raid damage until they die. Once they fall below 80% HP however, they are stunned for 8 seconds and take 100% increased damage.
- Double Whammy Shot - Mug’Zee will take aim towards a random ranged player, indicated by a large red line. The player closest to Mug’Zee who is also in the line will intercept this attack, taking a massive amount of damage. The original target will take the mitigated damage that the interceptor takes. The player who intercepts this will also receive a large DoT that persists for 45 seconds which stacks. The original target will then receive an Explosive Payload, which deals high damage to anyone within 15 yards, but also detonates any Crawler Mines within 15 yards.
-
Intermission
- Static Charge - Mug’Zee will select a random player and charge towards them, dealing light damage to any in his path and also destroying any Earthshaker Gaols and Crawler Mines in his way.
-
- Bulletstorm - After reaching the target of his Static Charge, Mug’Zee will channel this, rotating two cones of destruction that deal very high damage to anyone caught.
-
Strategy (Normal and Heroic)
- While it is up to you and what your raid composition is best at handling, I recommend starting blue side on these difficulties, as it is slightly more restrictive on positioning but easier overall. You will of course have to deal with both sides no matter what, but the side you begin at you will deal with more times than the one you did not. You will want to designate fixed positions for the Gaols to be soaked at to best conserve room real estate, and split your raid into Gaol teams and outside teams.
- One healer is sufficient for each Gaol, and if the members of a particular Gaol are self sufficient enough they may not even require a healer on these difficulties. However, melee are preferable since there can be a fair amount of movement inside dodging the frontal.
- On Normal, Frostshatter Boots must simply be tolerated until it ends, but it is not difficult to deal with. On Heroic and Higher, players must use the various Gaol walls to block their Spears, but should be careful as one wall can only block one Spear—if they overlap with another player, they risk killing players trapped within the Gaol walls.
- Players within the Gaols should strive to kill their Goons as quickly as possible. The Earthshaker Gaols come out fairly quickly, and it is likely that if a team is not quick enough the next Gaols may be spawned while they are still trapped.
- It should also be agreed upon which direction to be knocked out towards, as it is possible to break all the walls from destroying the Goon, which eliminates the walls necessary to use to block the Spears.
- Tanks should swap on each Molten Gold Knuckles, being careful not to both be struck by it as it is a frontal. The pools should be dropped in an out of the way location, but be wary that you are not blocked by the Gaols and thus unable to move, as this will result in you being stunned. You drop the pools while moving only.
- You will want to swap sides before the boss reaches full energy, but not necessarily just before. The best time to swap is a little after he casts the frontal ability of each side (**Spray N’ Pray or Stormfury Finger Gun). You should try to swap at precisely 93-95 energy.
- For the Crawler Mines, on normal these can be mostly yolo detonated without too much worry. Soak as many of the Cluster Bombs as you can and focus mostly on having them dealt with as soon as possible. On Heroic and higher, you will want dedicated poppers and need all players to assist with soaking the falling bombs, as even one missed soak can potentially wipe you in between the overwhelming raid damage going out. As of this writing, the best way of dealing with these is to have the entire raid group loosely spread to bait the mine spawns in one general location, then root/slow them and move away to keep them mostly together. On Heroic, you will want to immediately pop one Mine, then potentially another if you are confident. Otherwise, you will get a Goblin Guided Rocket just after this, and you will need players to focus on soaking that. Just after this, the boss will target a player with Double Whammy Shot and thus you will need the tank to soak this beam, which can be hard to see amongst everything else. During this time, you should continue staggering mine detonations, and when the target of Double Whammy Shot gets their Explosive Payload, they should move away and be careful not to detonate any mines.
- The Mk II Electro Shockers should be cleaved down and then burned once they fall below 80% HP. You will ideally want to kill them during the stun. For the Volunteer Rocketeers, these can be simply cleaved down.
- At 40% HP, the boss will transition into the intermission. On Normal, you simply want to clean up the room as much as possible while also doing as much damage as you can. On Heroic, you want to fully utilize this time to deal with any lingering Crawler Mines or walls, using the boss’s charge if need be. Otherwise, simply dodge the mechanics as they come out and get the boss as low as you can.
- Once he finishes his intermission, he will begin Phase Three, Bloodlusting and gaining 30% haste until death. You should also pop lust as well, as this will be by far the hardest stage and as it is percent based, there is no reason not to save cooldowns to end this fight as quickly as possible. You also face a hard enrage in this phase, as he will continue to gain Moxie and energy without any way to reset it.
- The fight truly begins at this point. The following is scripted, but difficult to overcome.
- The boss will summon a wave of mines, varying based on the number of players in the raid. He will place Frostshatter Boots on several players, and on Heroic these players need to utilize these mines to block the Spears. One to two of these mines should be popped instantly and the final mine or two should be used to block the Spears. On Normal, you can just detonate these freely. Shortly after this, you will have two Gaols go out, and then while the raid is in these Gaols the Goblin-Guided Rocket will go out. All players should try to stack in this. Once you exit these Gaols, you should pop the remaining mines, and then you essentially have about ~30 seconds to freely DPS the boss with minimal mechanics occurring. After this, the boss will summon a MASSIVE wave of Crawler Mines. You should simply CC these, and the following Frostshatter Boots should just get out of the raid on Heroic and on Normal the boss should be dead at this point. You only have about 20 or so seconds to kill the boss after this.
Mythic Changes
The changes on Mythic transforms an already complex and challenging encounter into a brutal test of coordination, positioning, and adaptability, while massively amping up the pace at which mechanics are thrown at the raid. Overcoming this encounter thus requires an incredibly solid strategy and understanding of the entire fight and the purpose of every strategic choice.
- Head Honcho, the mechanic which controls what abilities the boss uses, now only triggers when ALL players are on the same side.
- Frostshatter Boots no longer time out after the Frostshatter Spears are thrown. Players will continue to slip until they make contact with a Hot Mess pool, melting their boots.
- Mk II Electro Shockers are now protected by a shield preventing them from taking damage unless hit by a Stormfury Finger Gun.
- Unstable Crawler Mines can no longer be detonated by players, as it inflicts lethal damage to them. They must now be destroyed by Gaol walls and Frostshatter Spears exclusively.
- Due to increased scaling, missing even a single soak of Unstable Cluster Bombs is now almost a guaranteed wipe.
- Earthshaker Gaol walls are no longer destroyed by players colliding into them after the Goon is killed, requiring either Crawler Mines or Frostshatter Spears to break the teams out of their respective Gaols.
- During the intermission, Mug’Zee now divides the room in two with an Electrocution Matrix, instantly killing any players who come into contact with it for the duration of this phase.
Mythic Strategy
- I will update this when Liquid and Echo have reached this encounter to provide us with the best solution, but I will attempt to provide early insights based on testing and what I think the most feasible path to success is.
- This time, you will want to start blue side. This is because of the Mk II Electro Shockers being unkillable without the Stormfury Finger gun. You will want to swap everyone to red side right after the Volunteer Rocketeer begins his Hot Mess soak. Be aware that you will be taking an immense amount of damage doing this due to Head Honcho triggering back-to-back and having 2 DoTs on the same timer. You will want to place the Hot Mess on the red side in an easily reachable spot.
- You will have to deal with soaking the Gaols, the Spears, then breaking out of the Gaols before the Mines can reach you. Luckily, as you can CC the mines, this isn’t the most difficult thing in the world. You will be absolutely strapped for healing however at this point, and this is possibly the most difficult point in the fight before phase three as you must break everyone out of Gaol->aim the Stormfury Finger Gun at the Shockers and kill them->kill the Rocketeer->begin detonating all the mines and soaking them->cleanse players of Frostshatter Spears, and then get ready for the next set of Gaols.
- Once both Shockers are dead, you must prepare for the next hardest part of the encounter. You will want to leave at least one mine alive, possibly, as you will want to get the next set of Gaols, and before they spawn, have the entire raid swap over to blue side. You should aim to place both Gaols on blue side, have the tank wait until the Spears go out, then step over and trigger Head Honcho.
- You will, during extreme raid damage, now need to break the walls, move from the spawning mines and CC them, soak the upcoming Goblin Guided Rocket, and then prepare to move back across to red side. You may consider using the Explosive Payload to assist in detonating Crawler Mines in place of other mechanics.
- At this point, the boss should be nearing intermission, and you will want to aim to phase into it as cleanly as possible. It is preferable to have as little mines as possible, and using immunities to detonate them at this point is ideal. There is very little chance that you will have the room entirely clean going into the intermission. It should be agreed upon what side the raid will occupy for the duration of this phase, but if the room is not entirely clean you may need the raid to split to each side to aim the charge through the Mines/Walls, and thus you will need enough players where the Mines are to soak.
- When the boss reaches Phase Three, pop lust as you did on Heroic and follow much the same strategy as you did there. At this point, you should completely ignore detonating any Crawler Mines unless absolutely necessary and aim to kill the boss as quickly as possible.
Note on Healing
This encounter is a dramatic step up in healing required, due to Head Honcho triggering a large amount of raid damage and the accumulating rot and damage increases as each side drags on. You will want the majority of your raid CDs placed near side swaps and while the Mk II Electro Shockers are alive, and will need to keep a careful eye on the players both detonating and soaking Crawler Mines.
As you are out of LoS (Line of Sight) from the rest of the raid while in Gaols, it can be frustrating at times, but the healing required while in a Gaol is very light and provides you time to regenerate mana before the intense healing spam begins again.
The intermission is overall quite easy to heal and another time to regenerate mana before the insanity that is the final phase, and towards the end of phase three you will be taking an extraordinary amount of damage due to Moxie.
Notes on Tanking
Positioning of Mug’Zee is incredibly important on this encounter, and you need to have a thorough understanding of when and where the boss should be at all times. In addition, the tank busters on this encounter also are far more than just “taunt on x stack”, and require you to have foresight in terms of where to drop the pools and how many CDs you will need to prevent the Double Whammy target from being one-shot. On blue side, you will want to tank the boss on top of Mk II Electro Shockers for cleave, and drag it away from Mines unless specified by your raid leader. As a tank, you also can soak these mines and their Cluster Bombs rather easily on Normal and Heroic compared to other players, and doing so can vastly lessen the load for the rest of your raid.
On red side, you will want to make sure you have a clear plan for where to drop your pools, and make certain that you avoid getting stunned at all costs. You can somewhat play around having to drop bad pools, but getting stunned will almost certainly lead to deaths or errors that spiral out of control. Tank the boss along the wall on red side to make it easier for players to drop their Gaols, or if the raid leader designates differently, tank the boss relatively close to the Gaols, but make certain Mug’Zee himself does not overlap, and you should never enter the Gaols yourself.
Defensive Usage
As this encounter has significantly more damage than any other, defensive usage is critical towards survival. Good times to personal are mostly if you are soaking Crawler Mines or the Cluster Bombs they drop, side swaps, or if you have the Double Whammy Shot. The Goblin Guided Rocket can also be threatening if you notice there are not that many players soaking with you, so be cognizant of that as well. If you are unable to find an obstacle to block your Frostshatter Spear with, it is possible to live it with a large enough damage reduction (75% or higher, cumulatively) if you are full health, but this is not something I would recommend being in the habit of doing.
Movement Cooldowns
Movement is best utilized for side swaps, during Frostshatter Boots, or when moving away from spawning Crawler Mines. It is also useful during the intermission for Bulletstorm, but this is not in general a “dodge” type of fight, and it is more about pre-positioning and knowing where to be. That being said, using movement to aid in players getting into position, like during the spawning of Earthshaker Gaols or to soak Goblin-Guided Rockets, can prove effective as well to make up for lack of awareness.
Damage Profile Best Suited for this Encounter
This is largely a single target encounter, with very occasional cleave sprinkled in. Target swapping and priority damage is the name of the game here, and execute is also very, very good for getting out of the last phase as quickly as possible. That being said, classes that can do very good single target while also hitting spread targets are definitely quite good here.
Raid plan, Useful Weakauras, and Macros
- NYI-WIP
- No fight specific macros or Weakauras. Refer to the Resources and Weakauras page
Table of Contents
- Vexie
- Cauldron of Carnage
- Rik Reverb
- Stix Bunkjunker
- Sprocketmonger Lockenstock
- One-Armed Bandit
- Chrome King Gallywix