Published
- 10 min read
A Complete Guide to Loom'ithar
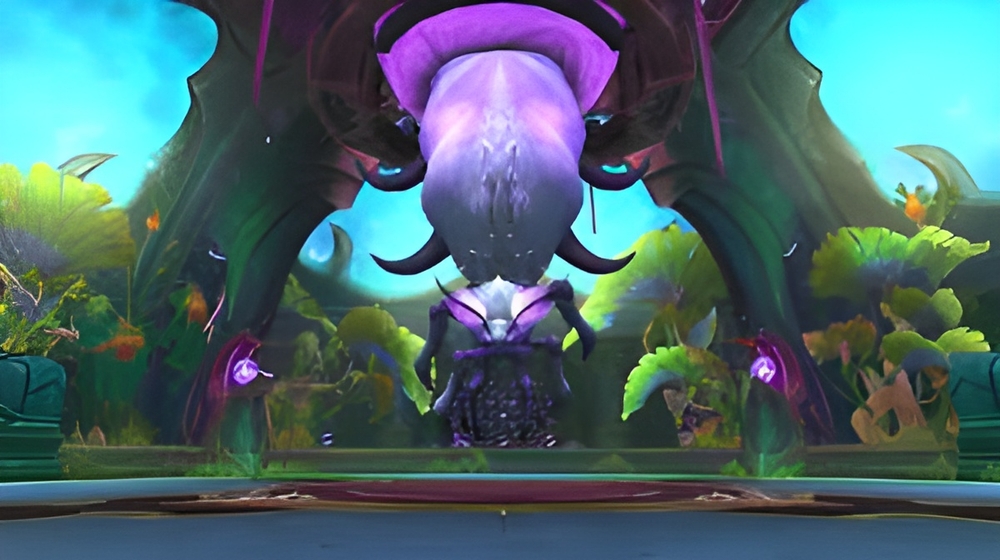
The gigantic, arcane, silk-weaving spider Loom’ithar sits as the presumed second boss of Manaforge Omega. This a short 2 phase encounter against a single target, ending in an intense burn to kill Loom’ithar before the room is overcome by its leaking arcane ichor.
Abilities
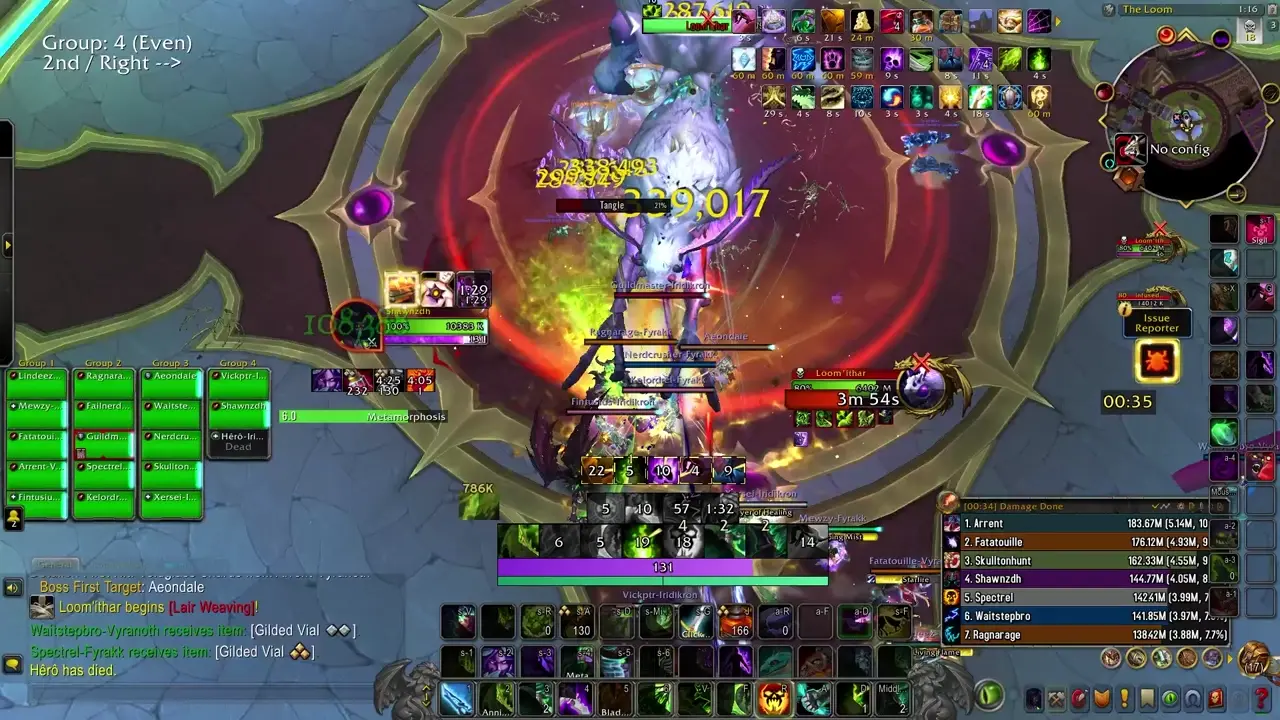
Phase One
During this phase, Loom’ithar is stationary, and attacks their main target with Silk Blast, a ranged attack that deals physical damage.
- Lair Weaving - A ring of tangles is woven at the edge of the arena and begins to collapse inward. Touching the tangles inflicts near lethal damage and roots players for 8 seconds. Very similar to Eranog, and the individual nodes of the tangles can be targeted and destroyed to open gaps for players to exit through. On Heroic, the nodes are untargetable due to being protected by Woven Ward until broken by Piercing Strand.
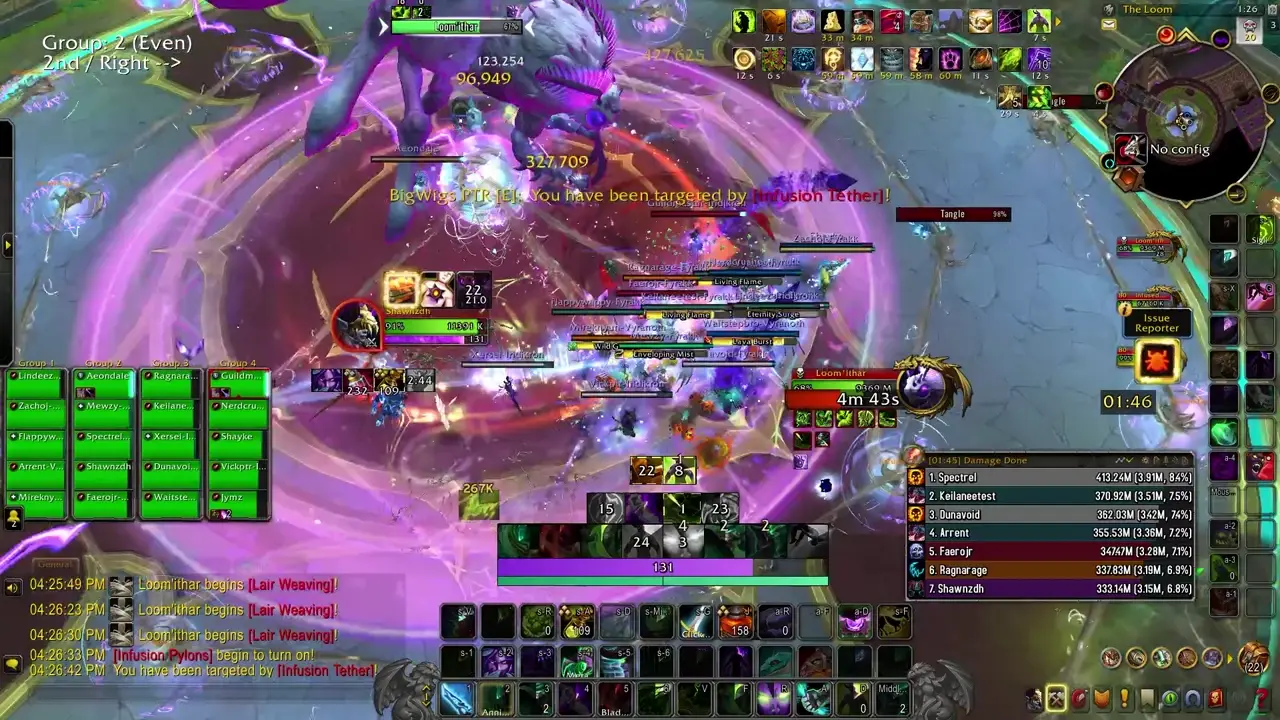
- Infusion Tether - Loom’ithar pulls in several players towards it before binding them with silken strands. This deals low damage at first, but quickly ramps up over time. Breaking the tether requires the player to move 40 yards away. Upon snapping the tether, a pool of Living Silk is dropped at their location, which deals moderate ticking damage and slows you. On Heroic and higher, standing in Living Silk when the tether is snapped stuns the player, discouraging you from stacking them.
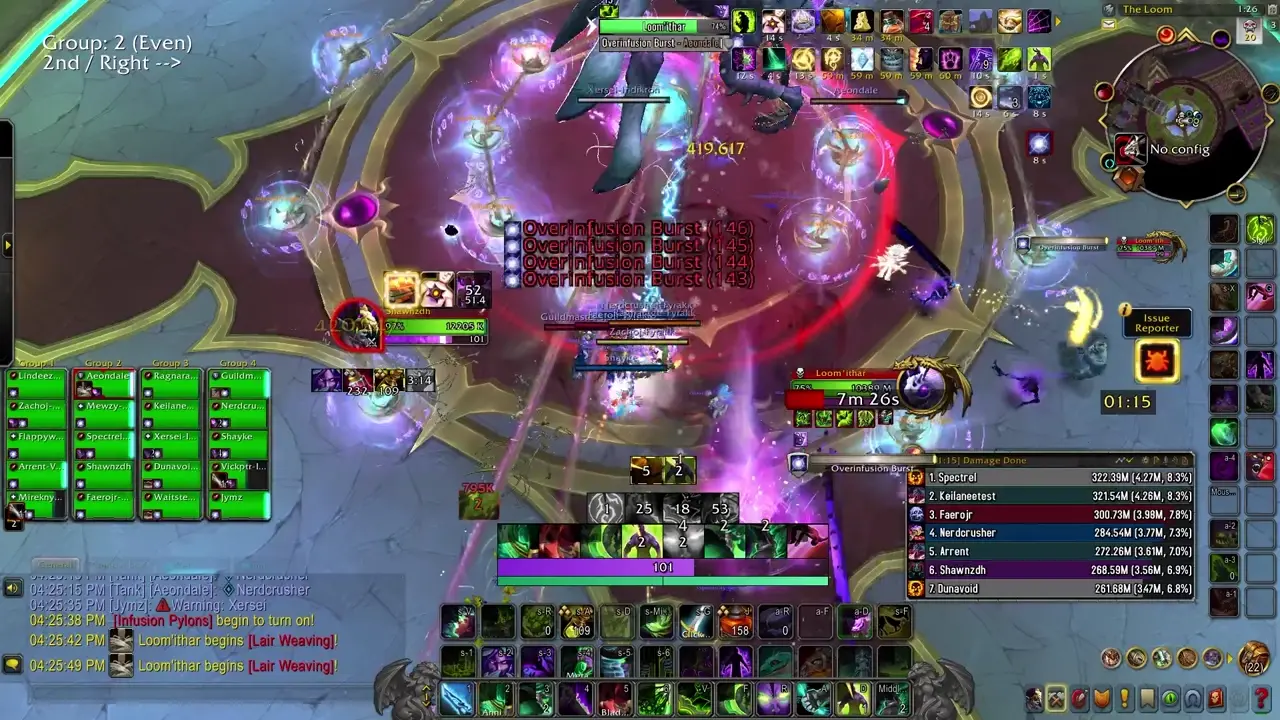
- Overinfusion Burst - This is similar to Bloodbound Horror, where the boss charges up a massive blast around them and requires players to run 45 yards away or else suffer lethal damage. Loom’ithar deals low ticking damage during this cast.
- Primal Spellstorm - Small bolts of arcane energy rain down throughout the fight, dealing moderate damage to anyone hit.
- Arcane Overflow - Low rot damage throughout the encounter.
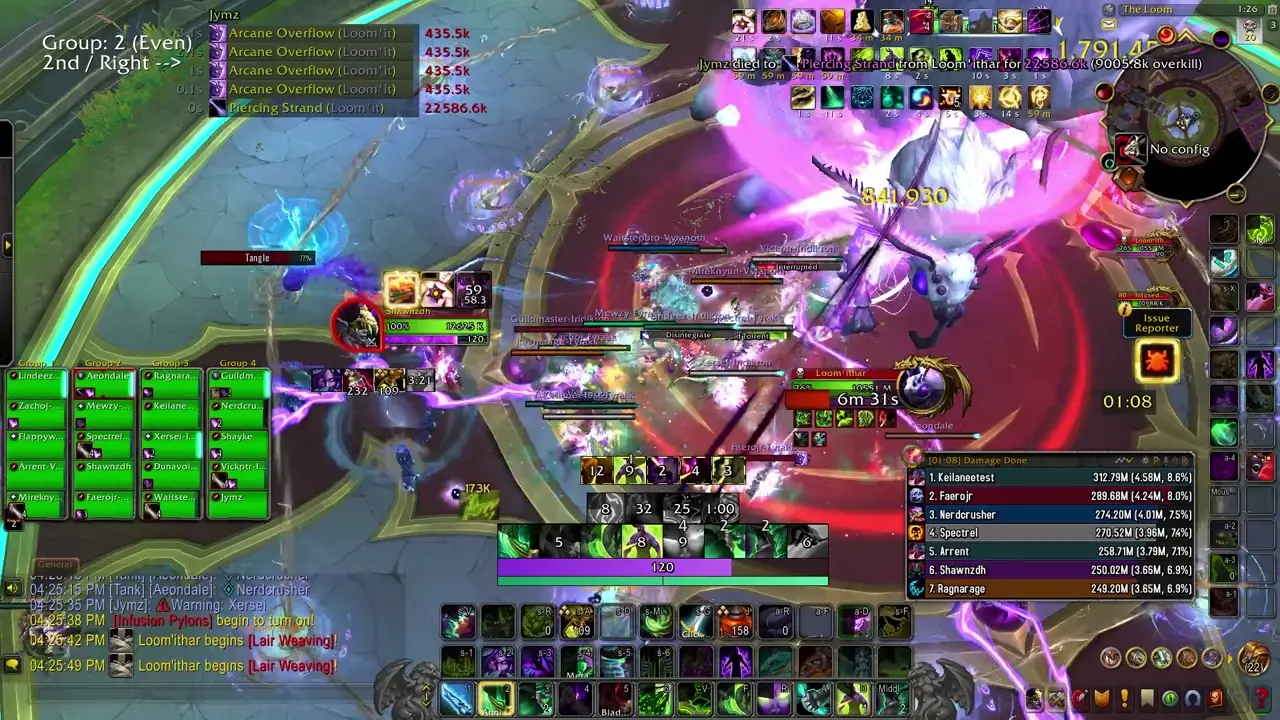
- Piercing Strand - Loom’ithar charges a dense blast of silk before firing it at their target in a line, dealing massive damage to them and anyone caught, but also removing the Woven Ward protecting the Lair Weaving tangles on Heroic and higher. Getting hit by this inflicts a 10 second debuff that increases damage taken from this by 500%, and the boss will fire two of these during this period, necessitating a tank swap.

Phase Two
At 50% health, Loom’ithar will rip themselves from the bindings attaching them to the great silk loom it fuels, inflicting a mortal wound and beginning to bleed arcane ichor profusely for the rest of the encounter, as well as suffering 33% increased damage. The boss loses access to Piercing Strand, Lair Weaving, Infusion Tether, and Overinfusion Burst and exchanges them for two other abilities.
He retains Arcane Overflow and Primal Spellstorm.
Unbound Rage - Upon entering this phase, when it lands after ripping itself free, it inflicts light damage to all players and knocks them back. 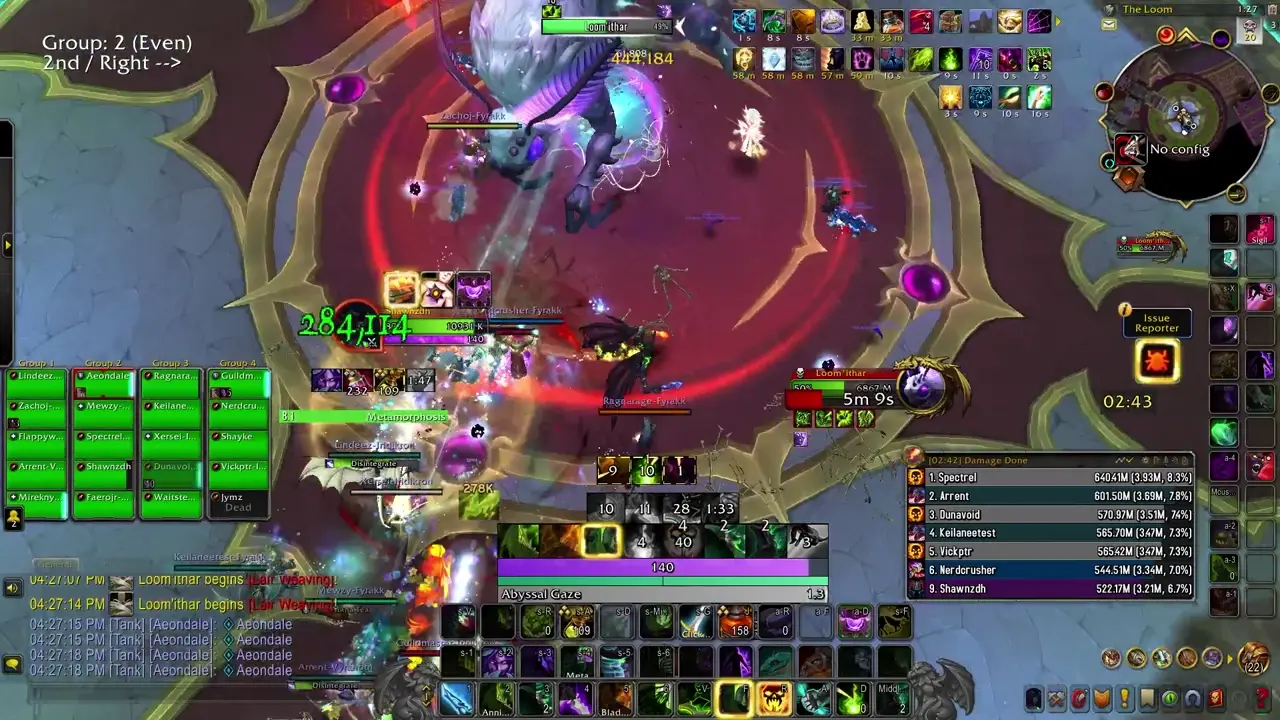
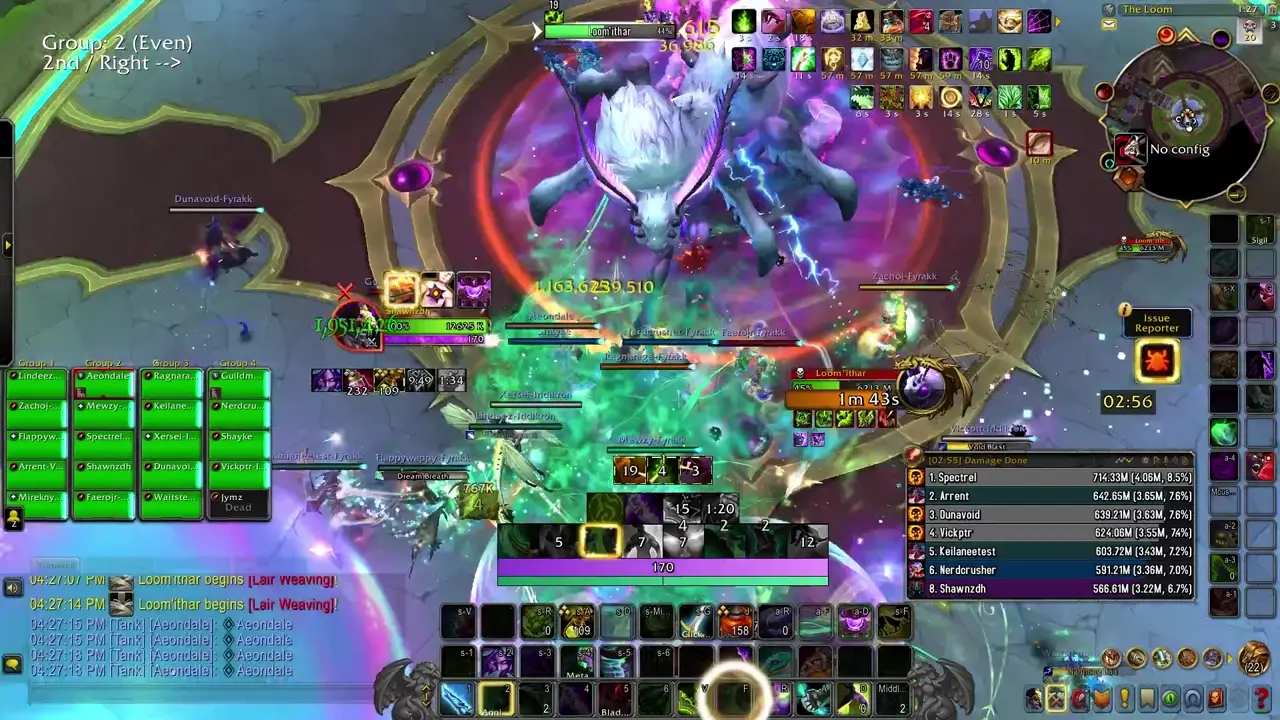
- Arcane Ichor - This starts in the middle of the arena and begins leaking from the boss itself, dealing moderate ticking damage to any players standing inside every second.
- Arcane Outrage - Loom’ithar roars, dropping a large chunk of Arcane Ichor and pushing back players over 3 seconds, dealing light damage over this period.
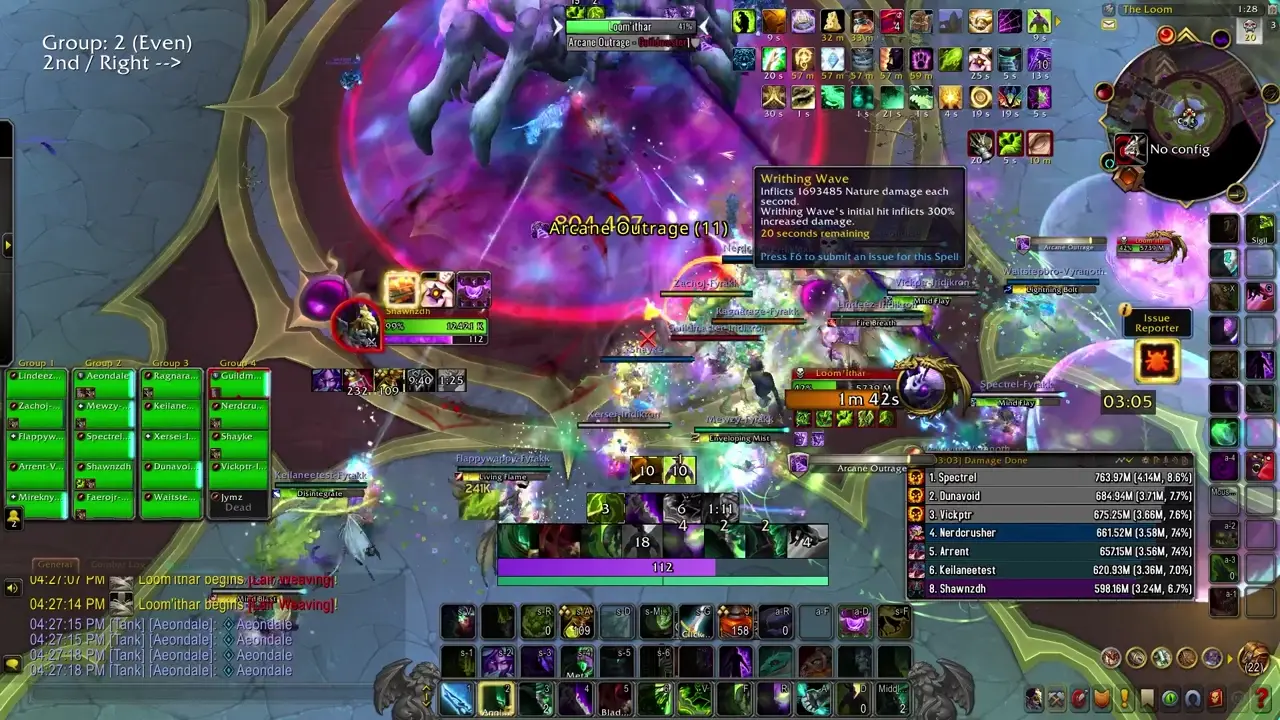
- Writhing Wave - Loom’ithar blasts a large cone of silk at his current target, dealing massive damage to them, then anyone else in the area. Being hit by this also applies a large DoT that deals damage over 25 seconds. The damage of the cleave and the DoT can be reduced by having additional players soak the cone with the tank. On Heroic and higher, the DoT also increases damage taken from the initial impact by 300%, necessitating a tank swap and a second group.
Strategy (Normal and Heroic)
Lust at the start of P2, ideally when 2 minutes come up or you can just send it with 2 minutes if PTR tuning matches live.
Phase One
- The entire raid can stack loosely in melee. Whenever a Lair Weaving happens, there should be a pre-determined tangle to attack and destroy as they are static spawns. On Heroic and higher, the tanks first need to aim and hit the tangle with Piercing Strand before the raid can attack it. As two Piercing Strands go out, the second one can just be taken out of the way or aimed at a second tangle for people to pad on.
- Usually during or after a Lair Weaving, the Infusion Tethers will go out. Players should try to keep these all on the same-ish edge of the room. Anyone with abilities to remove stuns, high damage reductions (and don’t mind getting stunned) or immunities can stack these together on Heroic and higher to conserve space a little, although this is not particularly necessary.
- When Overinfusion Burst occurs, players should all run to the edge of the room out of the indicator to avoid being one shot. Melee with immunities or massive damage reductions can choose to stay in and keep hitting it. It also takes quite a while, so if you have a dash or leap you can just jump out at 1 or 2 seconds left.
Phase Two
- As mentioned, you’ll lust at the start of it, ideally with 2 minute CDs.
- You’ll want to start the boss where it drops until the first Arcane Outrage, then drag it to the edge and begin dragging it around the room.
- The raid should take turns soaking the Writhing Wave on Heroic and higher. Odds and evens works just fine for separating the groups. On Normal you can just have everyone stack in or the tanks can solo soak it if they’re bored.
- Players should take care not to get pushed back into things during the Arcane Outrage pushback and just watch their feet in general.
Mythic Changes
The Mythic changes do raise the complexity by an order of magnitude, although it’s really just a logistical pain. The encounter overall remains mostly the same and is just slightly more deadly in P2.
- Infusion Pylons now spawn around the room in static locations. There are four of them, but only 2 of them are active at first, with short intervals in between. Towards the end of P1, a 3rd will activate. These attempt to channel a beam of arcane power into Loom’ithar. For every second they connect with him, they deal light damage to the entire raid. Players may intercept these beams to instead take very light damage every second, but they receive a debuff that doubles the damage taken for each stack, lasting 10 seconds.

- Lair Weaving spawns two rings of tangles, up from only 1.
- The stun applied from stacking Infusion Tether pools now lasts 10 seconds, up from 2 seconds.
- In Phase Two, Arcane Outrage now causes players to erupt with energy, inflicting damage in a small (4 yards) radius around them at its conclusion.
- Writhing Wave now applies a massive absorb to the boss if it hits less than 5 players, making immunities and solo-soaking pointless.
- While I typically don’t include stricly numerical changes, as this is implied when going up difficulties, the ability Primal Spellstorm now deals 16M damage, up from roughly 5M before, making it incredibly lethal now.
Mythic Strategy
The largest change is obviously to Phase One, which now requires a team of two players per Pylon to prevent it from connecting with the boss.
It is important to note that it is not the end of the world if the Pylons connect with the boss for a second or two. It is entirely healable damage, even if for some reason this occurred with every single Pylon. If a shift rotation is delayed slightly, this is perfectly fine. There is no need to oversoak and die because you didn’t want the raid to take a slight hit of damage.
- As mentioned, players should work in teams of two to intercept the Pylons for the duration of Phase One. Anyone can do this, although ideally you should always have one ranged character and ideally a tank in each team for ease of transfer, and for reliability purposes one of these players should have a blink or way to go through the Lair Weaving walls. Melee, even if they’re not in a team, should just spread out around the boss so that if a ranged player that’s soaking needs to step out of their beam, it still has a chance of getting soaked.
- Lair Weavings are the biggest issue in terms of handling these soaks. You ideally would want players who can blink over them in the rotation so that they can simply do so when this comes out. You still should ideally have pre-determined nodes that you will destroy, although it helps if both of the nodes are in the areas with the active Pylons. The player currently soaking should simply move out of the way, allowing the tank to intercept it briefly before swapping back into the beam.
- If a player currently soaking gets Infusion Tether, they should run to the outside, snap their tether to the side of the Pylon, then return to soaking until their shift is over. You may also simply choose to swap shifts at this time. Note that this can overlap with Overinfusion Burst as well, significantly complicating the processs.
- During Overinfusion Burst, you’ll need to stand almost on top of your Pylon to continue soaking it.
Phase Two
You will still want to lust at the start of this phase, with cooldowns, or hold lust for cooldowns depending on how you push. You may choose to hold damage for cooldowns to come up if you desire, as the boss doesn’t do much while it is transitioning and this is the best time to do damage, although it’s not particularly necessary.
- The only real difference is that players need to spread intelligently during the Arcane Outrage pushback. Everything else plays the same. You can choose to have the raid loosely stacked in melee the whole time, with ranged letting themselves get pushed back and strafing to not cleave others, while melee fight the pushback and spread out, or simply have ranged stand far to begin with.
Notes on Healing
There is really not much to heal during P1, even on Mythic, unless people are just eating swirlies.
Phase Two is where the bulk of the healing lies, although even then it is not particularly intense outside of the Arcane Outrage, as you’ll have the entire raid with a DoT taking the regular rot as well as this pushback damage.
Notes on Tanking
Another fairly easy fight to tank. You’ll swap on each Piercing Strand in P1, and each Writhing Wave in P2. Make sure to communicate clearly which tangles you’ll be breaking ahead of time, ideally with a marker or by pinging.
On Mythic, you’ll need to shoot an inner Tangle if you are the first Piercing Strand, and if you are second, then choose an outer Tangle to shoot that is to the side of the first Tangle, but still close to it. This is because they are slightly offset from each other, and if the Strand hits the inner Tangle it does not pierce, ironically.
In P2, you should keep the boss where it is until the first Arcane Outrage, then you can drag it to the edge of the room and begin moving it in a circular fashion. You should always point the cone consistently and if players get hit for being where they shouldn’t be, then so be it.
Notes on Defensive Usage
Another encounter where it’s not particularly necessary to schedule your defensive usage. Use it where you make mistakes or just liberally during times you feel yourself taking large damage in P1, and then during Arcane Outrage in P2.
Damage Profile best suited for this Encounter
This is another single target encounter. The damage to the tangles is fake and likely won’t be counted on logs, so you shouldn’t try to cleave them (which you can only really do on Normal, anyways). The second phase is a burn with a 33% damage amp, so if you have the ability to focus on execute in your build, it’s not a bad idea.
Table of Contents
- Plexus Sentinel
- Loom’ithar
- Soulbinder Naazindhri
- Forgeweaver Araz
- Soul Hunters
- Fractillus
- Nexus-King Salhadaar
- Dimensius