Published
- 5 min read
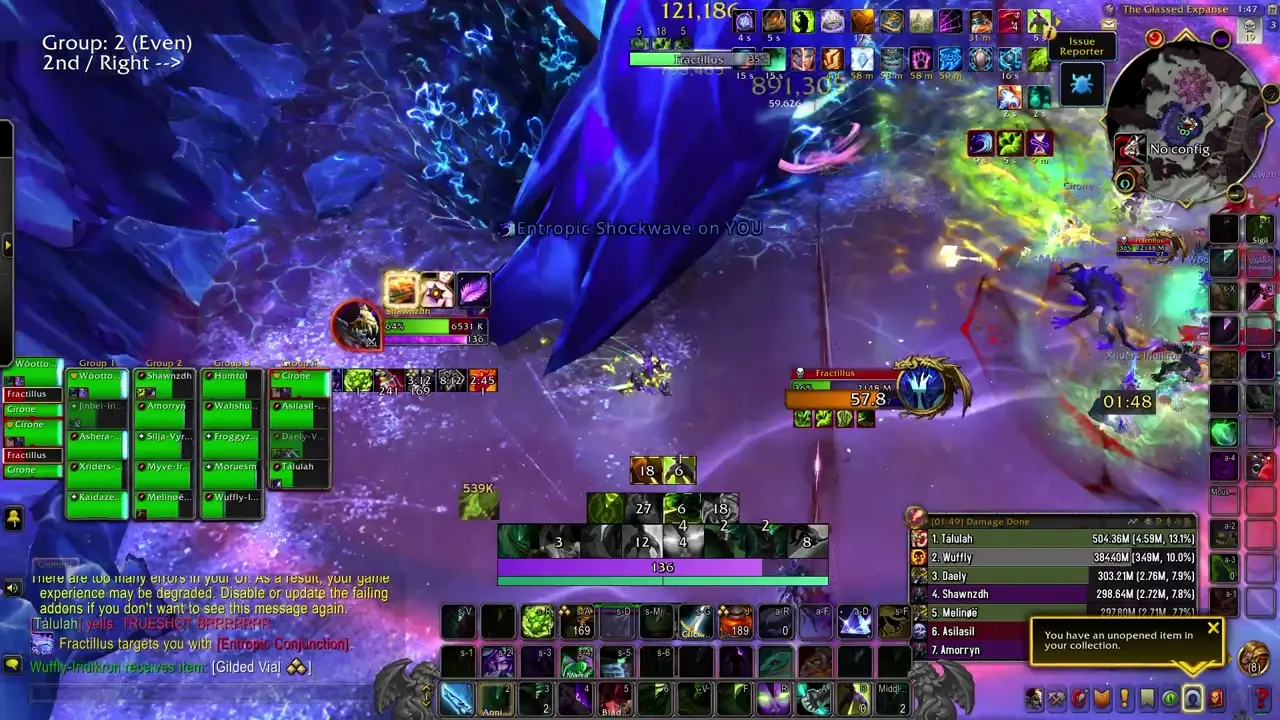
A Complete Guide to Fractillus
This is a short but intense throughput-check fight (taking the typical spot of the “Sludgefist” encounter), which requires the raid to intelligently manage the placement of crystalline walls, or else risk letting the void energies surrounding them to empower the boss, resulting in their quick demise.
Abilities
Compared to most bosses, there are relatively few abilities here, with the brunt of the difficulty being the logistical puzzle they present. There are six “lanes” in the fight arena, each with a Crystal Nexus at its end. Mechanics in the encounter cause walls to accrue in these lanes.
Rough Approximation. Very rough 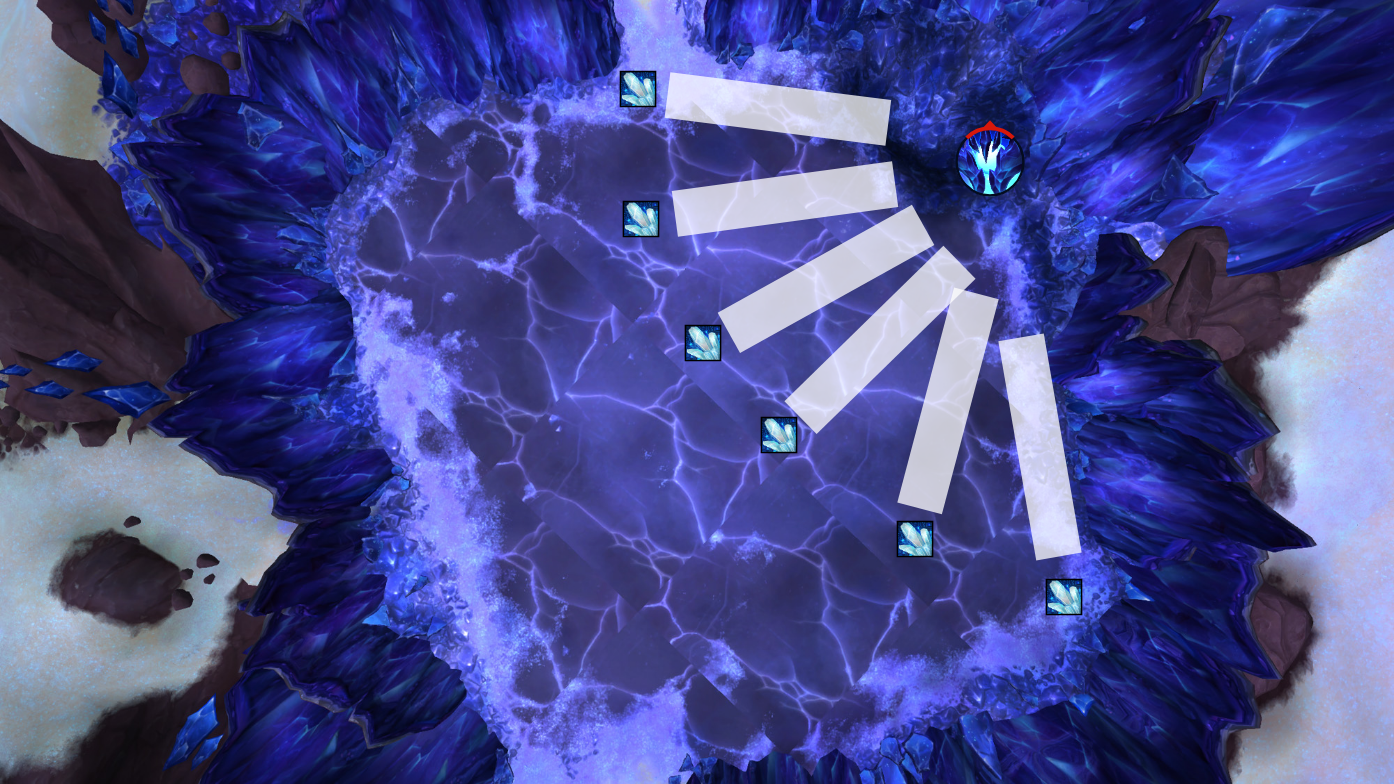
- Entropic Conjunction - Fractillus targets 5 players with this ability, then after several seconds launches a wave of crystalline energy toward them, knocking them back and afflicting them with a heavy DoT, stacking per wave they are hit by. This wave fully crystallizes upon contacting one of the Crystal Nexuses in a lane, forming a wall.

If 6 of these walls form in a single lane, they extend the power of the void to the boss, empowering him with 200% damage and causing him to Tantrum for the rest of the encounter, effectively wiping the raid. 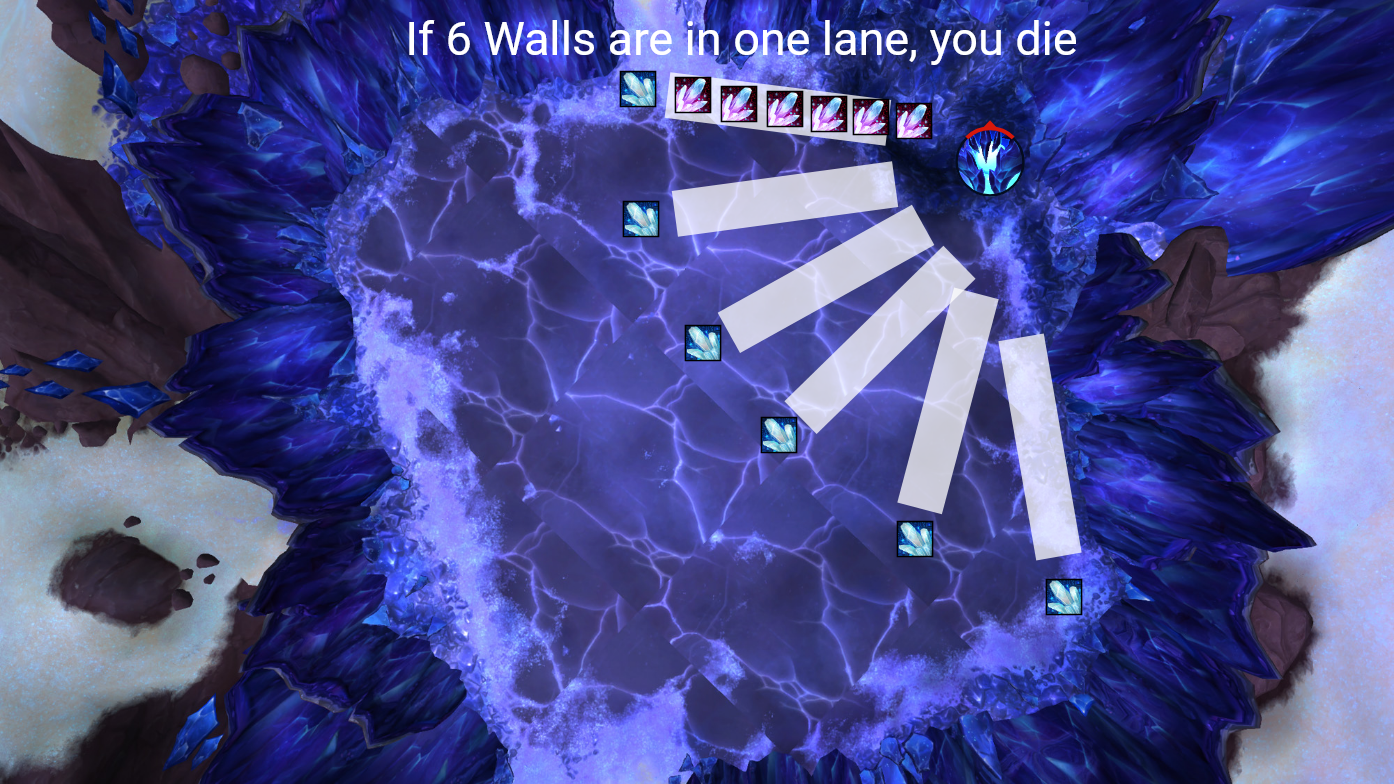
- Shockwave Slam - Fractillus aims this at his current targeting, firing a concentrated blast of crystalline energy, knocking them back and increasing their damage taken by this ability for one minute. This also forms a wall in the lane they are currently in.
- Crystalline Backhand - The boss selects up to seven players, rooting them after 4 seconds. Shortly after they are rooted, the boss smacks any rooted players backwards, causing them to each break one wall that they contact. Breaking a wall in this way ejects shrapnel that deals moderate damage to any player struck. On Heroic and higher, some of the walls that form are Void-Infused, and also afflict random players with Nether Corruption, dealing damage in a small circle around them after a few moments.
Strategy (Normal and Heroic)
As I mentioned, there really isn’t many mechanics to deal with here. The difficulty comes from the pacing and logistical management of the arena.
To be frank, the Weakaura pack for the raid will mostly play this fight for you. However, I will still give you a breakdown of the logic behind playing this encounter.
- The raid should all select one lane, ideally central to the encounter space, and play there until the raid leader has elected to move to an adjacent lane, if they deem it necessary.
- When Entropic Conjunction goes out, players should simply distribute themselves evenly. There are six lanes, and five players are targeted at a time. Thus, each player must simply get to one of the lanes not occupied by the raid and plant until the boss fires a wall at them
- When Crystalline Backhand goes out, you will want to focus on evenly distributing five of the breaks among all walls, then focus the extra breaks on any lane that has accrued more walls than the others.
- The tanks should pick a lane each cycle to focus their walls on, so that the raid can clearly see which lane will need multiple breaks ahead of time. The raid leader should explicitly communicate the needed distribution to avoid any confusion.
- If necessary to extend the fight, players may start using the safe lane towards the end of the fight, and the raid should adjust into a new safe lane.
Mythic Changes
The changes on mythic are very slight but do alter the execution somewhat, mainly for the tanks and for choosing what lanes to break.
- New Infused walls can now be formed, which afflict all raid members with a heavy DoT when broken.
- Shockwave Slam now creates 3 walls, up from 1.
Mythic Strategy
Again, the strategy is not massively changed, but you gain significantly more walls each cycle and thus have a shorter enrage. You must must also be aware of when these new “white” walls will be broken, and simply deal with the extra incoming damage when or if they are broken. Your goal when breaking walls is to make sure there are no lanes with more than 2 walls, and go from there.
Notes on Healing
The damage is incredibly scripted and there is no real rot. You should make sure to heal the players with Conjunction and be aware of overlaps with Crystalline Backhand and Entropic Conjunction, and triage heal the players most in danger of dying.
Notes on Tanking
As mentioned above, you should communicate with your co-tank on what lanes you will be stacking the tank walls in, and make sure the raid is aware of which lanes will be overloaded in this manner. The boss itself does not hit particularly hard, and you should spend much of your cognitive energy monitoring the status of the lanes.
Damage Profile Best Suited for this Encounter
This is a completely single target boss, and thus you should aim to do as much single target DPS as possible with the requisite build.
Table of Contents
- Plexus Sentinel
- Loom’ithar
- Soulbinder Naazindhri
- Forgeweaver Araz
- Soul Hunters
- Fractillus
- Nexus-King Salhadaar
- Dimensius