Published
- 17 min read
A Complete Guide to Darkflame Cleft
Intro
Cover image for this article sourced from Wowhead
Timer - 33 Minutes
While initially feared and reviled for daring to include an escort quest (one which I freely admit was poorly implemented) in a mythic dungeon experience in the year 2024, this has developed over the testing cycle to become an easy and relatively inoffensive instance.
Melee are in general a detriment here and not particularly enjoyable to play within this dungeon for reasons you shall learn later in this guide. I would say this is one of the few War Within dungeons that are a prime target for your Weekly Vault.
This guide is focused on providing a complete understanding of the dungeon at a base level of +10, and the warnings I provide will focus around such. There is still plenty of knowledge to be gained here even for more advanced players, and everything here still applies to lower keys, but you should approach comprehension with this in mind.
Trash to Ol’ Waxbeard
This area is filled with a wealth of patrolling mobs, and the abilities of the lieutenants can make it easy to accidentally overpull. While you can pull quite large here, be wary of your positioning and cognizant of the wandering creatures about. Do not be afraid to pull packs back and use Line of Sight. The hardest part of the dungeon is this area, and honestly, if you play it slow you can easily time the key.
- Rank Overseer - These are the aforementioned lieutenant mob, and some of these patrol. You generally do not want to fight two of these at once. They have 2 abilities: Overwhelming Roar, a high damage AoE that also increases the damage of any nearby allies, and Wild Wallop, an un-interruptible cast that knocks back and damages all entities near them, including other mobs susceptible to CC.
- Wild Wallop -
- Menial Laborer - These are cannon fodder mobs that deal increasing damage over time to their target, and you should take care as the tank if these are allowed to live too long.
- Pack Mole - These do nothing but melee for light damage, but they occasionally enrage, gaining a large amount of damage and hitting quite hard.
- Lowly Moleherd - These are ranged archer type mobs that do not move easily. They spam Throw Rock, which does a moderate amount of damage to random targets, and Mole Frenzy, attracting nearby Moles that weren’t already in combat and enrage all Moles, increasing their damage and attack speed. You can interrupt this, and should never let this cast. At low health, they gain Panicked, becoming significantly more dangerous as they gain haste and a damage increase. You should make certain to keep these stunned and unable to cast as much as possible during this as it is very easy for them to quickly decimate DPS. If necessary, use judicious use of the pillars to force Line of Sight issues for them and make them walk closer or cancel their attacks. These are extremely dangerous. IF THE ENTIRE GROUP IS IN MELEE RANGE OF THIS MOB, IT WILL NOT CAST THROW ROCK.
- Royal Wicklighter - These are caster mobs that will use Flashpoint, applying a magical DoT to random players in combat with them, and Wicklighter Bolt, an interruptible cast that deals a high amount of damage to a single target. If you are targeted by multiple of these casts, or a single cast of this and Throw Rock, you should be prepared to defensive. These are also extremely dangerous when multiple are pulled.
It is possible to skip the final few mobs before the boss by hugging either the right or left side and parkouring somewhat if you have Mind Soothe or any CC that works on Humanoids which also reduces their aggro radius, such as Imprison or Sap.
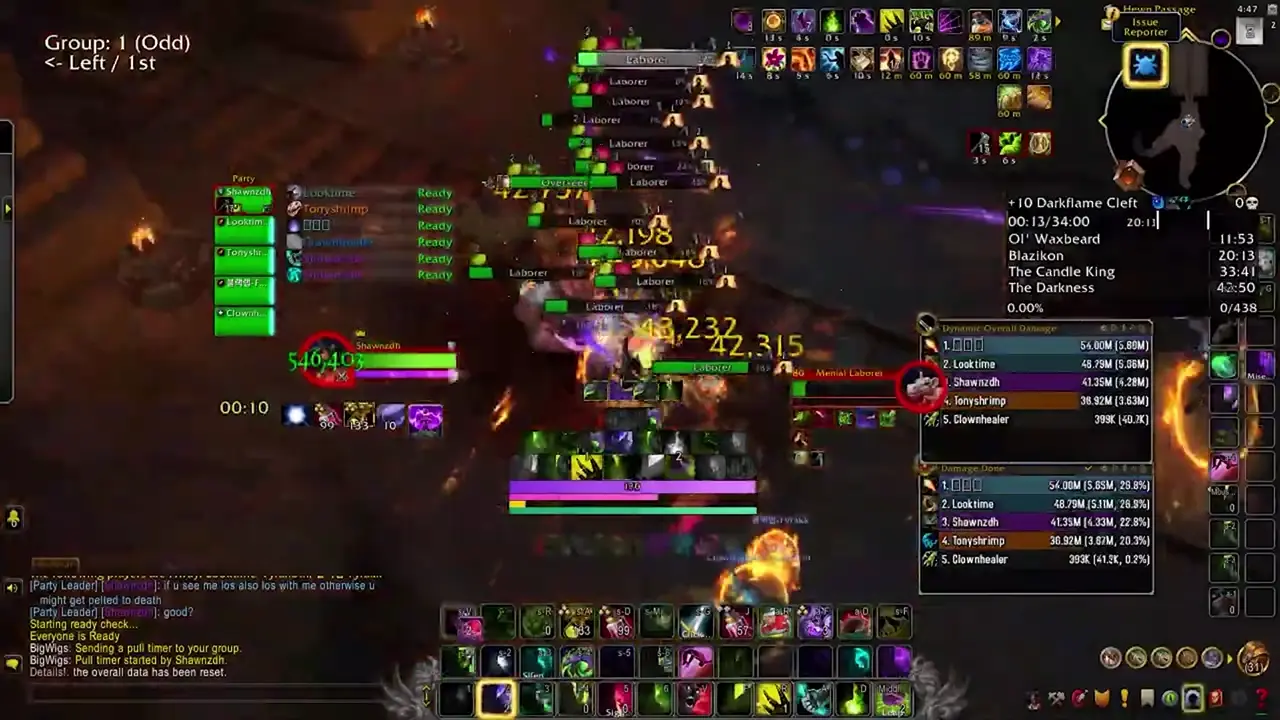
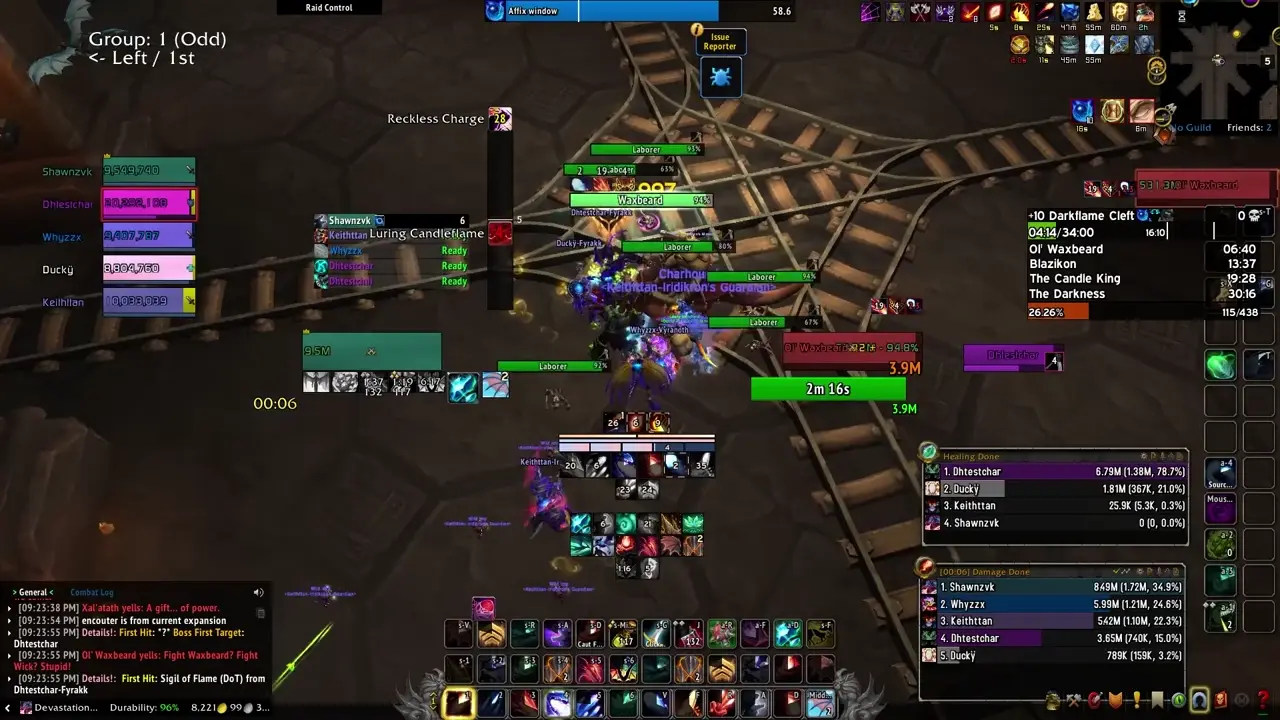
Ol’Waxbeard
This encounter is doable without truly following the mechanics on a +10, but any higher and you will find that the additional scaling quickly forces you play the fight as intended.
- ”Kol”-to-Arms - Waxbeard summons waves of Menial Laborers by foot or minecart. These fixate on random players and have no aggro table. Their attacks inflict a bleed that stacks.
-
- Minecarts - The center of the arena contains minecart tracks that intersect much of the room. Being struck by this minecart is lethal to any non-tank. It will also instantly kill any Menial Laborers it strikes.
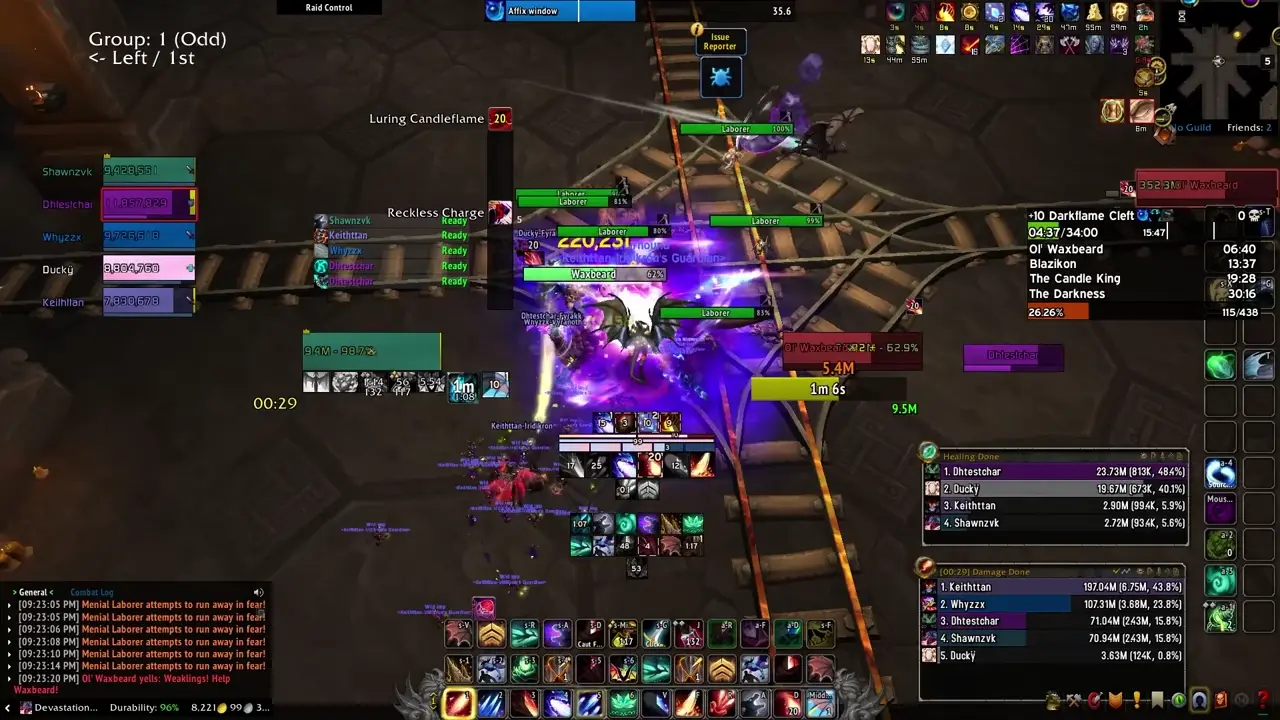
- Reckless Charge - The boss will target the furthest player and charge towards them after several moments. It will deal lethal damage to any non-tank in its path and travel until it encounters terrain. As of writing, the boss will not reset if it exits its room in this manner, though if a player travels with it, it will. At the end of its charge, it triggers a Cave In.
-
- Cave In - The end of the boss’s charge triggers this, causing boulders to fall from the ceiling that deal lethal damage to any players struck. This also instantly kills any Menial Laborers hit.
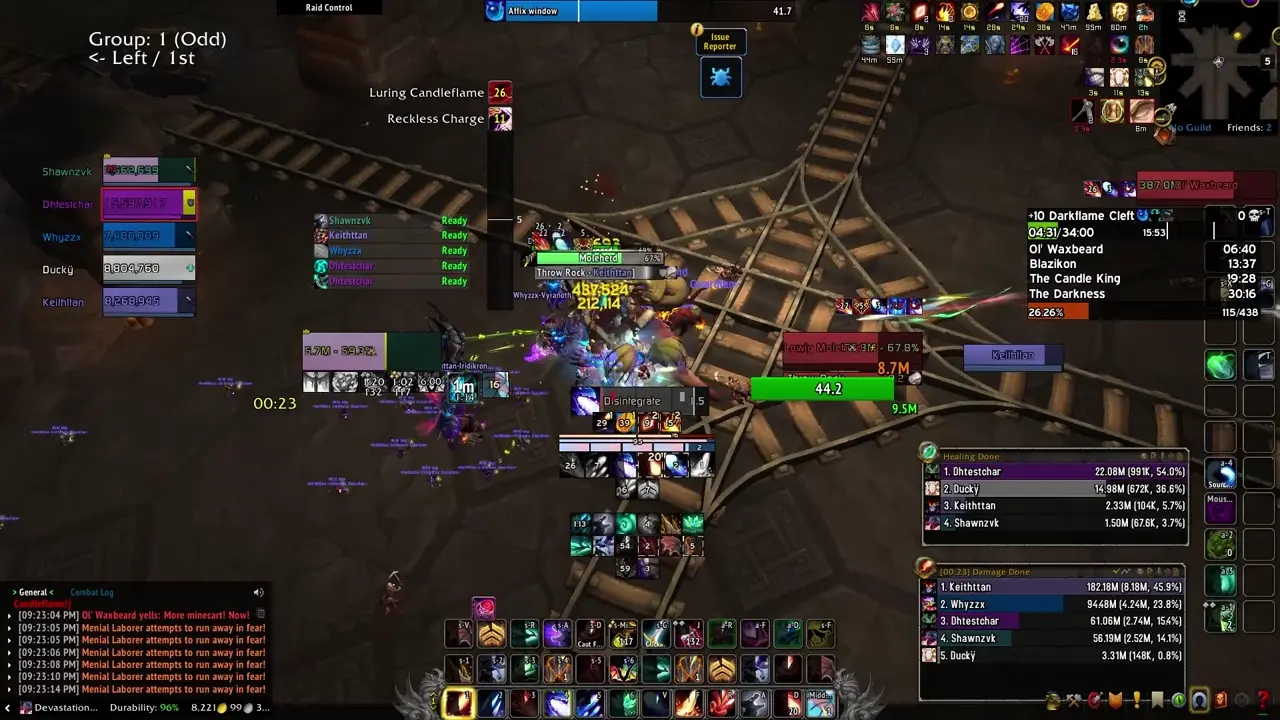
- Luring Candleflame - Waxbeard marks a target with this debuff, applying a light DoT to them but causing all Menial Laborers to fixate on them.
-
- Rock Buster - A moderate tankbuster the boss uses every so often that increases the target’s damage taken by 25%.
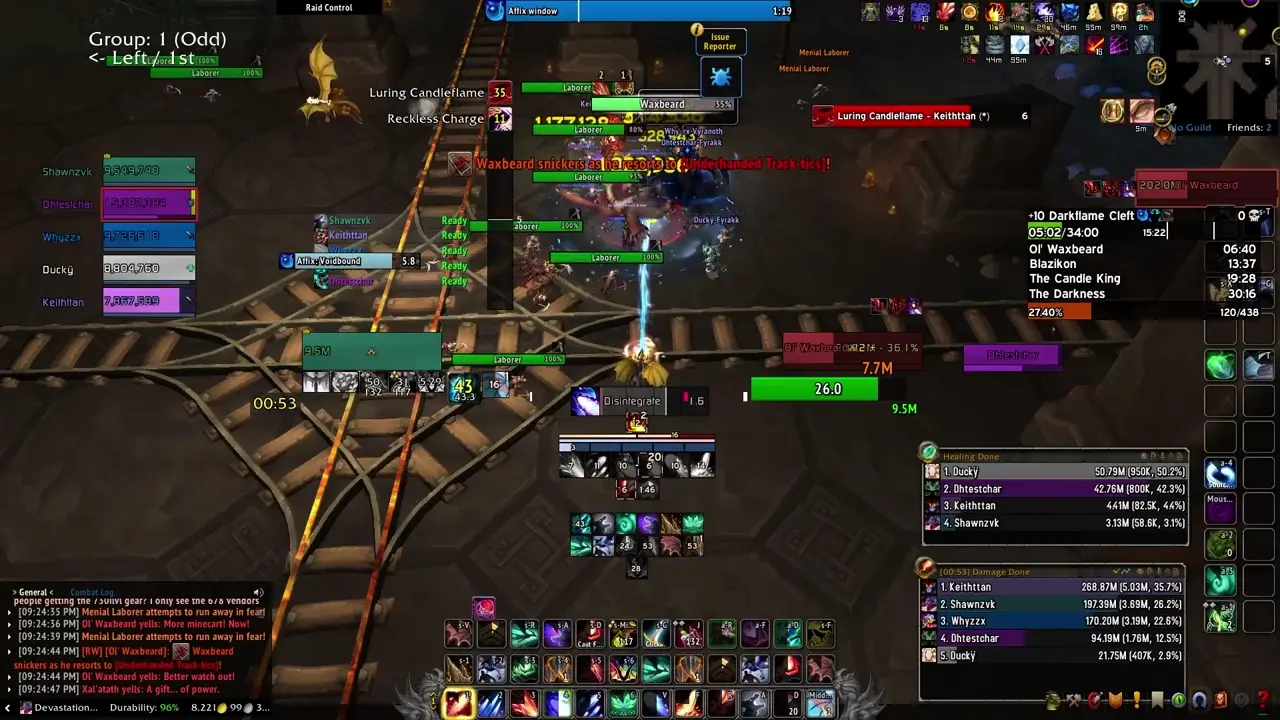
- Underhanded Track-tics - A Dynamite Mine Cart is summoned on a random track that detonates after 20 seconds, wiping the group if not destroyed.
-
Strategy
- The fight revolves around keeping the adds under control and making certain to burn every single Dynamite Mine Cart. You will want to tank the boss in the center, on the outside of the tracks to help passively kill the Laborers.
- When a player gets Luring Candleflame, they have two options: sit in melee inside of the boss and hope they get relatively lucky with carts, kiting if necessary, or sitting dead center in the middle of the intersecting tracks and dodging the carts as they come, which guarantees the death of the vast majority of Laborers. This is not particularly necessary on a +10, as the tuning does not necessitate it, but on a +12 and higher you will find this strategy nigh required to complete the encounter.
- Reckless Charge should be aimed into any one of the nearby pillars, preferably on the same section of room as the group for highest boss uptime. If possible, kite Laborers into the falling debris without being hit yourself.
- When the Dynamite Mine Cart it summoned it becomes the absolute highest priority. Movement CDs should be burned to make your way to this as quickly as possible. It has a fair amount of health even after nerfs.
Trash to Blazikon
There is not much distance to travel here, but you will be killing all of the trash between the previous boss and the next in the route I recommend. However, there are only 3 new mobs you will encounter here.
- Wandering Candle - These are a lieutenant mob, and have two abilities. The first is Quenching Blast, which deals moderate fire damage to the entire group, and Surging Flame, an AoE circle around them that deals lethal damage to any players caught in the indicated radius, leaving a large pool behind that does moderate ticking damage to any players standing within.
- Surging Flame
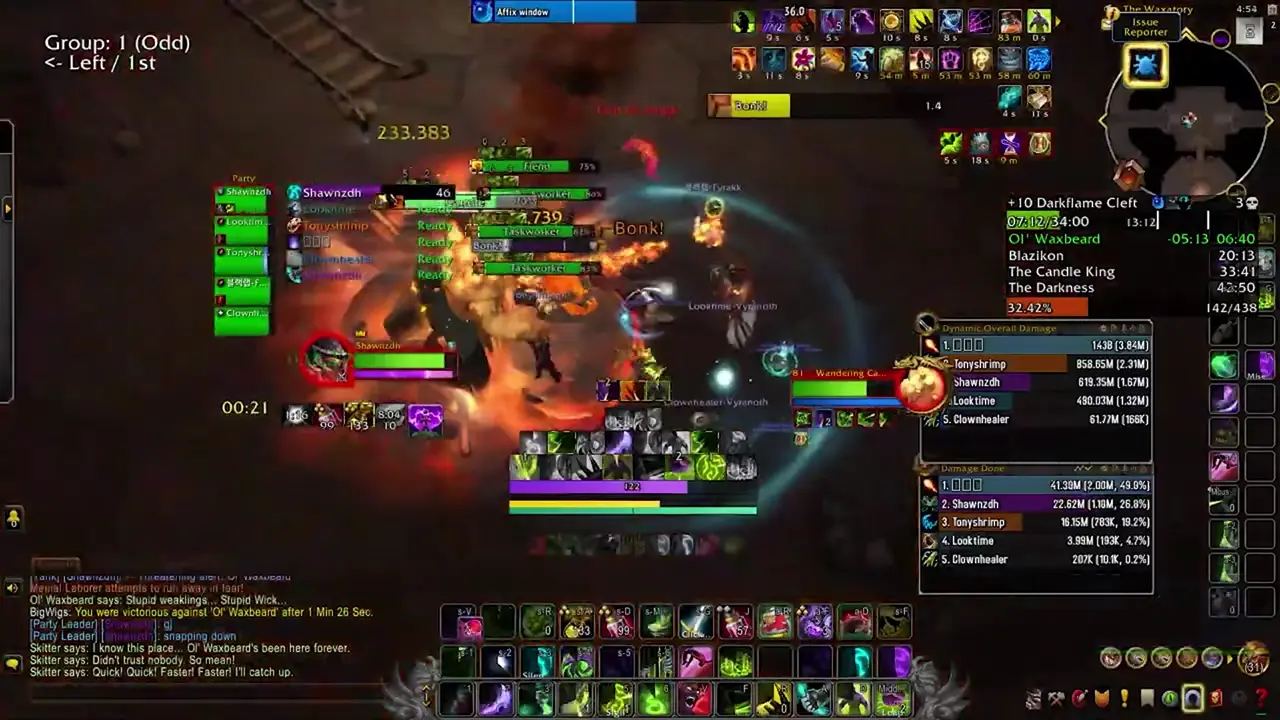
- Kobold Taskworker - These melee and cast Bonk!, an uninterruptible cast on the tank’s location that deals light damage and stuns anyone caught in the indicated visual.
- Blazing Fiend - These melee and cast Explosive Flame, dealing a light amount of groupwide damage but also applying a stacking debuff that increases fire damage taken by 10% a stack.
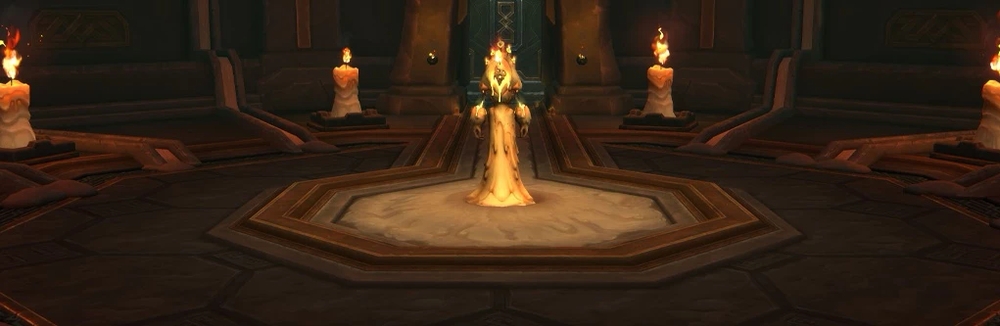
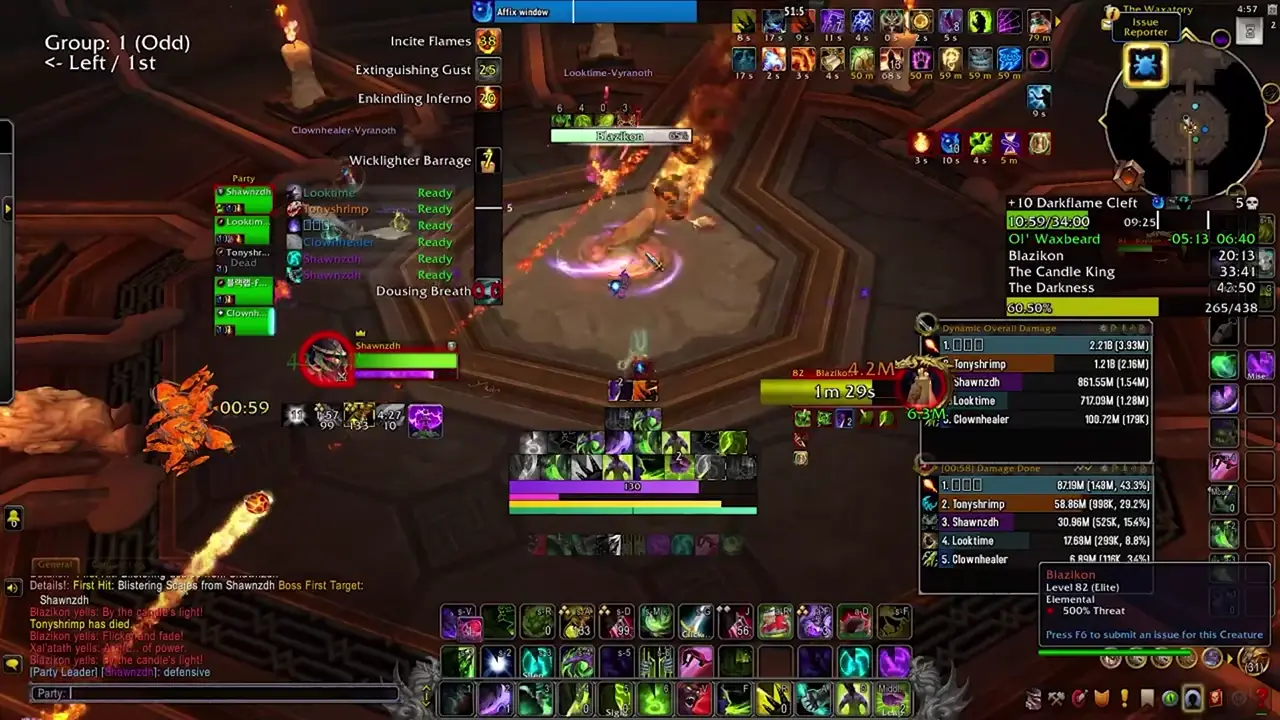
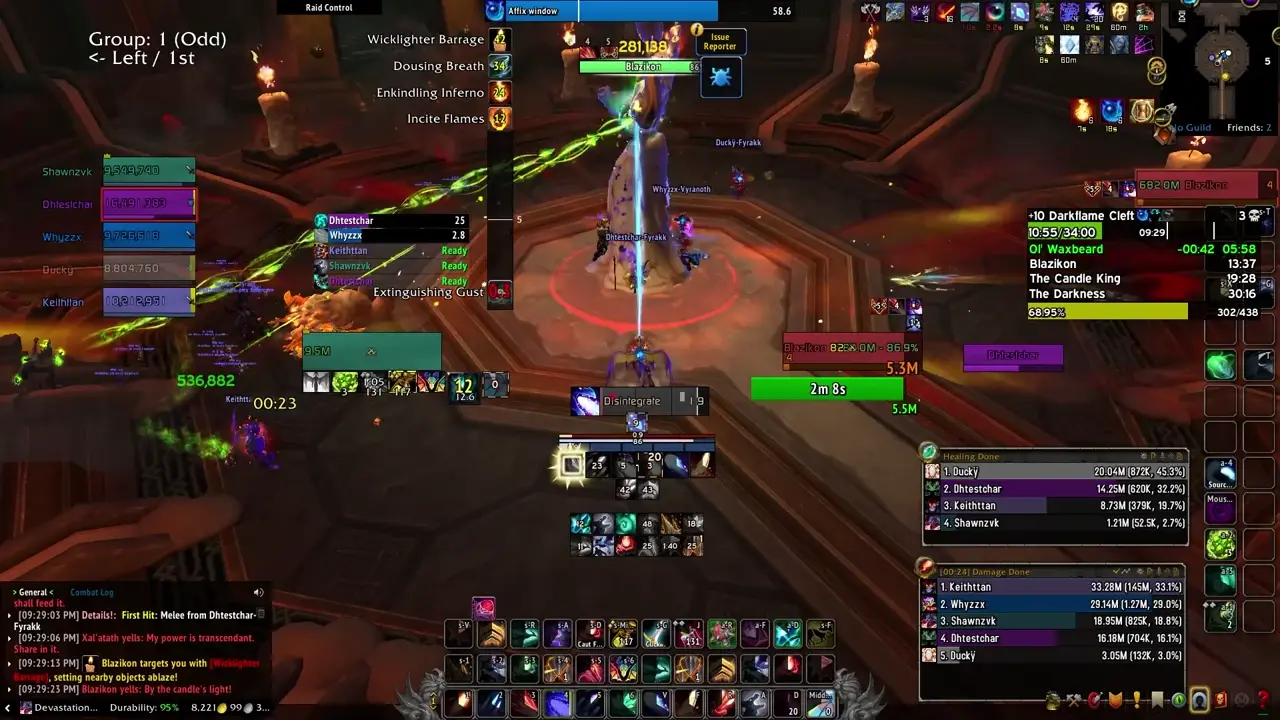
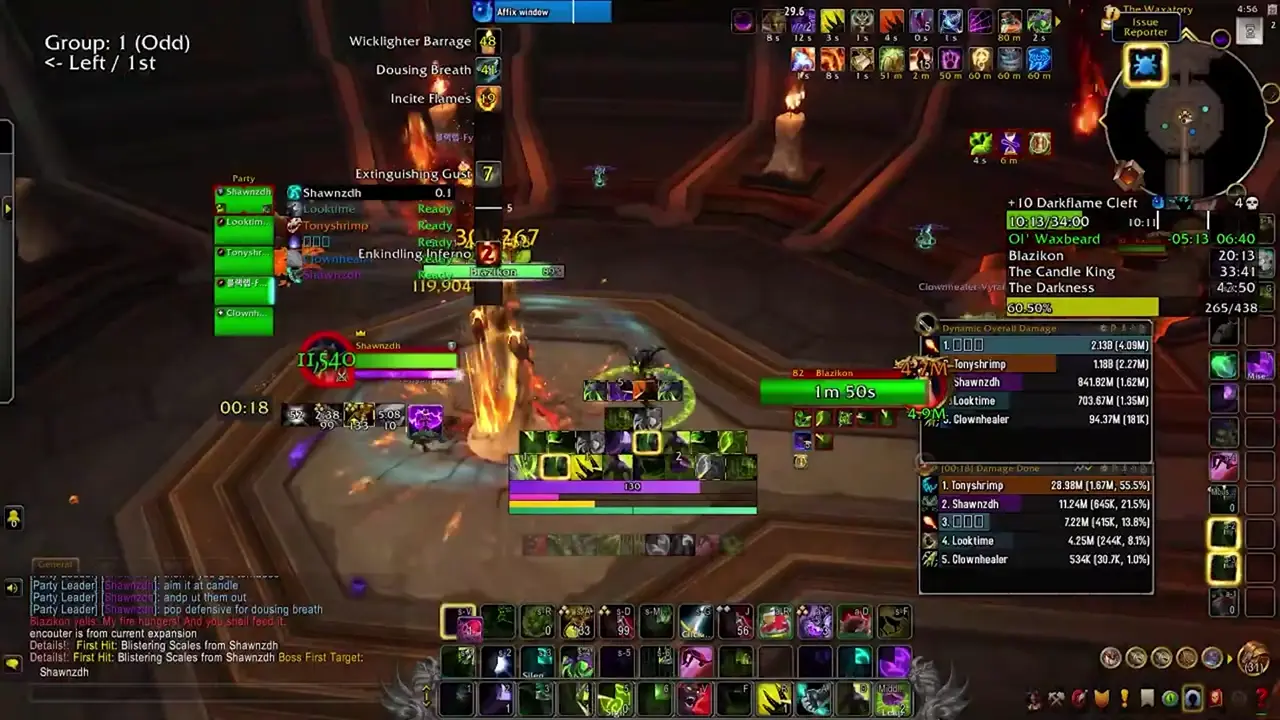
Blazikon
This encounter revolves around the candles around the room, and as of writing the boss also has an infuriatingly small hitbox, making melee quite difficult to play.
- Blazing Storm - The boss casts this the instant there are no players in range, dealing lethal damage to the entire group. The tank should never leave melee for any reason and should be incredibly careful as to their positioning. Dousing Breath prevents the boss from casting this for a brief interval.
- Wicklighter Barrage - Blazikon will mark three players, preferring DPS unless fewer than 5 players remain, firing a barrage of swirlies at their feet over several seconds. These have travel time as a function of distance from the boss, meaning that they travel much faster the closer you are to Blazikon. Any candles struck by these swirlies are lit aflame.
-
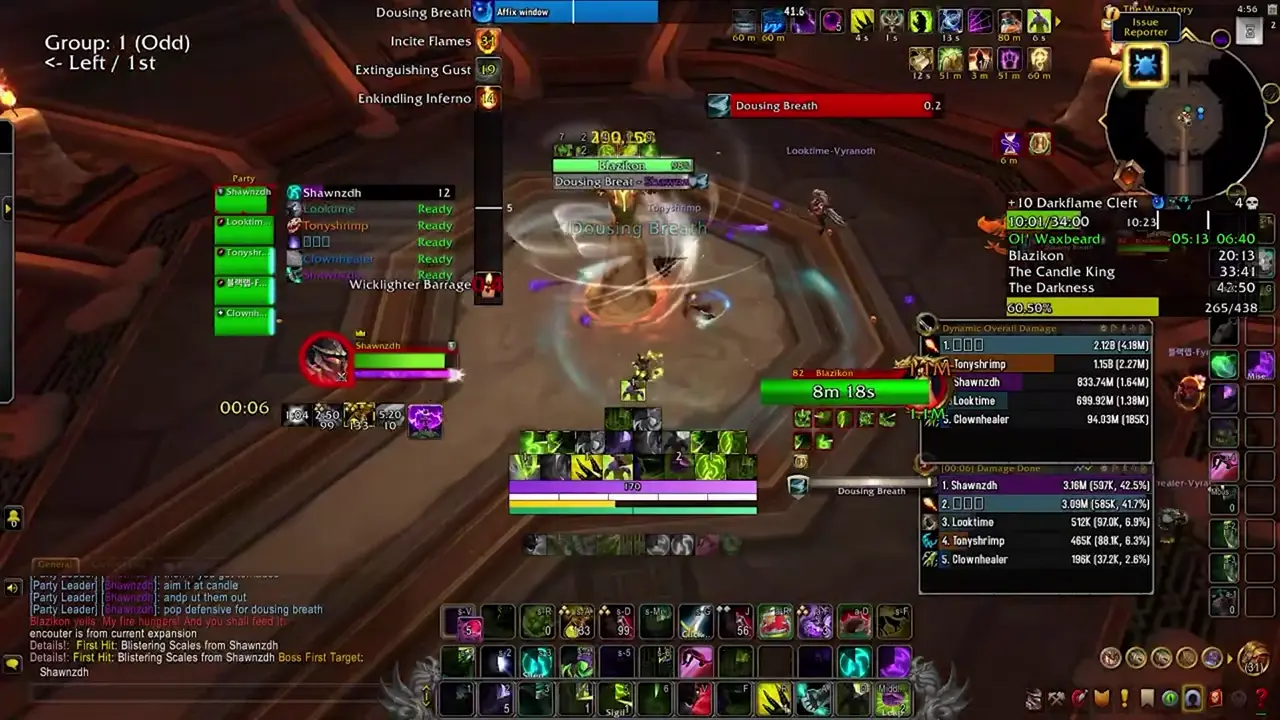
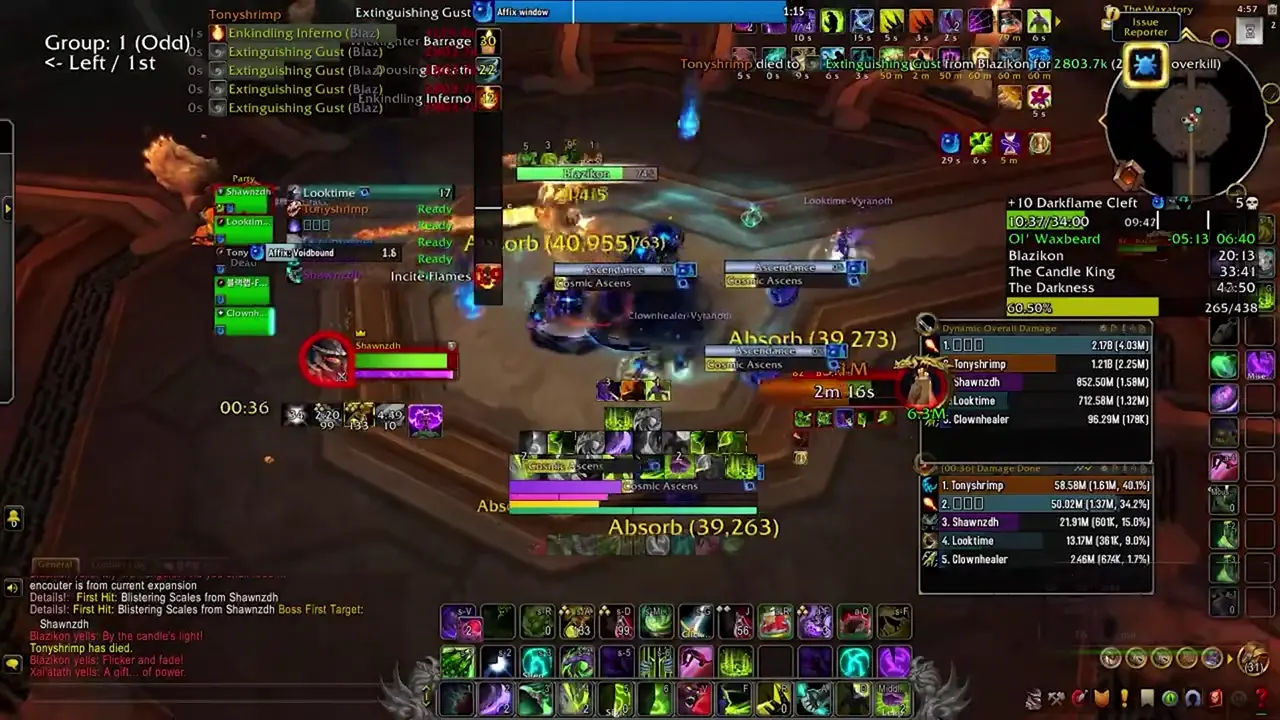
- Dousing Breath - Blazikon blasts a gust of wind that emanates from himself through the entire room, dealing high damage to the group and putting out all candles.
-
- Extinguishing Gust - The boss does a short cast then launches gusts of wind that travel towards the player’s location when the cast completed, dealing lethal damage to any non-tank and putting out any candles they pass through.
-
- Enkindled Inferno - Blazikon sends an igniting flame towards any unlit candles that explodes after a few moments, dealing lethal damage to any player struck. Upon igniting the unlit candle, the candle emits a searing burst, dealing moderate damage to the entire group, stacking per candle.
-
- Incite Flames - Any lit candles when this is cast eject globs of flame, dealing lethal damage to any player within the indicated visual.
-
Strategy
- This boss has a frustratingly small hitbox and is quite annoying as melee and as a tank
- The tank should stand almost inside the boss, and be ready to counter any forced movement (as such provided by the Dousing Breath). They should not leave melee for any reason and use defensives as needed to simply eat any mechanic that would normally force them outwards.
- As Enkindled Inferno will apply a stacking DoT for each candle it lights, and Incite Flames requires at least 1 candle to be lit for a safe zone to be created, you want to light as many candles as possible before Enkindled Inferno, and only put out 1 with Extinguishing Gust. This is because you will get a guaranteed Enkindled Inferno before the Dousing Breath, and thus the best case scenario is for only 1 candle to be unlit, thus gaining only 1 stack of the DoT going into the large AoE pulse given by Dousing Breath.
- For the Wicklighter Barrage, players should light as many candles as they can, but make certain to keep at least one single candle unlit, preferably two. Melee will need to pre-move out of range, as if they are too close they will be quickly killed due to the Barrage being impossibly fast to dodge.
- For the Extinguishing Gust, players need to be at out of melee range to dodge this without taking a tick. You should mark a single candle with world markers, and tell everyone before the fight that only that candle should be extinguished. This will ensure the next Enkindled Inferno only gives you one stack, and keeps the Incite Flames safe spot consistent. It should look like as follows:

- To reiterate, you will get an Enkindled Inferno just before every Dousing Breath (besides the one the boss begins the fight with, of course). This means you will have a minimum of 1 stack of the DoT, as there are 8 candles, and you should defensive every single Dousing Breath as a result.
- To summarize, light as many candles as you can. Only put out 1-2 candles.
Trash to The Candle King
There is not much physical distance to cover, and not many new mob types either on the way to the Candle King.
- The very next room is filled with a bunch of small non-elites and a single Wandering Candle. As of writing, if you initiate combat with this room by tagging the Wandering Candle, it will instantly die (Note: this seems to be quite buggy and not the actual guaranteed way to do it. Will update when I know more.). The Kobold Flametenders in here do a single cast, called Flame Bolt, that does light damage. These are quite spread out and it is best to use mass interrupts and knockbacks to group them together. You can choose to LoS pull them, but the time it takes to do so isn’t quite worth it.
There is a single large pack with 2 mini-bosses in it before the 3rd boss.
- Kobold Flametenders and Menial Laborers are retained in this pack
- Torchsnarl - This is the melee mini-boss and he has 3 abilities. The first is One-Hand Headlock. He will pick a random player and charge to them, picking them up and stunning them for 5 seconds. Next is Pyro Pummel, a channeled frontal that deals lethal damage to any non-tank struck, and lastly, Massive Stomp, which deals a moderate amount of damage to the group and knocks them all back.
- One-Hand Headlock
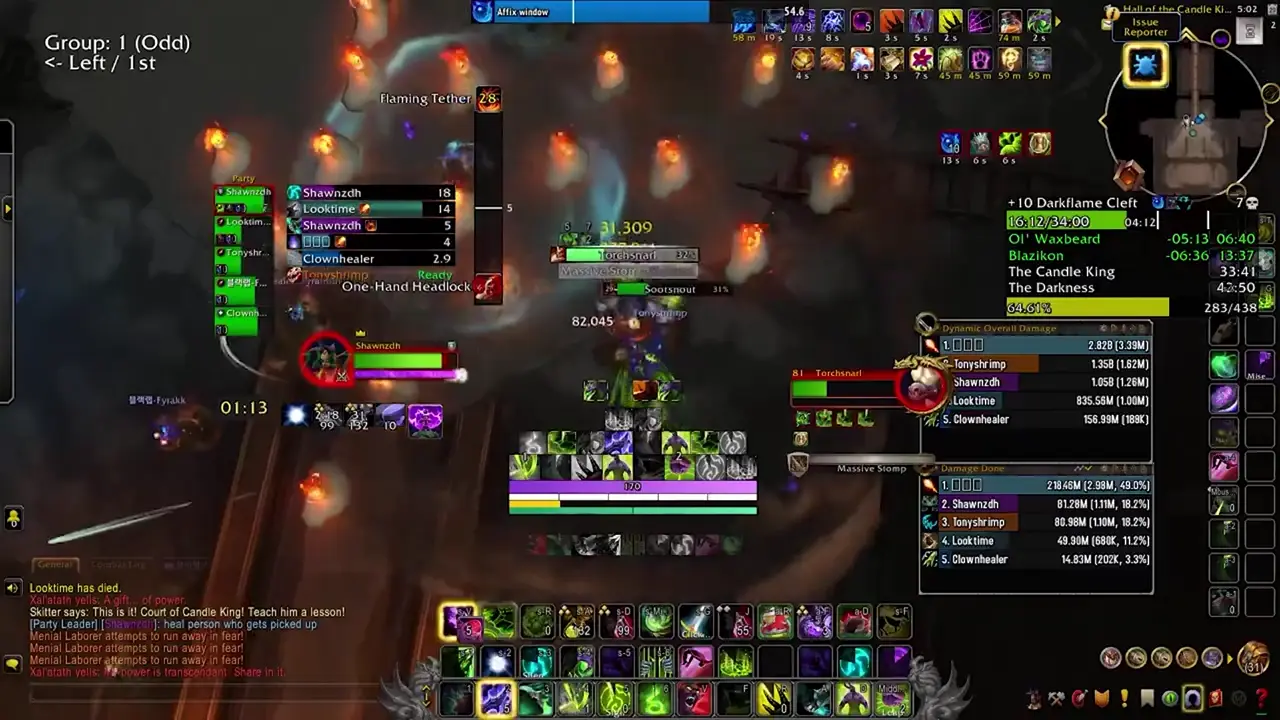
- Pyro Pummel
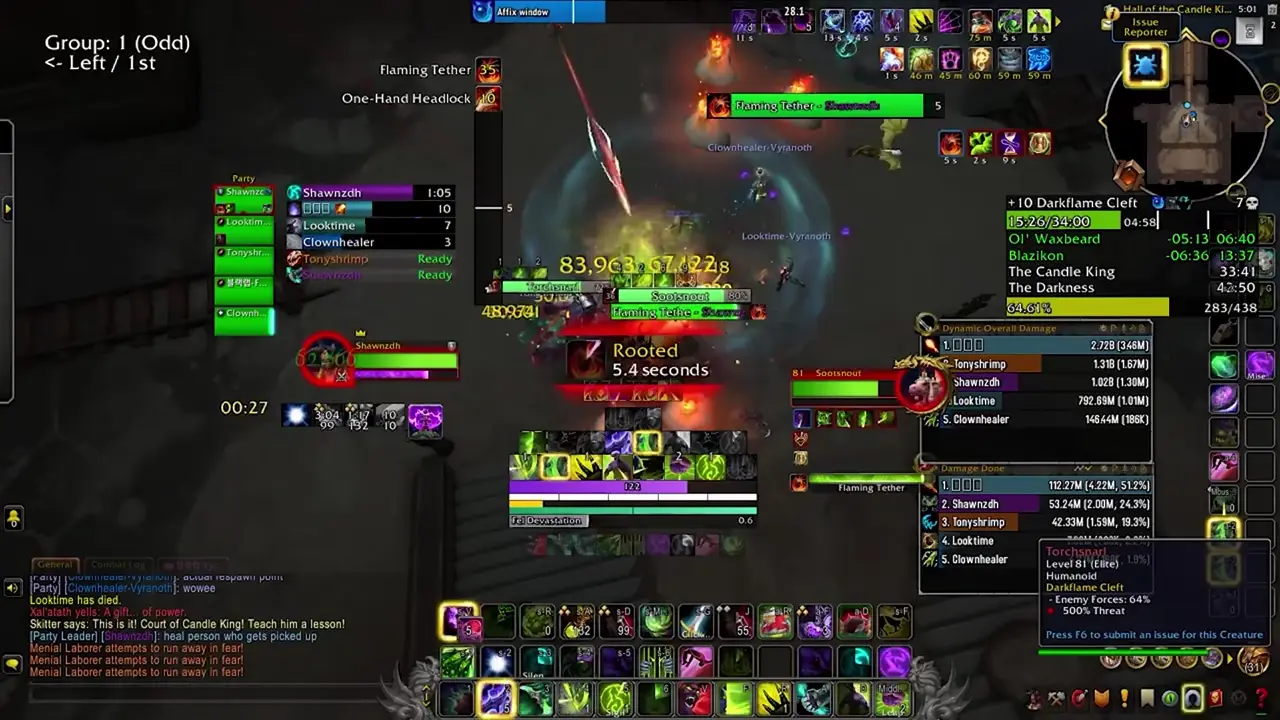
- Sootsnout - This is the caster mini-boss that will use Candleflame Bolt, a light damage bolt at the current target, Burning Candles which summons candles that pulse damage to any nearby players, Ceaseless Flame, which is a frontal cast towards the target of One-Hand Headlock, and Flaming Tether, an interruptible cast on a random player that roots them and deals light damage over 6 seconds.
The Candle King
This is one of the harder heal checks across the entire dungeon pool, and you will want to lust this to end it as quickly as possible. You should also set up a 2-3 person interrupt rotation for the encounter.
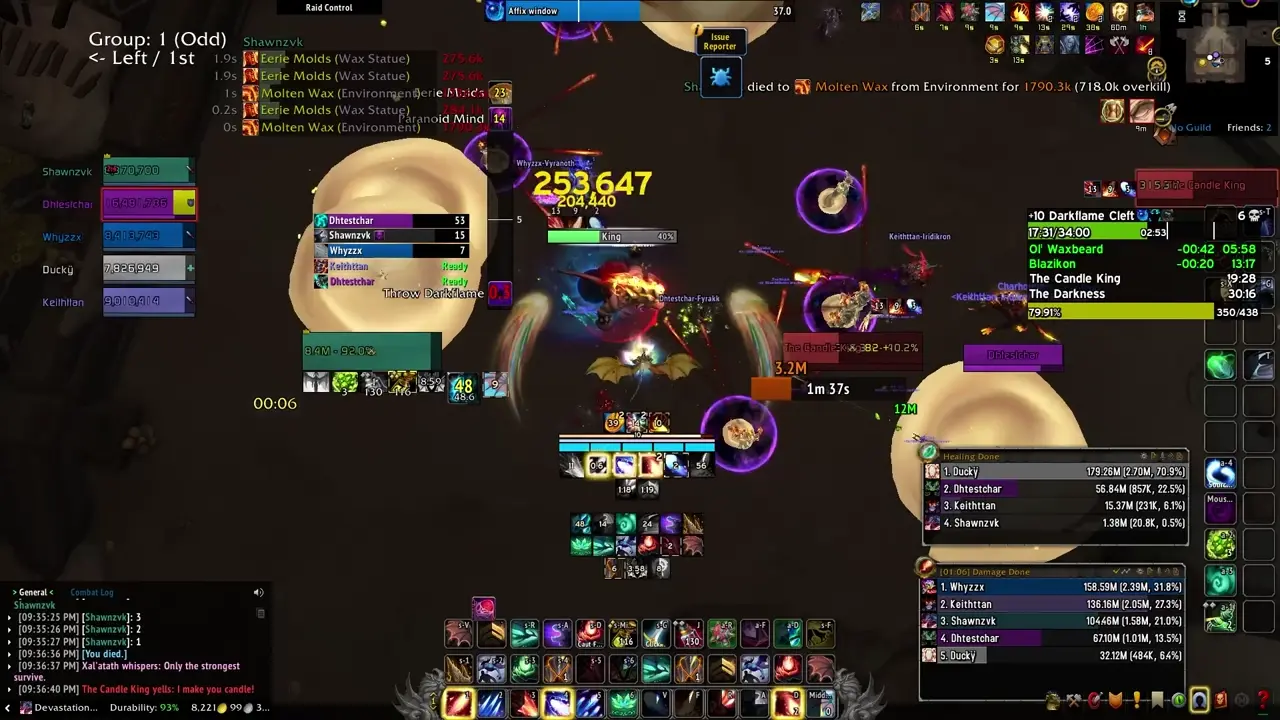
- Eerie Molds - The boss will summon several wax statues of players that pulse moderate fire damage per statue every 2 seconds. Touching these Molds stuns players for several seconds. Destroyed statues leave pools that damage and stun players as their statue form did.
-
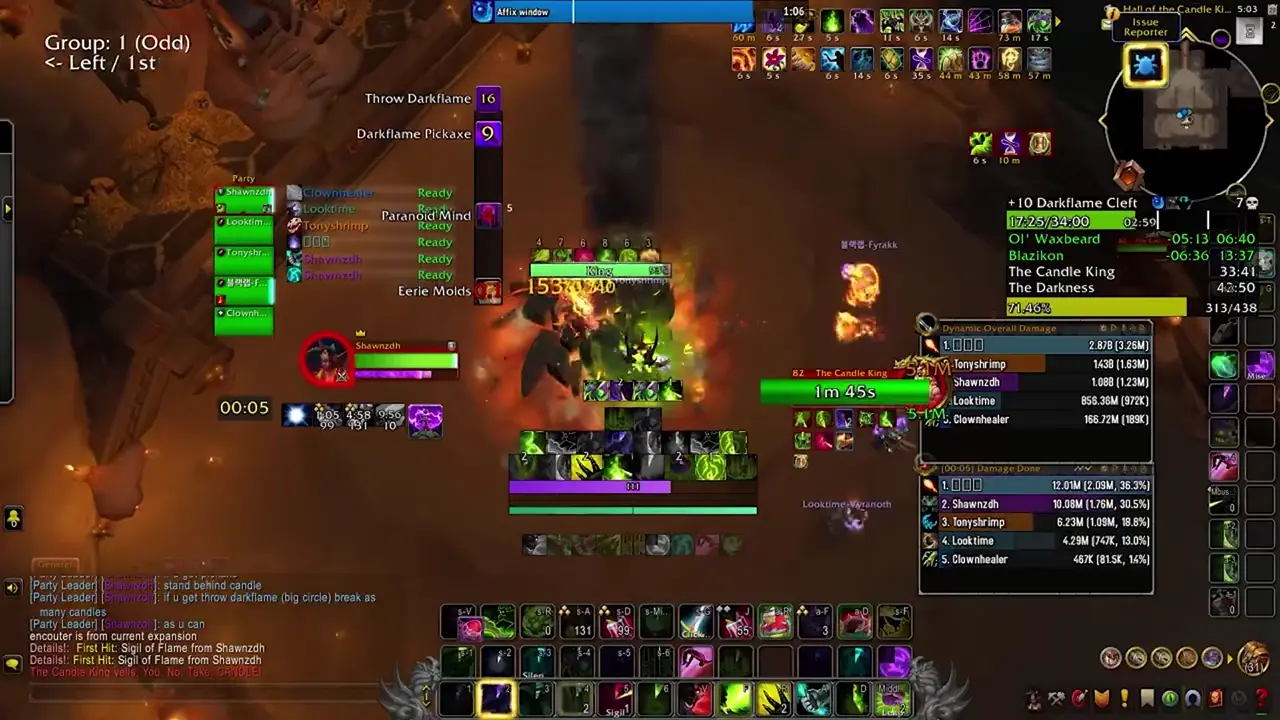
- Darkflame Pickaxe - The Candle King will target a player, then after a few moments will throw a pickaxe towards them, dealing lethal damage to non-tanks and knocking anyone struck backwards. These can only be blocked by Eerie Molds, which will destroy the one that blocked it.
-
- Throw Darkflame - This lobs a ball of Darkflame at 3 targets, applying a moderate damage DoT to them but also destroying any statues near the player.
-
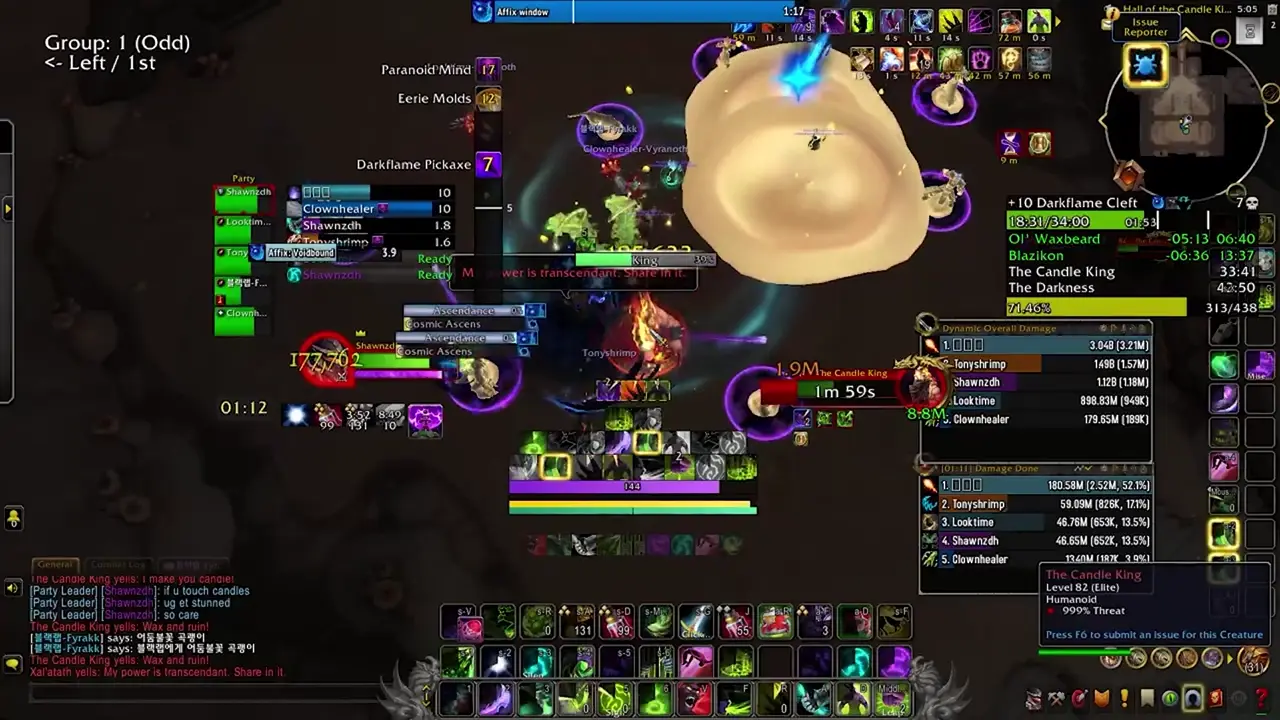
- Paranoid Mind - An interruptible cast that fears all players if successful for 4 seconds.
-

Strategy
- The entire group, including ranged, should stack up along the walls of the encounter area to bait the Eerie Molds in one spot. You must quickly move to a good bait spot after you destroy them with Throw Darkflame. Avoid using the middle of the room so that the Molds are consistently very easy to destroy.
- As I mentioned, you will want a 2-3 person interrupt rotation, with all players ready to back up kick. A ranged kick should be used as the first person in the rotation, as this tends to overlap with Throw Darkflame, and as such if a melee is up for that kick then they could be out of range.
- The Eerie Mold damage stacks up extremely high, requiring near 3M HPS even on a +10. You should eliminate as many candles as possible while keeping one up near the boss to be used for the Pickaxe.
- Defensives should be used as needed, but consider saving something in case you get the Throw Darkflame while many Molds are up.
Trash to The Darkness
The section immediately following the Candle King is the dreaded and infamous Mine Cart Event. It will begin moving as soon as any one player moves within the radius of the cart’s light. This has been nerfed quite severely, and is quite simple to complete and is very fast.
- The tank should pull any mobs threatening the cart’s path. In a PUG, I would recommend just killing these within the cart’s light, but more advanced groups can choose to simply pull the adds off of the cart so that it continues moving at full speed and simply pick up a candle so they can keep killing the adds as they move.
- Only pick up candles otherwise when it is about 40% or so. It is a waste of the candles otherwise, although this is less important now that the quantity of available candles has been massively increased.
There are only a few new mobs in the path to the last boss.
- Corridor Creeper - a lieutenant mob that does nothing except apply a stacking DoT to the tank on every melee. At around 5 stacks, this will begin hurting if you are a non-meta tank. It also gains a damage increase for every dead creature nearby, stacking.
- Shuffling Shadow - These melee and try to drain the cart’s light with Drain Light, reducing it by 2% every tick. This is interruptible. It also does light damage to the group with every tick.
- Drain Light
- Skittering Darkness - Cannon fodder that melees and explodes for lethal damage upon death to anyone caught in the indicated visual.
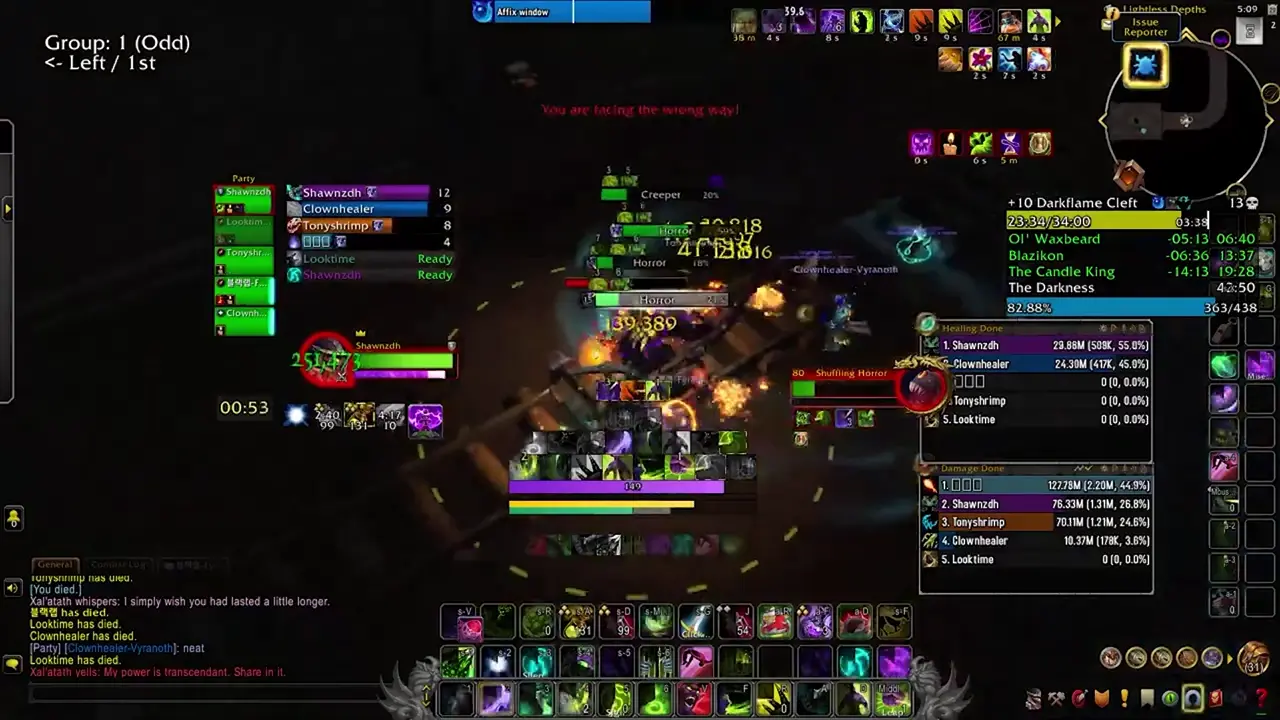
The Darkness
While initially quite offensive in terms of its design, it has been made relatively painless as such a fight could be. This revolves around protecting the singular candle you are given, making certain to prevent it from going out. Ideally, a single player (read: healer) can accomplish this, but all players can assist as needed.
- Smothering Darkness - While outside of the Candlelight, you deal 99% less damage and healing.
- Candlelight - Nullifies Smothering Darkness but reduces the energy of the candle over time. The candle can be picked up by using the ExtraActionButton. This button has a 1 second cooldown.
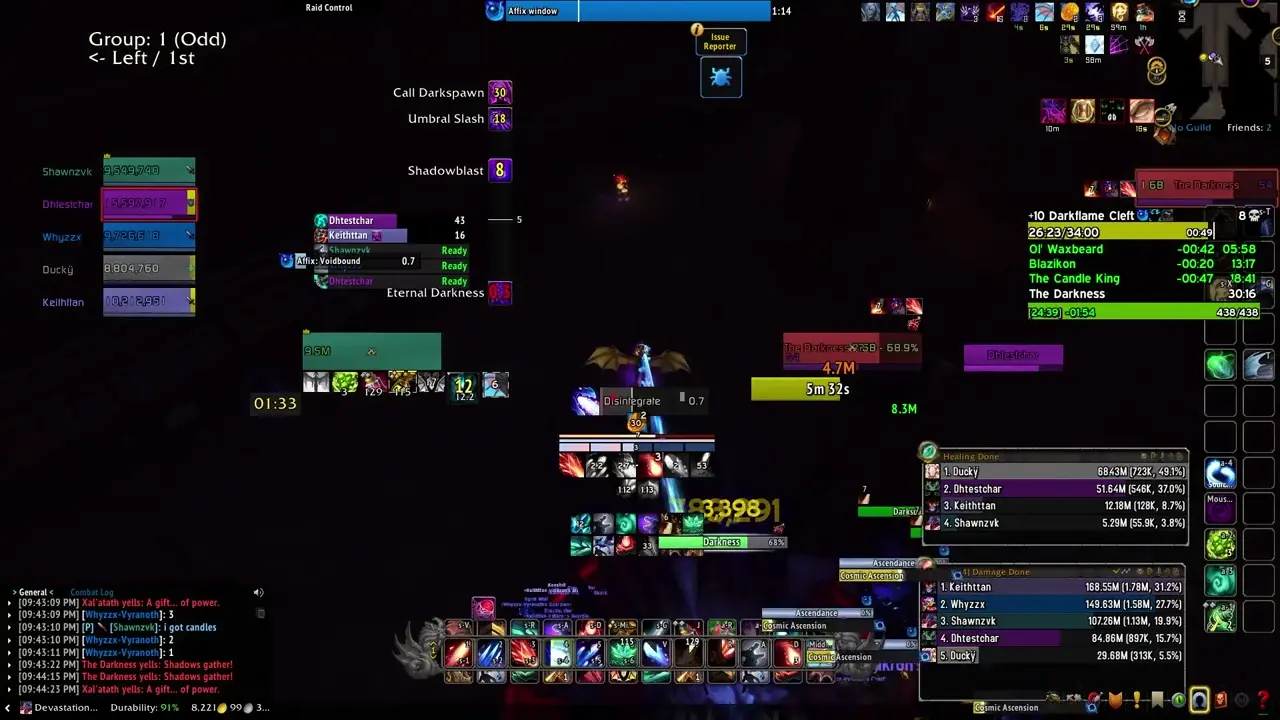
- Shadowblast - The Darkness selects a player and casts this at them, causing them to detonate after several seconds with shadow, dealing high damage to them and anyone else caught within the indicated radius.
- Call Darkspawn - This is an interruptible channel that summons Darkspawns for each second it is allowed to cast. It should be instantly disrupted.
-
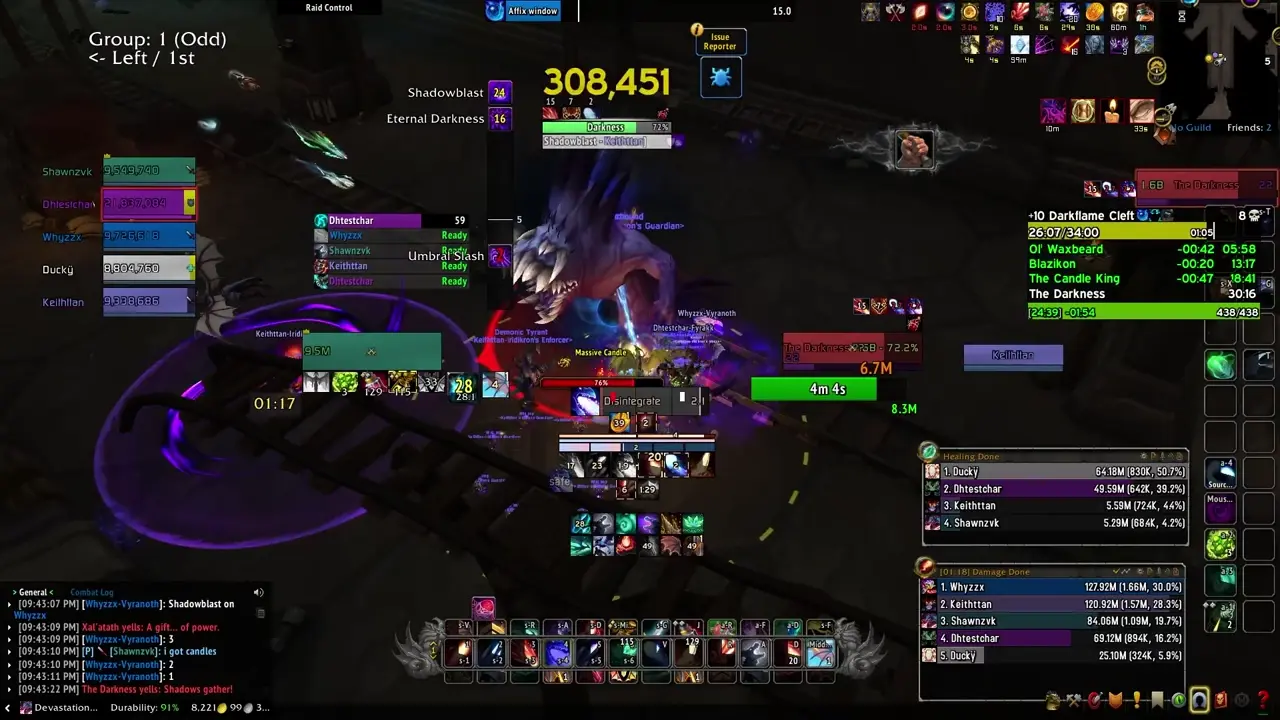
- Umbral Slash - The boss charges a slash towards the location of the candle, dealing lethal damage to anyone struck and depleting the candle’s energy if it hits.
-

- Rising Gloom - If the candle is allowed to deplete for more than a second or so, this afflicts the group, causing them to flee in fear for a second on application and reducing their haste by 10% as well as increasing their damage taken.
- Eternal Darkness - This deals high ticking damage to the group over a short duration and massively reduces the candle’s energy.
-
Strategy
- The boss should be tanked in the center, as this is equidistant to all candle spawns which massively reduces travel time for whoever is relegated to the mechanic.
- Shadowblast targets can stay in the light until a second or two until it explodes, then they should move out of range of players and the candle.
- A player (ideally the tank) should pick up the candle and move it for every Umbral Slash.
- Kill and interrupt the Darkspawns that spawn as a result of Call Darkspawn. They will attempt to the drain its light. You should also instantly kick the Call Darkspawn cast.
- Someone other than the healer should grab a candle before Eternal Darkness and wait just outside of its radius, moving in and refilling the candle as the cast completes as each Eternal Darkness almost fully diminishes the Candlelight.
- For reference, you shouldn’t refill the candle until it is around 50%, or an Eternal Darkness is coming within the next 15 seconds. Remember that the Candles you pick up to refill the main Candle only stay on you for about 10 seconds.
Routing and Lust Recommendations
Here are the Lusts I recommend, though you may move them for whichever boss you find more problematic:
- First Pull/First Boss
- Candle King
- Darkness
Here is the route I recommend for pugs and the early season. This may show 92% forces as it did not seem to have the final area of trash included, but you should easily have the count needed to complete the key.
!9AvtZXjmm0)rDqYgWCUDMoTDMTDYMl9ctyb7uAyxYqG0nxYV9I)yTeSK2EQx0YklBj)K0tUekVTCF)HFQRhFA(ZXY9nTgtB9u34lL7GK3LuU)xA9dL7e2pFUQBsB3s90WG(04hMoDVU)0NAopBmKBn5jD38H12FYFCbd)2ux3Sjwdg16JTNUVCN7WhAnJF1yEsFX)poBP9tNXl)zhGwPta24Xfu7aPv6eqQv6eqMv6efwrUtP7yuUptIlLr)xrwL)38yk5r7)h92DjwrVQuMkr8SclkU2E5kvEb5AVN2x331pm)tg0yKmxZJa5ITpUekf50QkYffXnktO7ibs5eYOi8QicLycHLiqGjIm0uqWjU8(KwP011RGMiCuqHCcfY0DvGXqwiIXmMfJzmpgZO668tkLRxeviGMmfl7WtseoQwSPdgTSqZCbYZ2lDqvMSabRTzEBuRQAOvag(sWR4scy0hq8saMBsAKaYSrTkIwuCYDywCX8O7wEDf6mOQXUVWHMUA7RImyJA7nC86wMykbRnkxHsX1xLq3iKED7fKTHU8n0P2qxX16C17R1bBO7AQHlxLcJqQCfkq4Wq5BwPKc1YgxPie8sX)aHXoIVknMoP2cQRqfBKlO6SGK1ndRsgfYmWhu41TTcgpukfBHAcE4du22ZWkwYW6ZEmGIbqr8ydqZK0uRC19qOhetFtJRRqLUYz8L0a()cIXnbAo44NQ5rhpzShEGaDgSXif4puoP0IkyrZIyZMukXDjfWbfGyMrIzgztHOdXvChiueebAkXmtZS981b2o2Oz)KaGnkayZca2WaGnnWJD(Aqp2jKBGqur4s2tuckiJtIGzVjWQQZt1w6q6jq7No0PFw3fnDuFEw(HQHhmDvh1VE3770MXxV7w9Xh7hQgE517UPFAuxU)ytR9rxMbT(h9DnFUV908HFG0eEA1b99tTDUhxf8XuBZ8d4k(EDN5MZN)YhN1v(BaSkips
Listed here are demonstrations of any pertinent skips I am currently aware of.
- Skip before Ol’Waxbeard
- **Hugging wall to skip second set of Wicklighters + Moleherds

Profession or Dungeon Buffs
- None I am aware of
Respawn Locations
- Entrance (until you defeat Blazikon)
- Blazikon
- Start of Mine cart event (by Candle King)
- Area before Darkness (after you are chased by him)
Table of Contents
- Operation Floodgate
- Operation: Mechagon - Workshop
- Rookery
- Cinderbrew Meadery
- Theater of Pain
- Motherlode
- Priory of the Sacred Flame