Published
- 17 min read
A Complete Guide to Cinderbrew Meadery
Intro
Cover image for this article sourced from Wowhead
Timer - 33 Minutes
This is a fairly short dungeon with massive pulls and trash that can get somewhat complex to manage properly. The bosses are overall easy comparatively, and much of your focus will simply be balancing pulling as much as you can while still living some of the very dangerous mechanics on offer.
There are no main gimmicks throughout, and it is a fairly simple and linear experience with little choice for creative routing except in what you choose to pull and when. As opposed to most dungeons, melee are not a particular detriment here and thus composition is not incredibly important, insofar as ranged vs. melee is concerned.
This guide is focused on providing a complete understanding of the dungeon at a base level of +10, and the warnings I provide will focus around such. There is still plenty of knowledge to be gained here even for more advanced players, and everything here still applies to lower keys, but you should approach comprehension with this in mind.
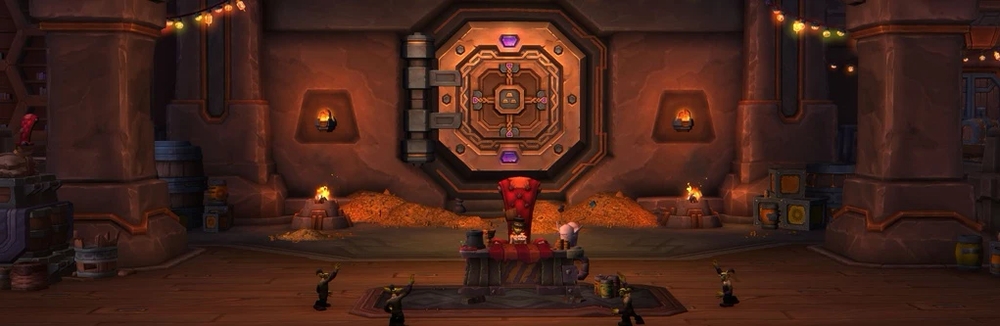
Trash to Brewmaster Aldryr
You will begin the dungeon in a rather claustrophobic bar with a fairly large amount of enemies to defeat. Several mobs in this area will patrol, and there some enemies that are quite dangerous to battle with too many others. There is a single mini-boss in this area that pats back and forth. He will first start near the bar, then move towards the left side of the room, then the right, then path back towards the bar.
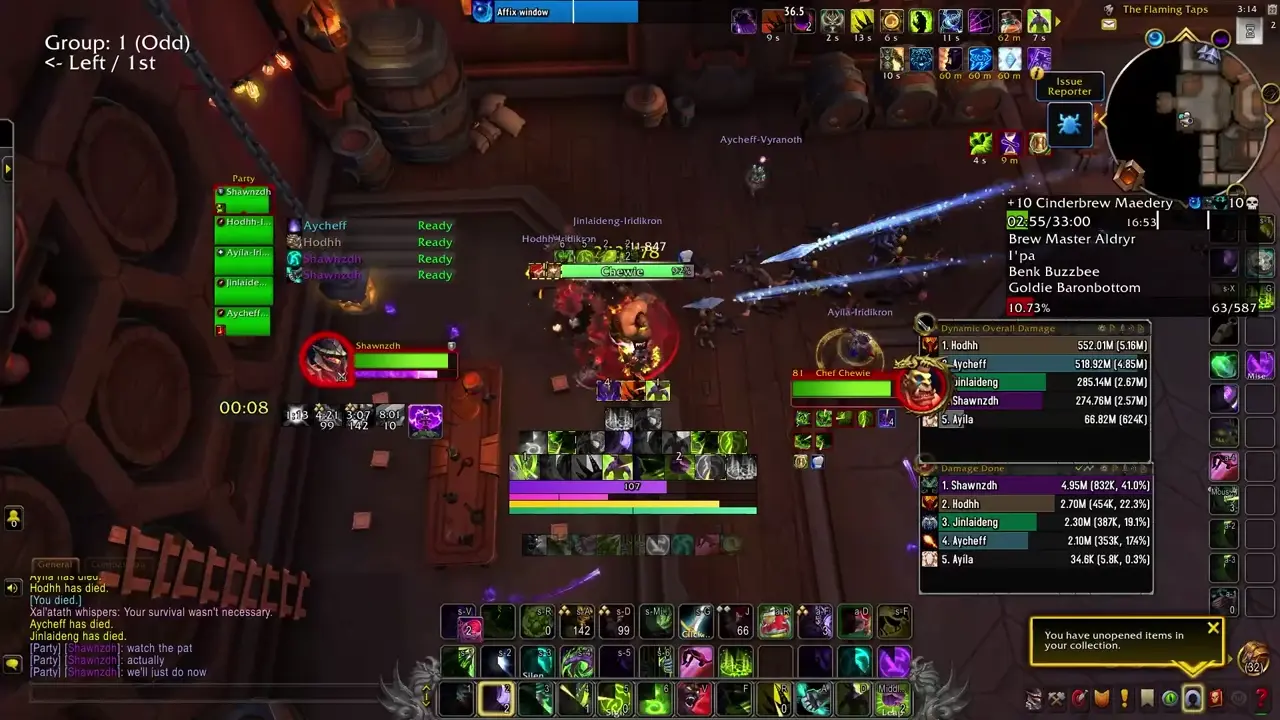
- Chef Chewie - This is the aforementioned mini-boss. He melees fairly hard and has two abilities that make it difficult to fight him with much else besides cannon fodder. Tenderize, which deals a very high amount of group-wide damage as well as knocking everyone back, and High Steaks, which throws a barrage of meat at your party, dealing high damage if you are struck by it and stunning you. You will generally want to fight this enemy by himself, with only Patrons if possible.
- High Steaks
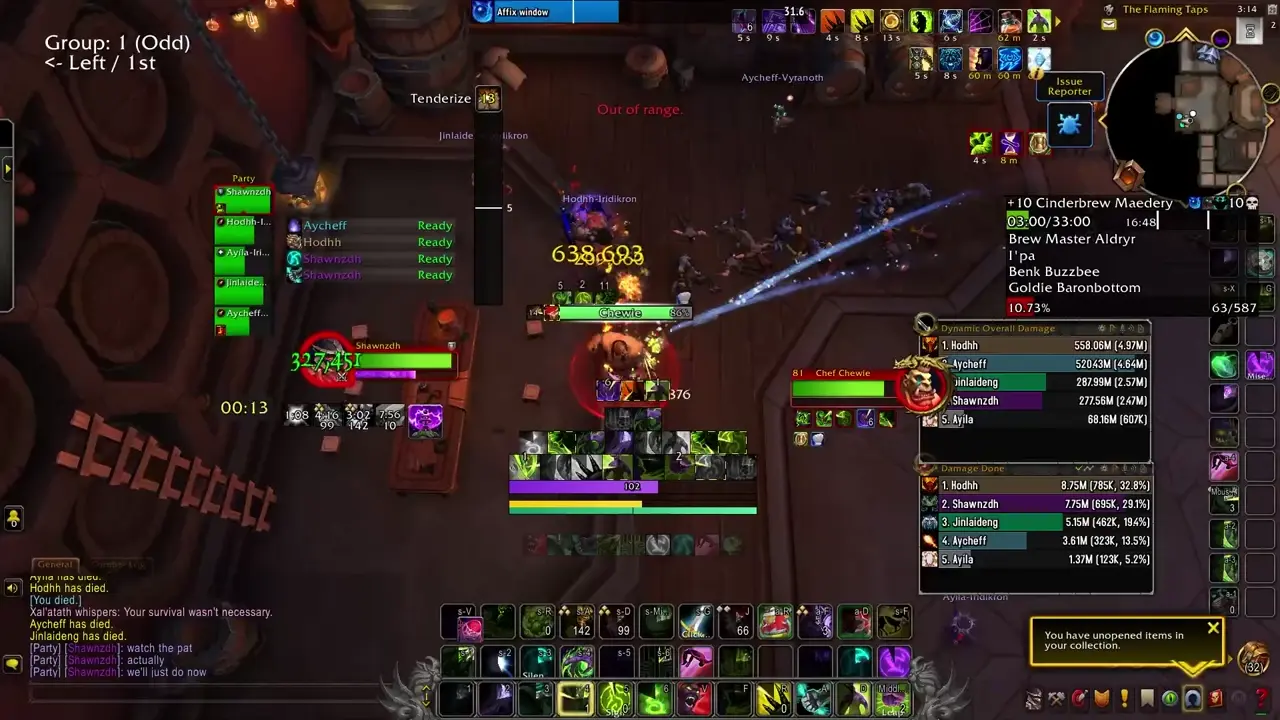
- Tenderize
- Hired Muscle - These are the lieutenant mob of the area. They possess two abilities, both of which are high impact. The first is Volatile Keg, which deals moderate damage to the group and then applies a heavy-hitting DoT to the entire party, and the second is Throw Chair, which deals high damage to a single player. These also melee relatively hard.
- Venture Co. Patron - These melee and cast Mean Mug on their highest threat target, dealing moderate damage and applying a light bleed.
- Over-Indulged Patron - Cannon fodder neutral mobs.
- Venture Co. Pyromaniac - These are caster mobs with two abilities: Boiling Flames, a channeled cast that can be interrupted which deals high damage, and Erupting Inferno, which is a non-interruptible cast that applies a magical debuff to the target, which is a moderate DoT that also places a pulsing circle around them.
- Testing Room Attendant - These melee and cast Cinderbrew Toss, which cannot be interrupted and will throw a barrel of brew at a player’s location, dealing high damage and disorienting any player hit.
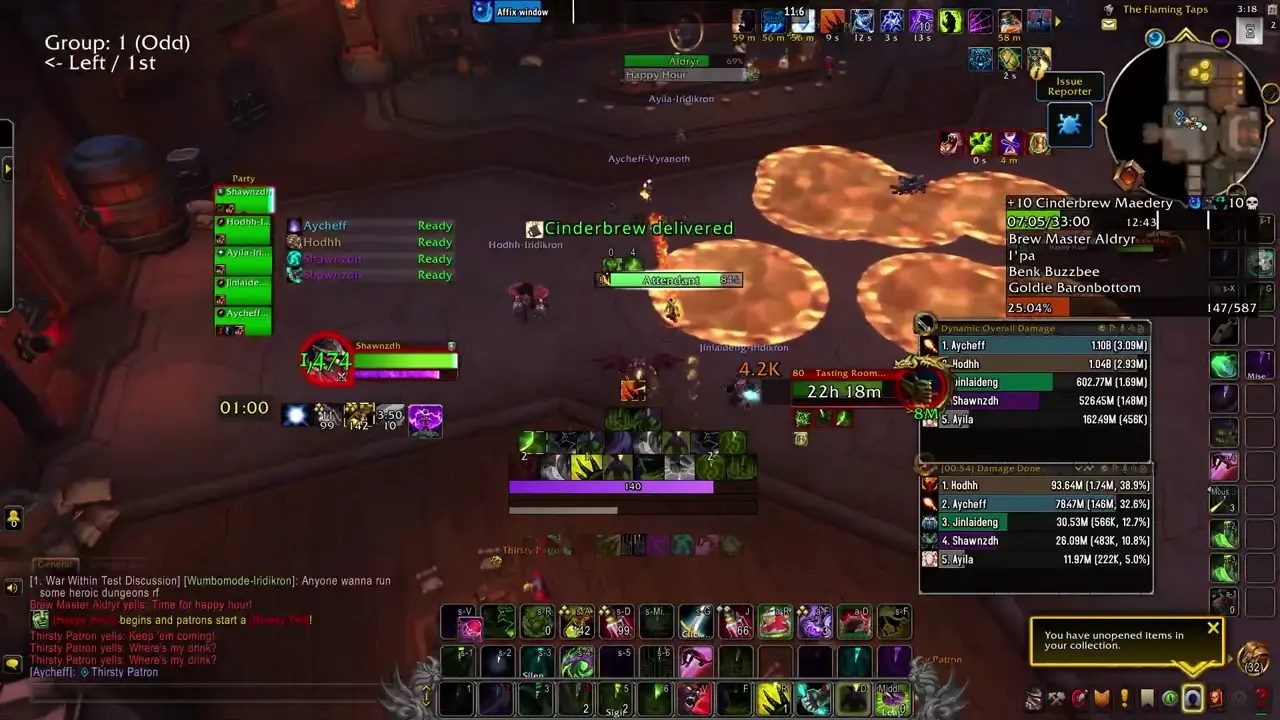
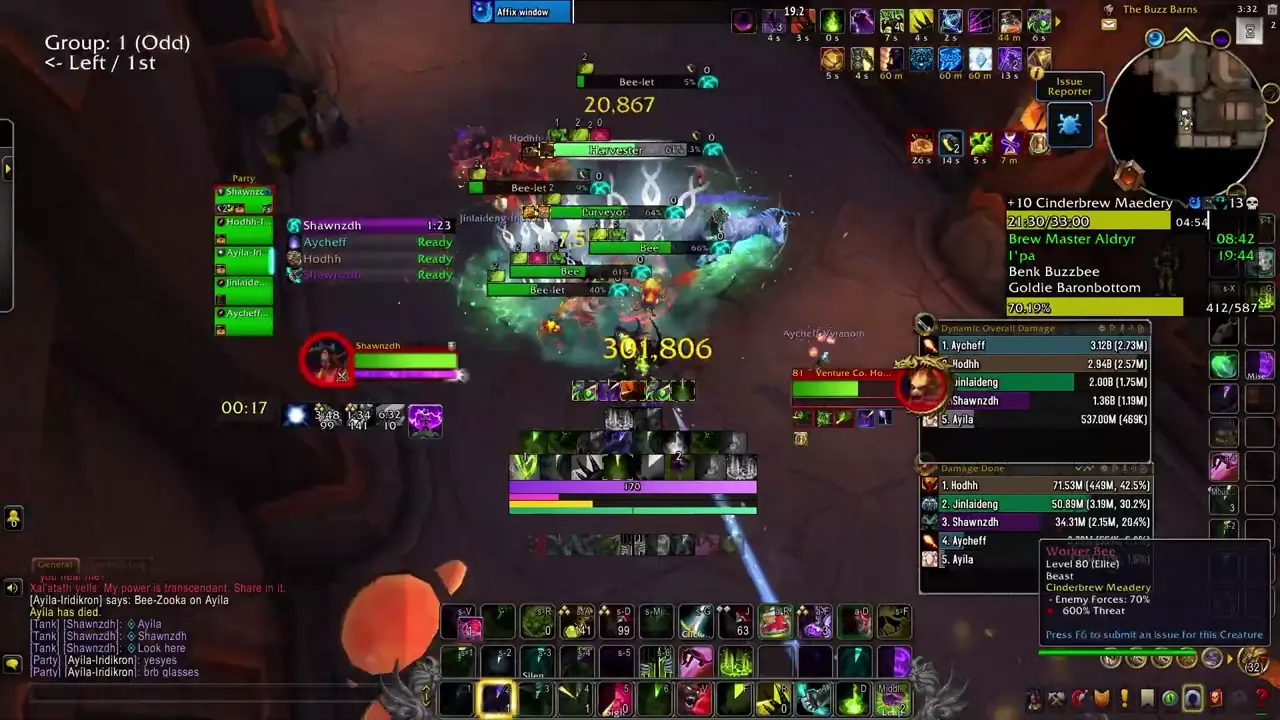
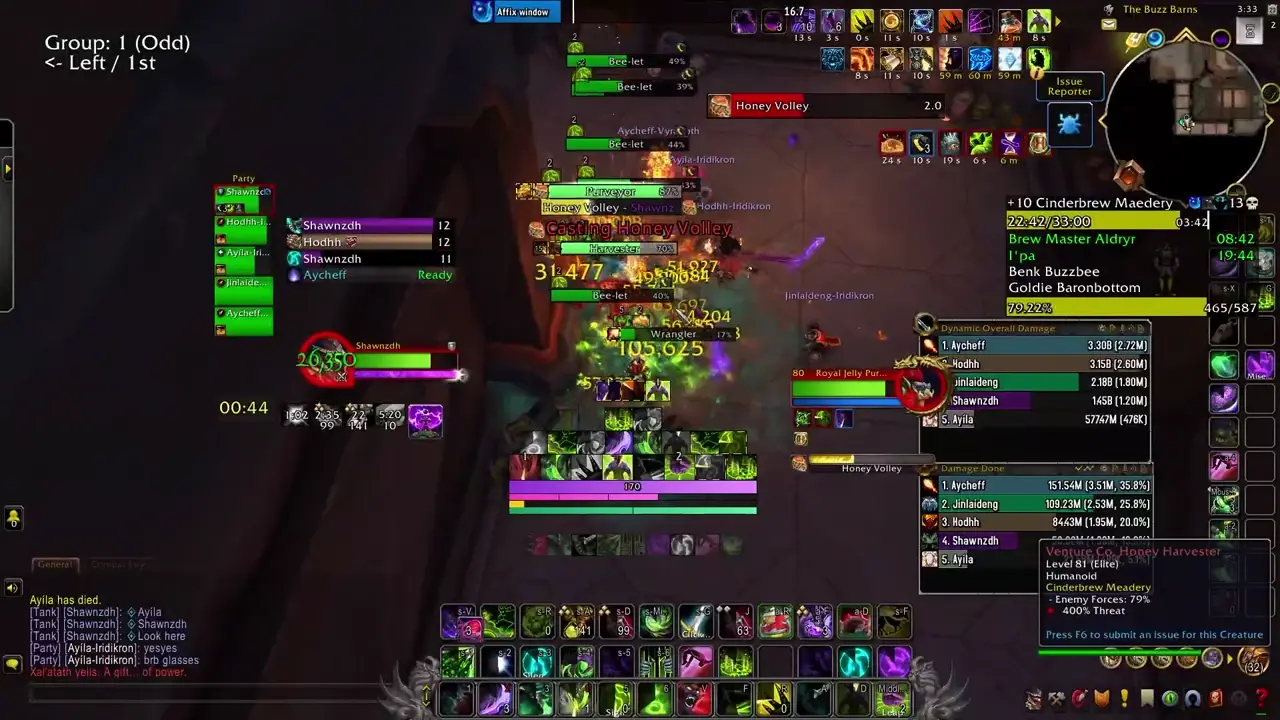
Brewmaster Aldryr
This is a relatively simple encounter with a single phase and an intermission occurring at 66% and 33%. It will focus on spatial management and high damage to only a couple of players at a time.
- Keg Smash - Aldryr will cast this on his current target, inflicting a large amount of damage and knocking the player back, as well as spawning several pools of Hot Honey around the area he casted this from, which expand slightly after a few seconds.
-
- Throw Cinderbrew - The boss will toss two barrels of Cinderbrew towards two random players which track their movement, dropping pools of Hot Honey at their feet and afflicting them with a hard-hitting DoT.
- Blazing Belch - Aldryr will turn towards a random player and emit a burp of tremendous force, scorching any player caught for lethal damage.
-
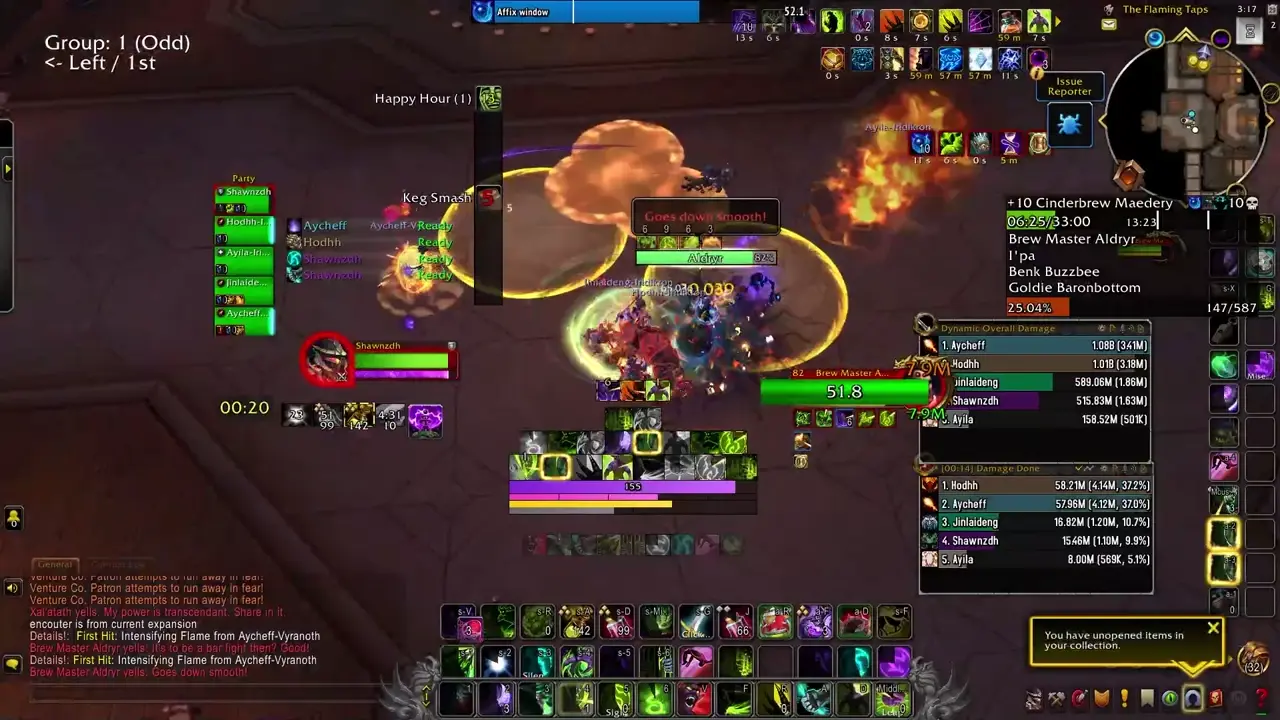
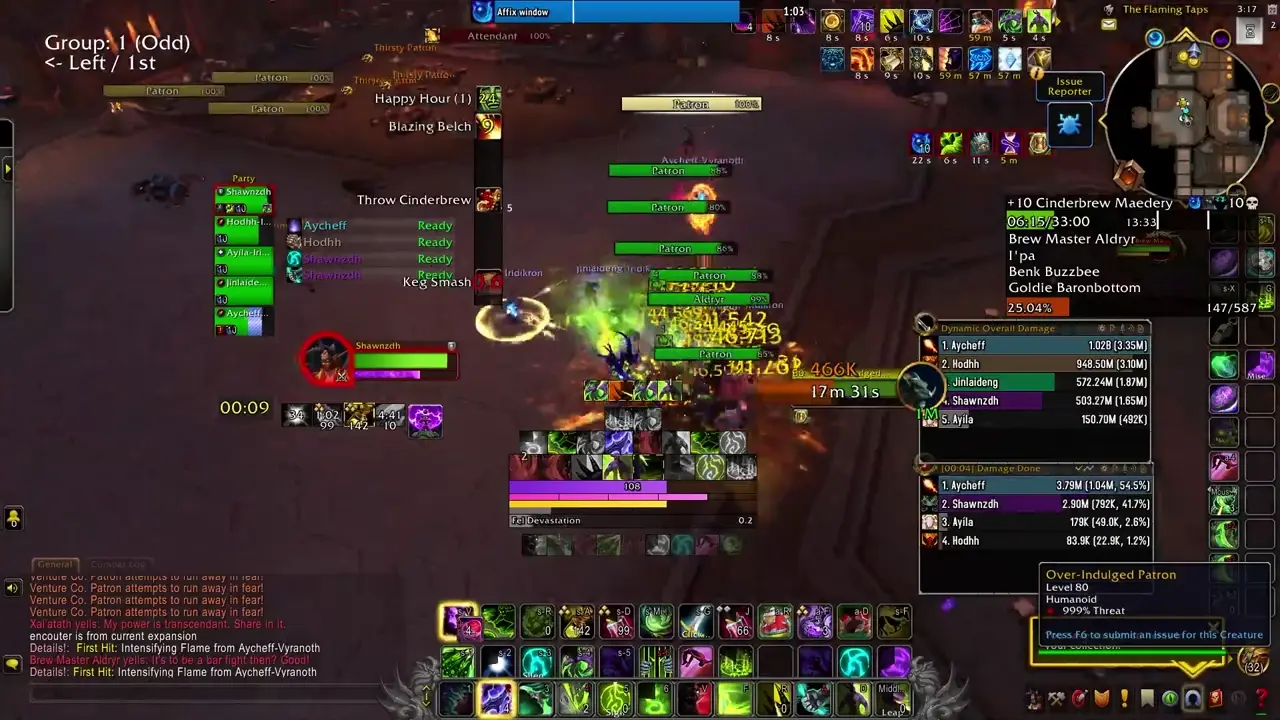
- Happy Hour - At 66% and 33% Aldryr will retreat behind his bar, going immune and serving out brew to the room, knocking all players back. Patrons will continually throw mugs at the party, dealing moderate damage throughout this phase. Several mugs on the bar will spawn at a time, and players can pick these up and serve them to highlighted Thirsty Patrons throughout the room, of which there are five in static locations. When all Patrons are served, the phase ends.
-
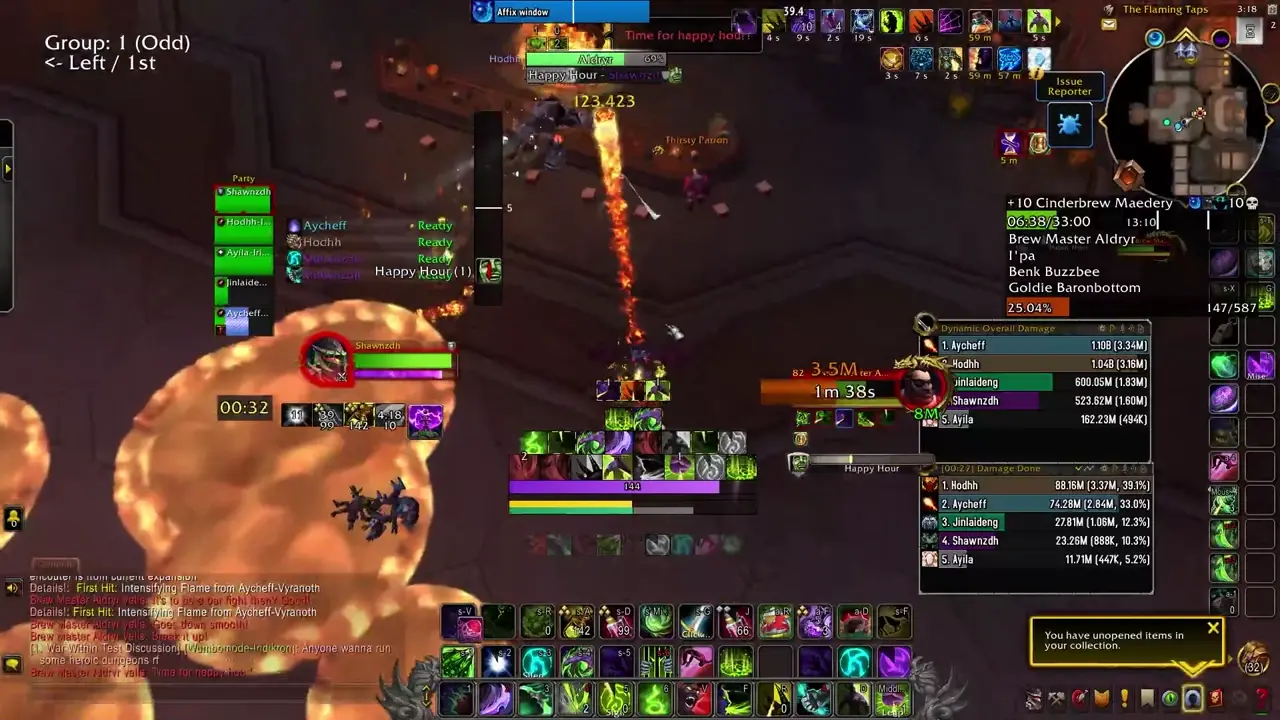
- Bar Brawl - After each Happy Hour, several of these will spawn, persisting throughout the rest of the encounter. These are clouds of fighting patrons that pursue random players, attempting to reach them. If a player touches these clouds, they will become ensnared in the fighting and be stunned for several seconds as well as taking light damage.
-
Strategy
- The tank will want to pull the boss slightly away from the bar counter and tank him down the middle, slowly moving down the aisle back towards the entrance. You do not want any pools of Hot Honey blocking movement to any of the Thirsty Patron locations.
- Players will want to stay fairly close to the boss for ease of dodging the Blazing Belch, and to keep the Hot Honey pools stacked close together. You should not obstruct the tank’s path back towards the entrance and trail them as much as possible.
- As mentioned, the Throw Cinderbrew does a heavy amount of damage. Use defensives as necessary, especially if you phase the boss right after receiving a new application.
- The Thirsty Patrons spawn in 5 static locations (if looking from the entrance to the counter): one right next to the rightmost mug, one on the right side of the room, and three on the left side of the room.
- The healer should focus on keeping the party topped throughout this, and players should be careful of outranging them while delivering their mugs.
- Once this phase ends, some of the Hot Honey will still be blocking movement as well as the new Bar Brawl spawns. The tank should pick one side of the room to start with and communicate that clearly, moving back around it as they make their way back to the middle of the room. Nothing else changes besides avoiding the Bar Brawls.
Trash to Benk Buzzbee
This section of the dungeon is rather cramped, and you will skip the latter third of it as you easily go over the forces required. You will likely have two packs of Bee-lets left unpulled towards the exit of Benk’s room, but these can be pulled during CDs while fighting the boss and exterminated fairly easily.
- Bee-let - Small, cannon fodder mobs that melee and apply Bee Venom, which stacks and can be moderately threatening if left unchecked.
- Bee Wrangler - These are ranged archer type mobs that are difficult to move. They have two abilities: Bee-estial Wrath and Bee-Zooka. The first is an interruptible cast that enrages any Bees in combat with them, and the second is a non-interruptible cast that focuses on a single player and fires a moderate damage attack at them in a line, hitting any other players caught. This can be stopped, but it will simply re-cast.
- Bee-Zooka
- Royal Jelly Purveyor - These melee and cast Rain of Honey, launching several globs of honey at players’ location, dealing high damage to any struck.
- Rain of Honey
- Venture Co. Honey Harvester - The lieutenant mob of this area. These cast Beeswax, which is a non-interruptible cast that deals lethal damage to anyone within their radius and stuns anyone who lives for 3 seconds, and Swarming Surprise, which is a moderate damage AoE that ramps in damage the longer you fight this mob.
- Beeswax
- Worker Bee - These melee and will leap to random players with Shredding Sting, applying a moderate bleed to them. Upon reaching low health, these will begin a Final Sting cast, dashing to a random target and dealing a high amount of damage to them. This can be stopped, though it will re-cast.
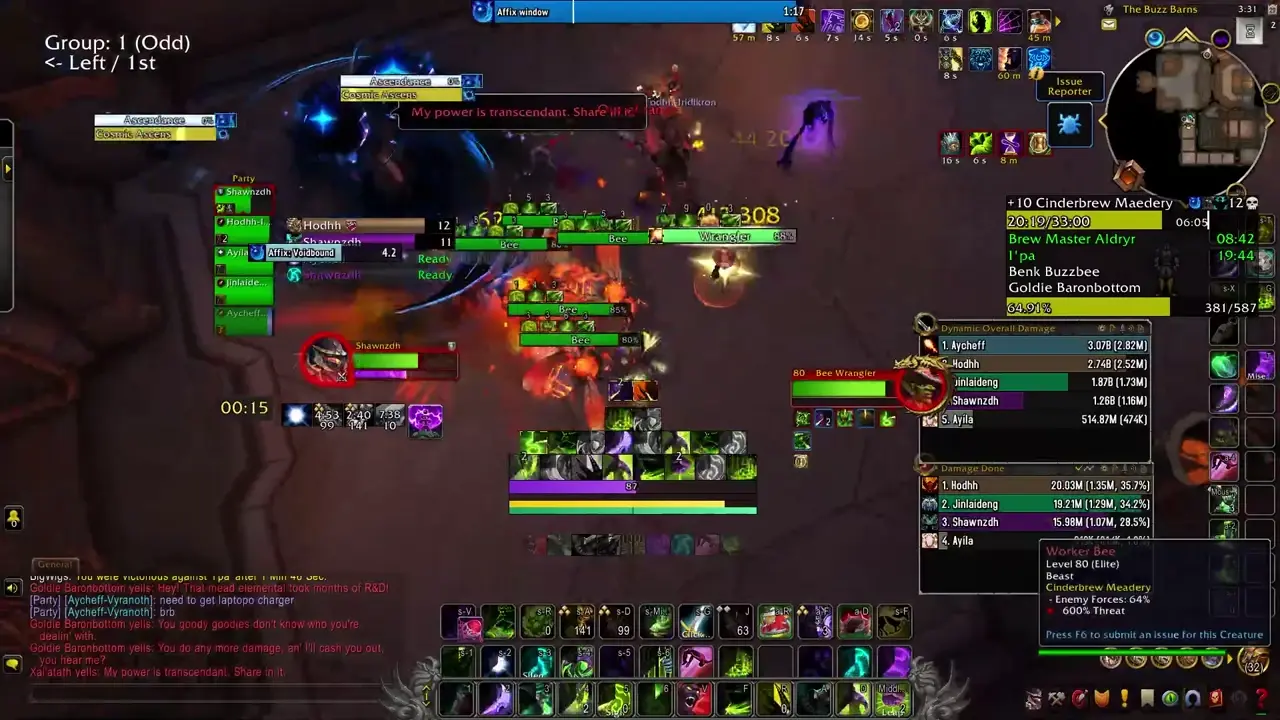
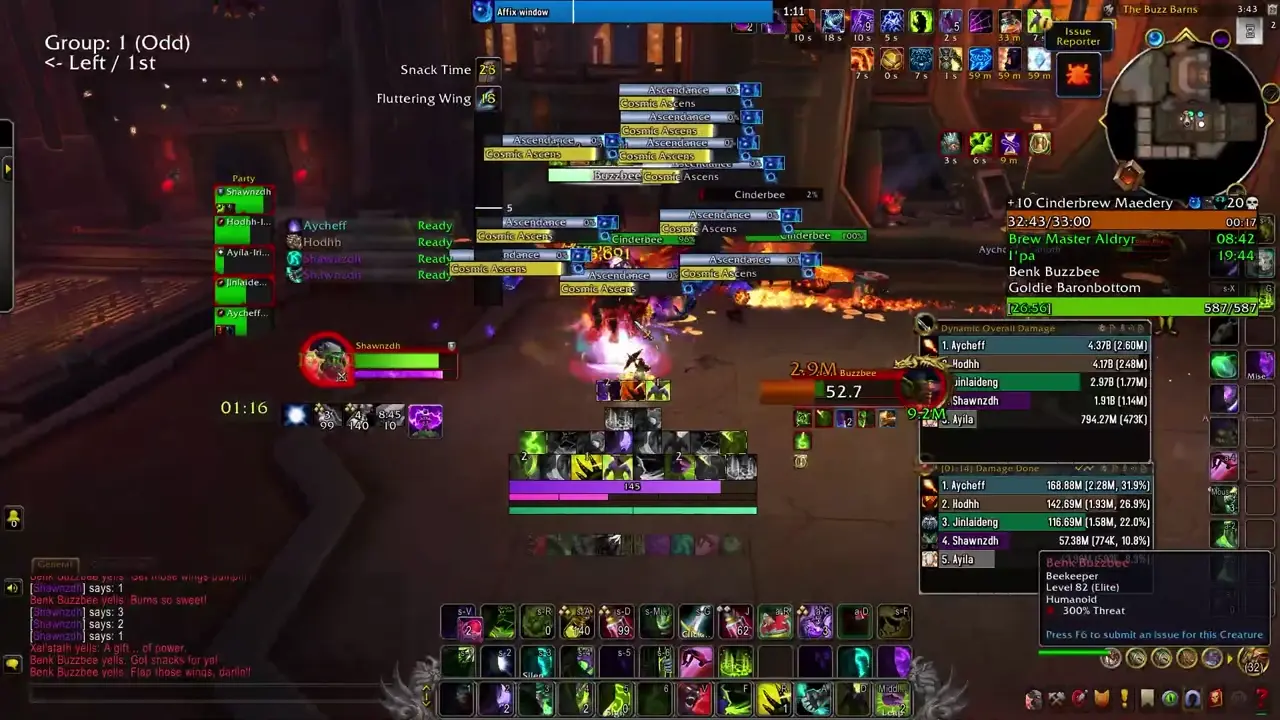
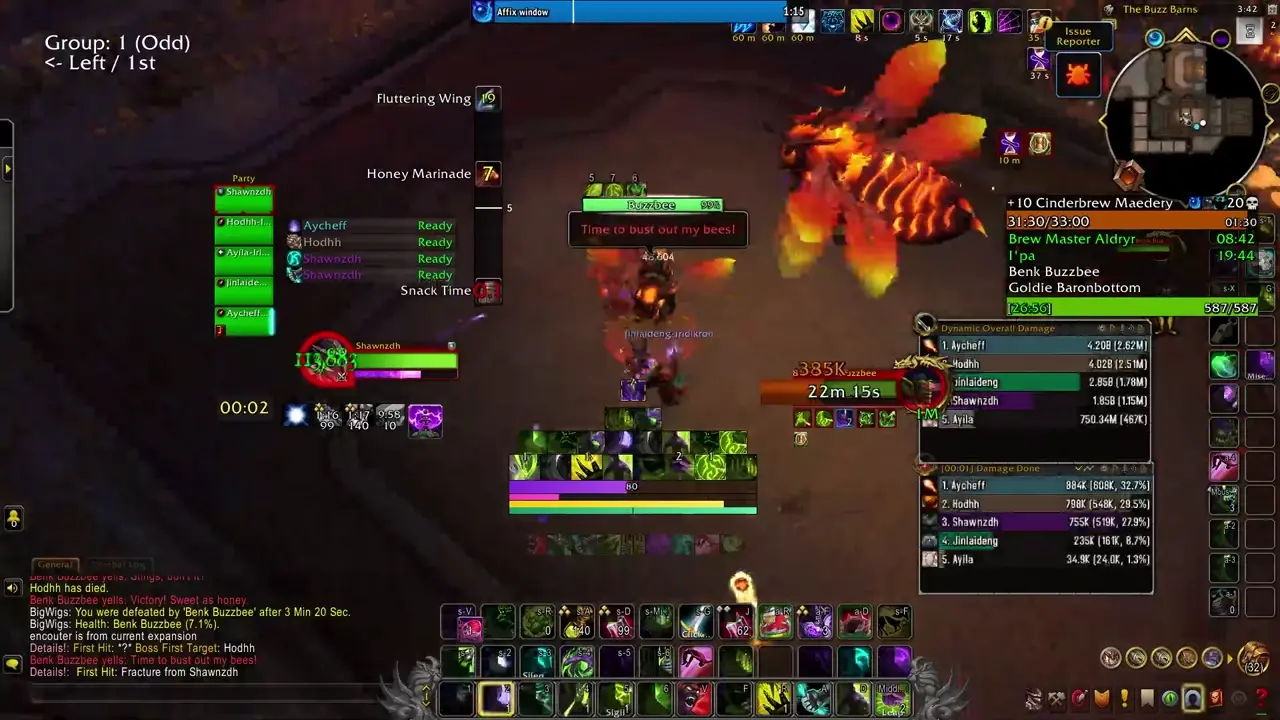
Benk Buzzbee
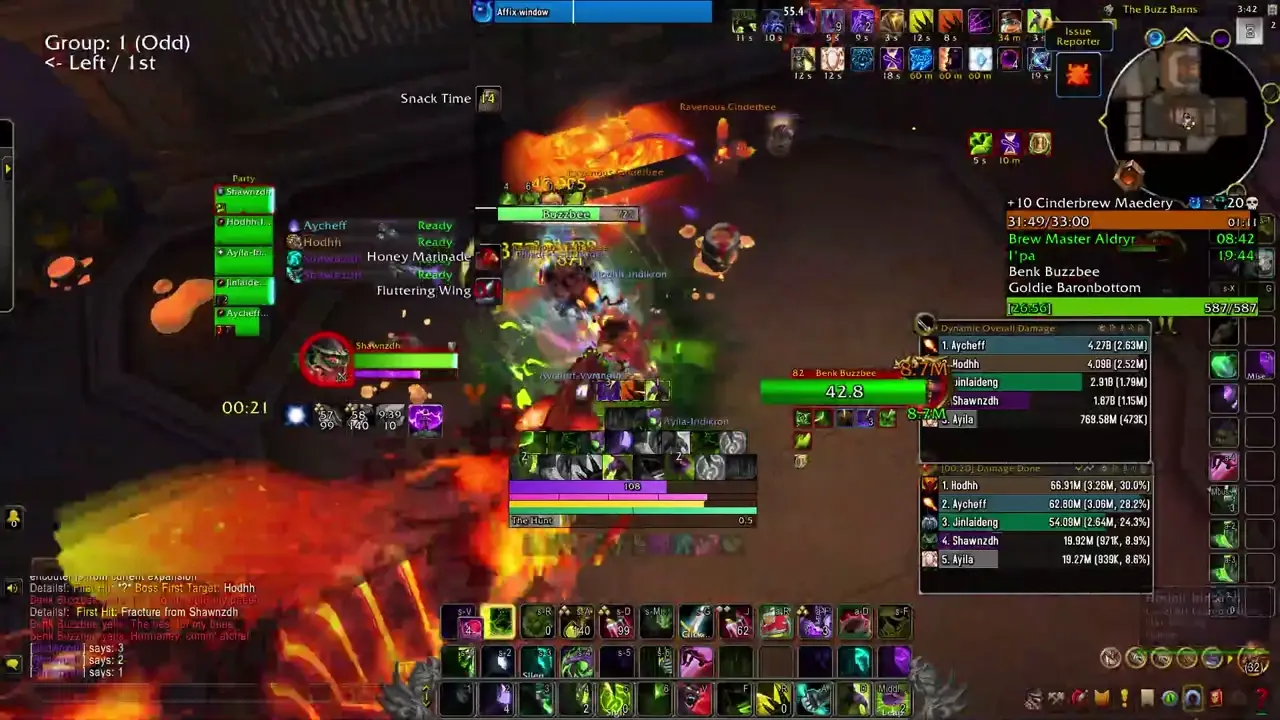
This is a rather intense encounter revolving around management of adds and a gimmick with a vehicle that can be rather unwieldy at times.
- Honey Marinade - Benk will use this on their current target, dealing a very high amount of damage to them over time, and upon expiration will deal lethal damage to any player near them and drop a pool of honey at their location.
-
- Snack Time - Benk will summon several barrels of honey around the arena. These do nothing except summon 1 Ravenous Cinderbee every 30 seconds. These can only be destroyed by…
-
- Ravenous Cinderbee - These are summoned by the barrels created through Snack Time. These will leap to random players, dealing moderate damage and applying a high damage bleed called Shredding Sting. If these touch any of the pools left by Honey Marinade, they will gain a HoT and 50% haste, as well as becoming immune to CC. Upon defeat, these become vehicles any player can click on to ride.
- Bee-Haw! - Players can click on the defeated Cinderbees to ride them, allowing them to move (albeit very slowly) and press 1 to cast Bee-Haw!, which causes the bee to charge across the room in a line, destroying any Snack Time barrels they strike.
-
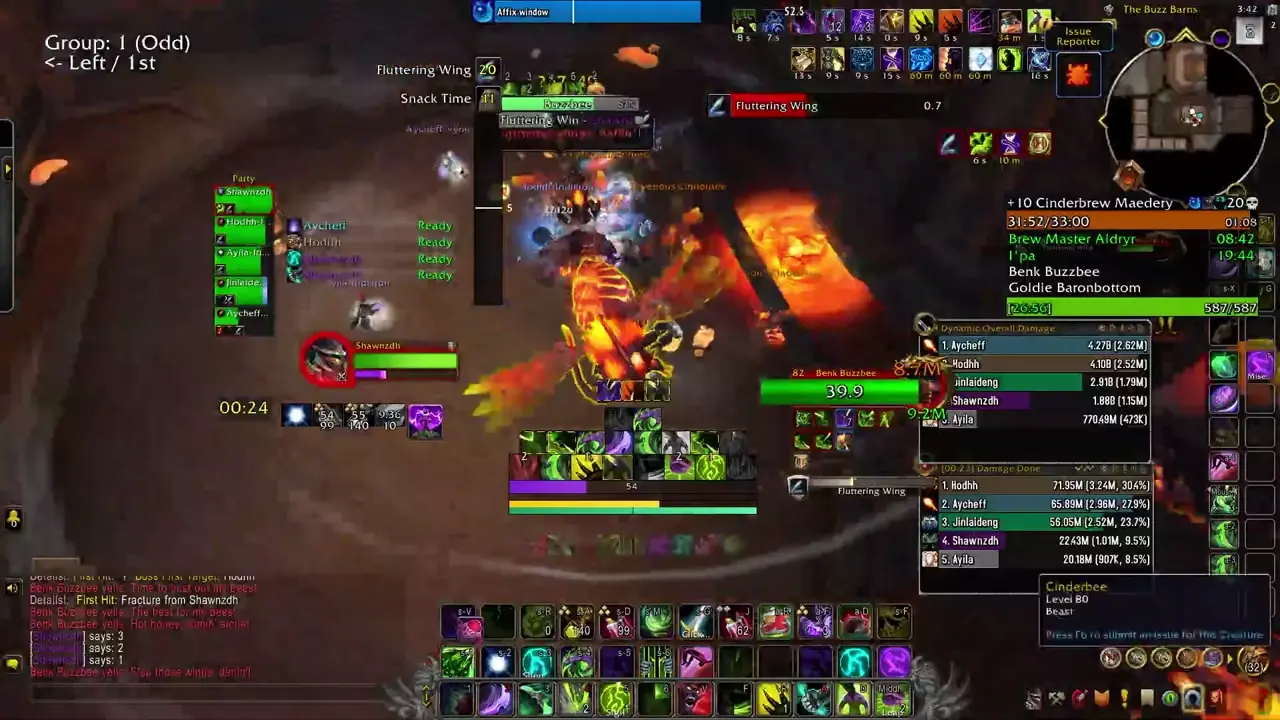
- Fluttering Wing - This is a groupwide AoE Benk will do infrequently that does very high damage and pushes back all players over a short duration.
-
Strategy
- Honey Marinade does an incredibly high amount of damage, and the tank will need something every time it comes in, and it does come in quite frequently.
- The pools left by this should be placed against the wall and out of the way as much as possible. All players should be careful to not be blown up by the tank explosion.
- The adds summoned by the fight can be difficult to pick up at times. If you get aggro, make sure to run to the tank, but care for the Honey Marinade explosion around them. These become the highest priority while they are alive.
- At least one player, but preferably two, will need to focus on clearing the barrels by mounting the bees. All other players should make sure to keep burning the bees to stay ahead on the adds. You can usually clear two at a time if you position intelligently.
- The Fluttering Wing cast can combo you if you have a Shredding Sting during it, and be aware of getting pushed into pools if you are in a bad spot.
Trash to I’pa
This is overall the most technical area of the dungeon, with the entire party requiring knowledge of what the trash does in order to ensure success. You should clear the entire room in which I’pa is located before engaging the boss.
Venture Co. Pyromaniacs are retained from the first area.
- Careless Hopgoblin - The lieutenant mob of this area. These melee and have one high impact ability, called Reckless Delivery. They will select a random target and focus on them over several seconds. When the cast completes, they will charge that player’s location (as of the cast completion), running until they encounter terrain, at which point they will deal a large amount of party-wide damage, ignoring line-of-sight and stunning themselves for a moment. They will then spawn several Brew Drops, which do nothing but melee. These Brew Drops explode on death, leaving pools of Blazing Honey which shrink over time, slowing and damaging any players in their radius.
-
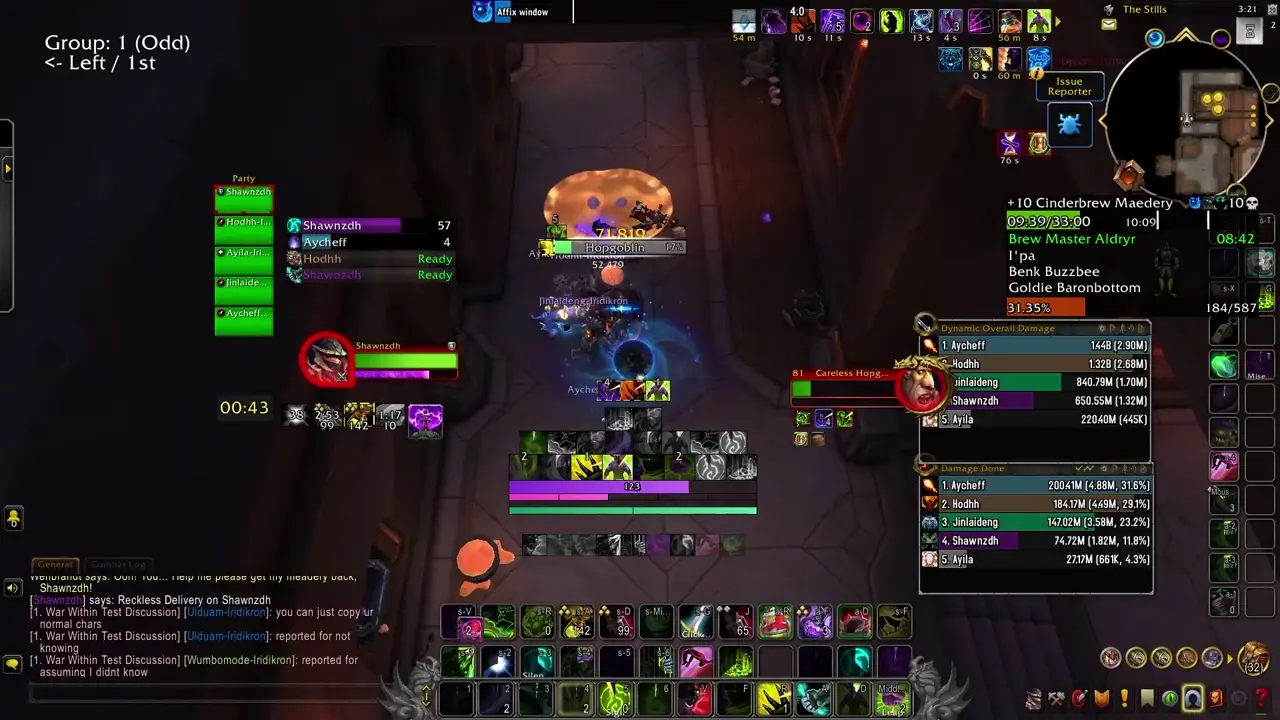
- Flavor Scientist - These caster mobs have two abilities: Failed Batch, which functions similar to the Earth Burst Totems in Stonevault, spawning a barrel of brew that must be destroyed before it explodes for exceptional group-wide damage, and Rejuvenating Honey, which heals an ally for 5% HP every tick, and can be interrupted.
- Failed Batch
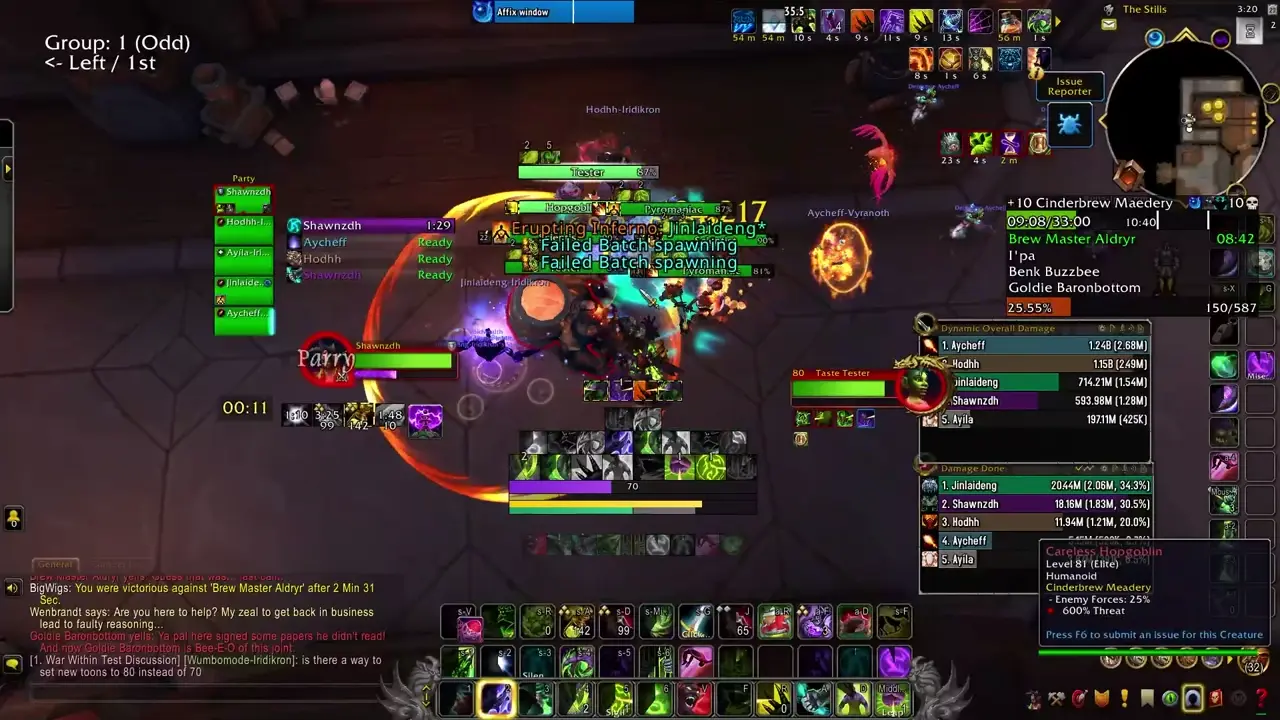
- Taste Tester - These melee and cast two abilities. Spill Drink, which is non-interruptible and enrages the Tester, increasing their damage by 100% for 12 seconds, and Free Samples?, which is a moderate damage, interruptible cast. When empowered by Spill Drink, Free Samples? turns into a near lethal cast that must be interrupted.
I’pa
This is a fairly easy encounter, but it can go wrong very quickly. You should clear the entirety of the room before engaging this boss.
- Bottoms Uppercut - I’pa uses this on their current target, dealing high damage to them and knocking them back.
- Burning Fermentation - The boss applies this to several players at a time, dealing moderate damage to them.
-
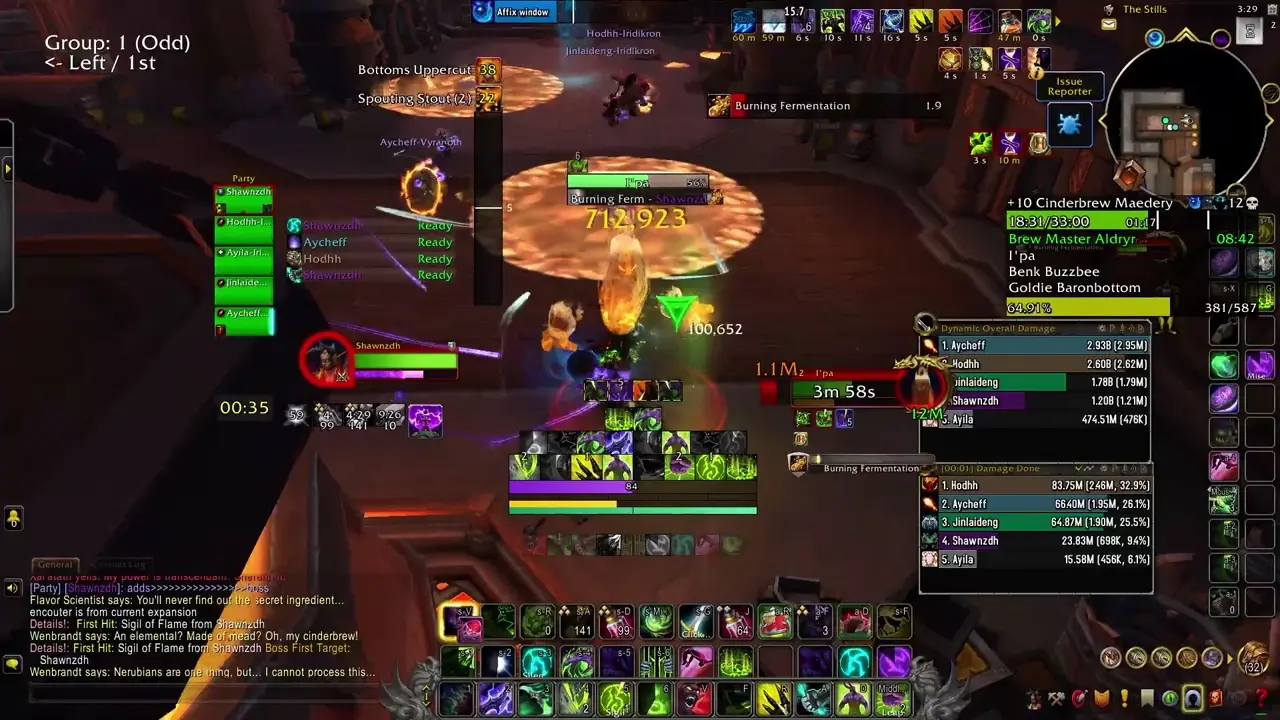
- Spinning Stout - The boss spins in place and will not move until this finishes, dealing groupwide damage and creating a barrage of swirlies that deal high damage to any player struck. Towards the end of this cast, some of the swirlies turn into Brew Drops.
-
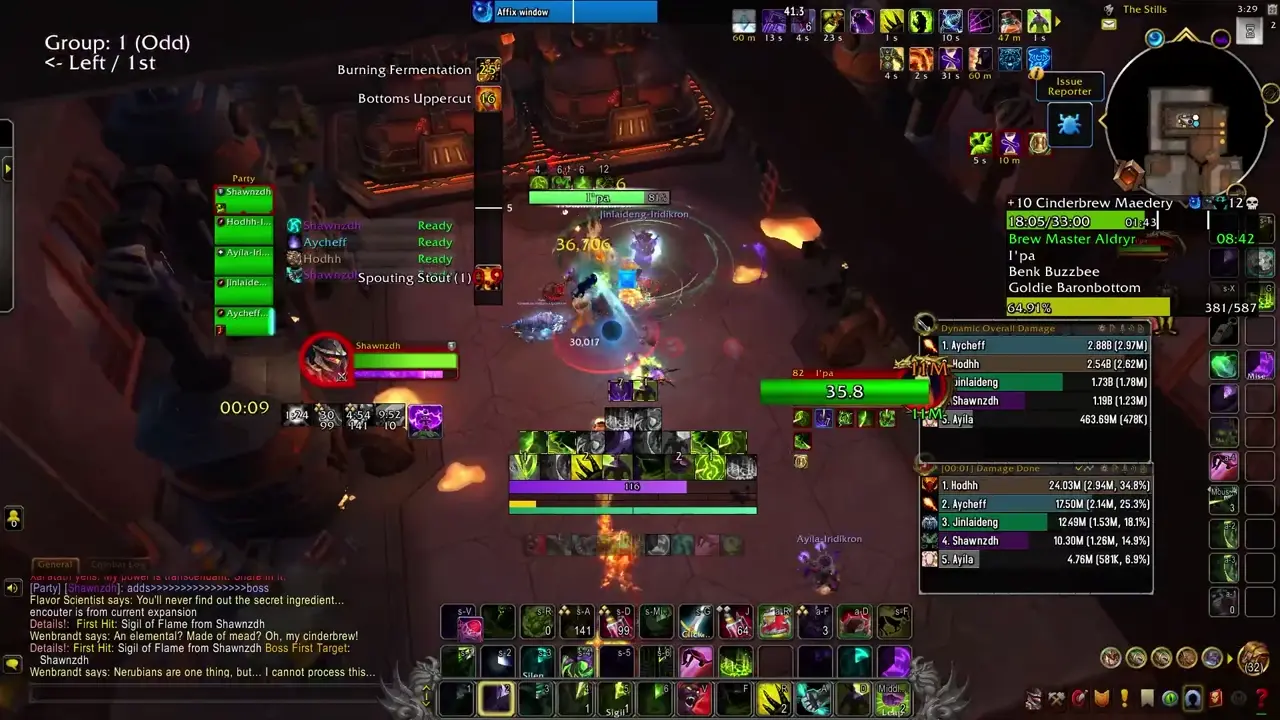
- Brew Drops - These do nothing except move towards the boss. If they reach it, they explode upon contact, dealing high damage to the group and granting the boss a large shield. When defeated, these Drops turn into pools of honey on the floor, damaging and slowing anyone inside.
-

Strategy
- You can start the boss anywhere you would like, but the tank should have a clear plan on which direction to move and communicate that to the group so they can focus on CC’ing any droplets that might spawn in that direction first.
- When the Brew Drops spawn, there will be 3 rather equidistant from the boss. These can be CC’ed by anything that works against elementals and are the absolute highest priority while they live. DPS should fully leave the boss to deal with these and do their best to group them and have them die stacked on top of each other. On a 10 or lower, one hitting the boss is not the worst but not ideal. 2 or more at a time will result in death without extensive CD usage and massively prolong the encounter.
- The Brew Drops from previous Spinning Stouts will continue to revive throughout the encounter, so the tank must be cognizant of this and tank it sufficiently far enough that they cannot reach the boss while it is doing any one of its fairly long casts if they revive at such a time. As before, when they do revive, they are the absolute highest priority.
- With average DPS and lust, you should only receive at the most 3 sets. You may choose to ignore this 3rd set if the boss is below 10% HP, simply preventing them reaching the boss.
- The boss has a deceptively skinny hitbox, insofar as the Brew Drops touching it are concerned. You can needle it through several if you need to do a sketchy move or two, but you must be quick and wary of the boss stopping to cast. You can observe as much in the clip under Brew Drop above.
Trash to Goldie Baronbottom
There should only be a single pack to fight before the final boss. You can reach her by returning to the first room of the dungeon, and there should be a line of bees. A Bee-line.
- Yes Man - These are fairly non-threatening as they only melee and cast Downward Trend, leaping towards a random player’s location and dealing lethal damage to any players struck. This ability is quite slow and you should never be struck short of DC’ing. When any Yes Man dies, the others heal to full HP and gain a damage increase and become immune to CC. Simply mark one at a time to kill and do your best not to pad.
- Downward Trend

Goldie Baronbottom
This encounter is a little technical at times, but fairly simple once you’ve identified a solid strategy and communicate it to the rest of the group.
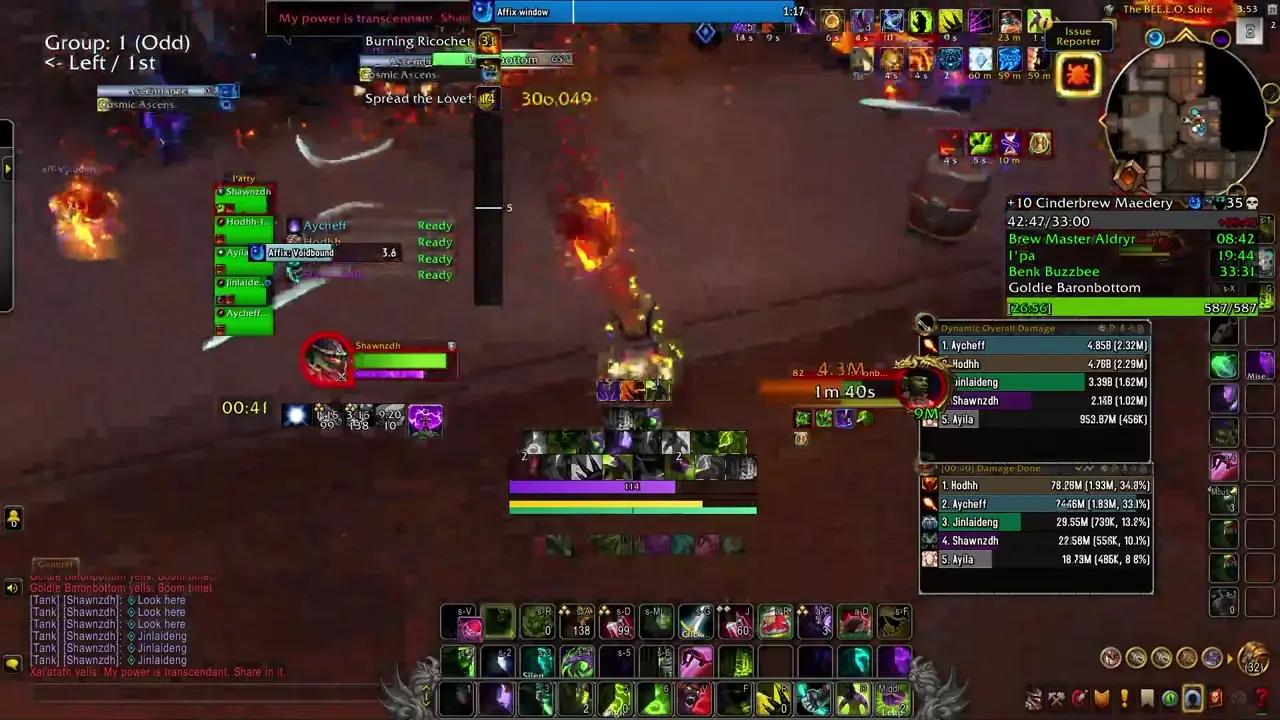
- Spread the Love! - Goldie will summon a large amount of barrels around the room which explode upon contact with her other mechanics, or are forcibly detonated by Let it Hail!. There are two kinds of barrels: small barrels, which apply a light DoT per barrel, and big barrels, which apply a heavy DoT per barrel. All barrels spawn waves of flame to dodge that deal lethal damage to any player struck.
- Cash Cannon - Goldie will track the tank over this cast’s duration, firing towards them in a cone that detonates any barrels struck.
-
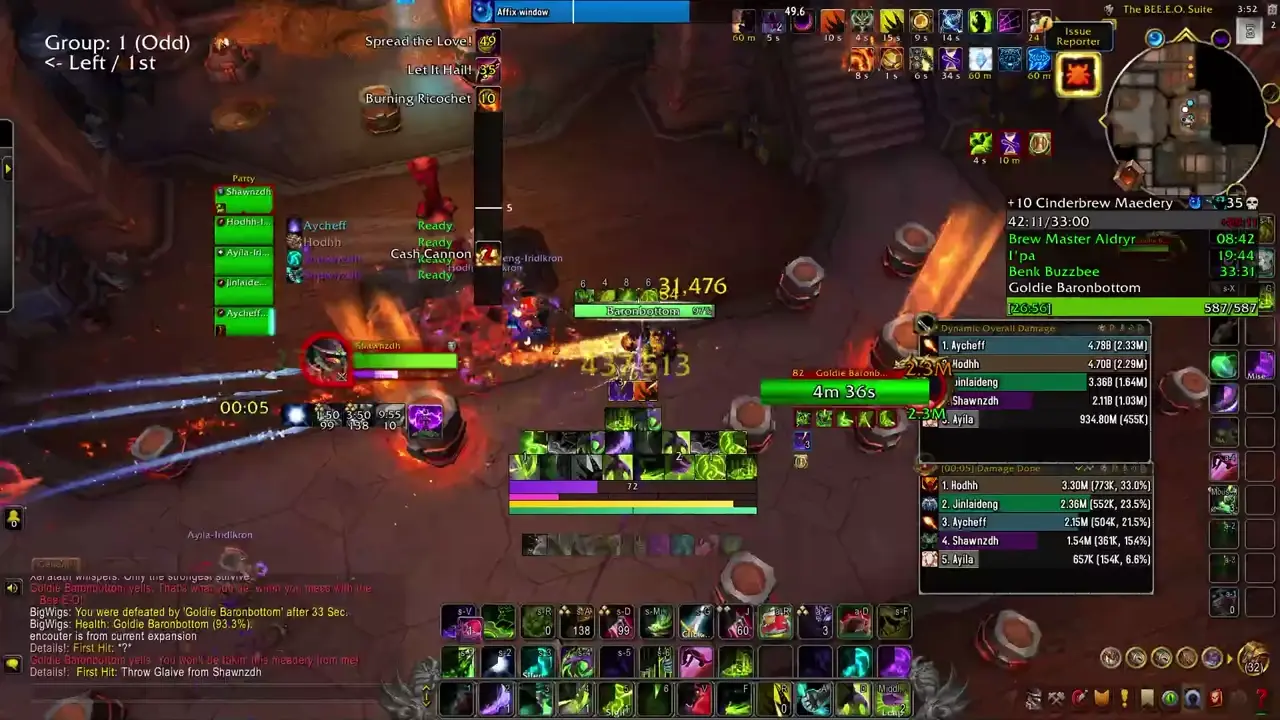
- Burning Ricochet - Goldie will select two non-tanks, and after several moments will fire at them, afflicting them with a moderate DoT but also detonating any barrels near them.
-
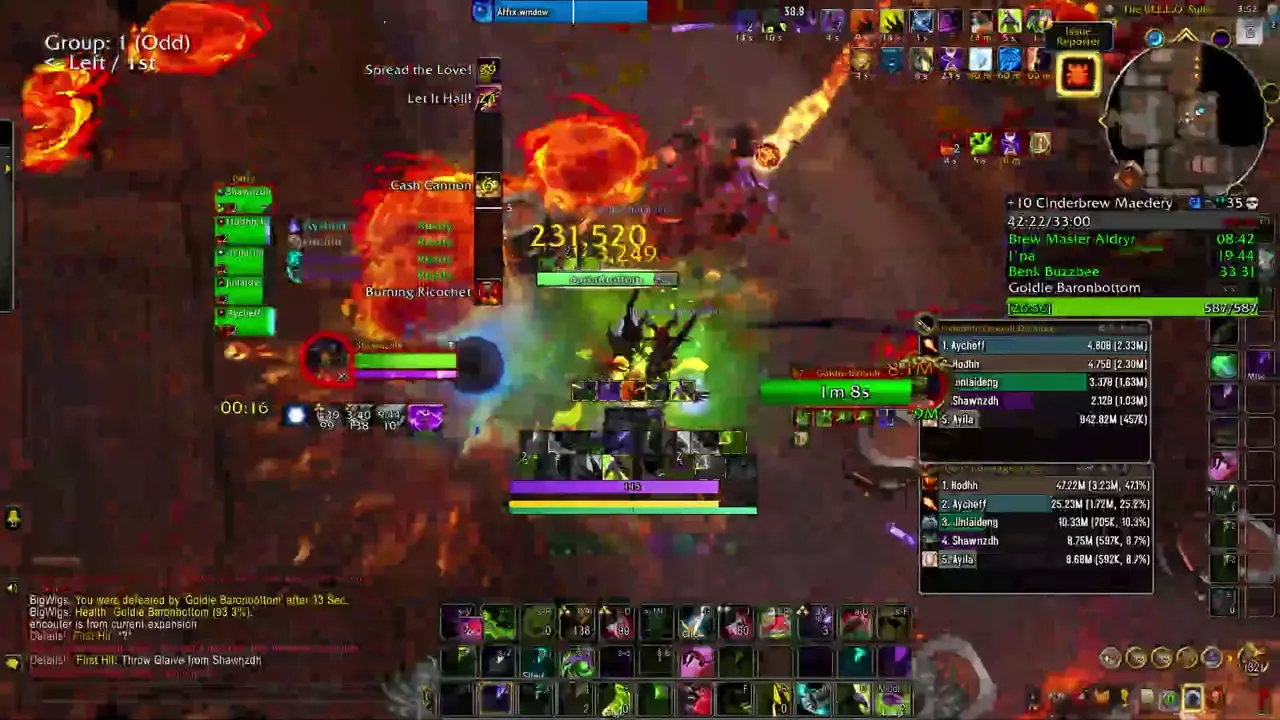
- Let it Hail! - At full energy, Goldie will jump to her desk in the middle of the room, channeling this over several seconds. This deals high ticking damage to the group, but also forcibly detonates any remaining barrels.
-
Strategy
- While there are many small barrels, there are only a maximum of 4 big barrels. As of writing, there can be a bug where you have 5 barrels if you wipe and fight the boss again, but this can be played around by simply adding an additional barrel where you would normally detonate 1.
- I will recommend that you do a break order of 2-1-1. You should let the tank handle detonating the first two sets (so, they break 2 big barrels, then 1 big barrel) with the Cash Cannon, clearing the left and right sides of the room, and then the DPS/Healer should break the final big barrel at the back of the room before the Let It Hail!. You can do the breaks in whatever order is easiest for your healer, but I found that this is what worked best across multiple classes. If the healer/DPS miss breaking the final big barrel, the tank can still clear it right before the Let It Hail!, it will just carry over into the cast instead of ending just before it. You can also opt to just let the Hail explode it. Again, whatever is easiest for you.
- Players with the Burning Ricochet do not need to go out of their way to break many barrels, as the tank can clear most of these, and in general it is much safer to simply let the tank break as many as possible so the DPS can simply plant and focus on damage.
- Defensives and group-wide DRs should be utilized during the 2 big barrel break or the Let It Hail!.
Routing and Lust Recommendations
You can choose to path to either Benk or I’pa after the first boss. I would likely recommend going Benk second, as observed in the order of this guide for the best overall Lusts. You can Lust in the following order:
- First Pull
- Benk/I’pa
- Goldie
Here is the route I recommend for early season and for PUGs. You may choose to break up the first pull into smaller pulls, but the important thing to keep in mind is that you should keep an eye out for Chef Chewie, as he will make his way to the right side of the room over the first two minutes. If you do not trust your party members, you should just pull him after the first pull.
The below is an MDT (Mythic Dungeon Tools) string, and can be copied and pasted into the addon in-game.
!DE1stUjmm4)rDq2Yy4C7mD6RSDA6HEIPbSylTSHDYcD3EP)2lyalBW7JPxuCiYsFs6tsKcO4Rfh7k)jv1F34X(IJMM66MQH2()uCasEvsXX7j6xfhKth)9P2bA6kvdxUqN7FZW5RPUZVZ8WOYq6Kk3rTJgRP78S5wu8ZdTTJQmPqpr30C(6IdwJFPPU)Q667Ov)F7OMthTkp(Hy(JPVDaNecNycshuJI(5ZRQPCAK6uddVVY9dwv0orMtKpBy0ZWqG)7DyeIGlpWDSQRT7sXXuzsgct3BjO8bTn7nFFq7maK5WnSai)esemkdCPQMQnzEji1MWXtvnMxM6zoFhPDGlBF(g4qh4yh4uoO2NUWaNxzoH50KoRam9rbAQkjnRCs3fDsFMQadeLtKoJO8nxTFoadF0QJ1yL2KpPJEVJZCowpBh9EtB7NItMEA4YyqsAJu4HZSD5PayzD5sTXXpw5n6D8MGesivsd56mHVo(rtAq4p7fM7M7IMz8K6WZguGrIajhbI9GmKhLKOltv(5AHmk7yX3c8)SImhcp5WJzXCaBLBIv1(GjSwxJQkLLOdlDo5BY4BORYizpEM3AxOENrCDHPyEEL1HIi14xwF(sDosdwewx((GiSGcksKzhmaYiqsWTDICUOL4GK0BJGMxj4XurxrtQCvnzkx7KlPvi7rhjPjSSAUsHrqjYjo0JvXjom1HsKzxsMzjzQLK5wiZToGa3JJAUCH5C9cZcqTbmA0oXhu7h5VDYHhnmsJIFbYFINyd90F95koia1s0Q(k1fIU1pCR9wZJ73pUoWiaAmmcPAPAYq21ZGos6WBmegX7HV0bBvbPYbiG)aBwSU1u8YwMsdmLoSiQug5j7gEyTxtUFkrqKWqfILhDjnCZ6nVUs9jDIDxGijsQshHU44qpxsv(OZdtOYQtw(QiYlhc8OG1xvcE6W2zxPUm3UxxSEb8zwTj4bmCNRt5LbTIxY6(DWmCYIaRRmgR1wtm6hDmKSemgkyVMkAhBmKhUTFCXdHZv4zt4aKrKlN2rWVC)XHYw63uRdo90dJYx3C2qxkVq3)3V)j6045)83V)v6MB7UCA64x6g6PIJ3yAMmF9fI(rxR59DnNjtrj)KL)3qjD9qtR9FoS4MHgtXXR(49VT6BQhE4dVD8zf)dSkips
Here are demonstrations of any pertinent skips I am aware of.
- None as of now.
Profession or Dungeon Buffs
- Goblins, Gnomes, and Lv. 25 or greater Engineers can pick up a Flamethrower at the beginning of the Trash to I’pa hallway that does ticking damage in a cone. If your healer can pick this up, it does seem to scale with key level and is worth pressing. It is not worth it for a DPS to pick this up however.
Respawn Location
- The entrance is the respawn location for the entirety of the dungeon.
Table of Contents
- Operation Floodgate
- Darkflame Cleft
- Operation: Mechagon - Workshop
- Rookery
- Theater of Pain
- Motherlode
- Priory of the Sacred Flame