Published
- 17 min read
A Complete Guide to Chrome King Gallywix
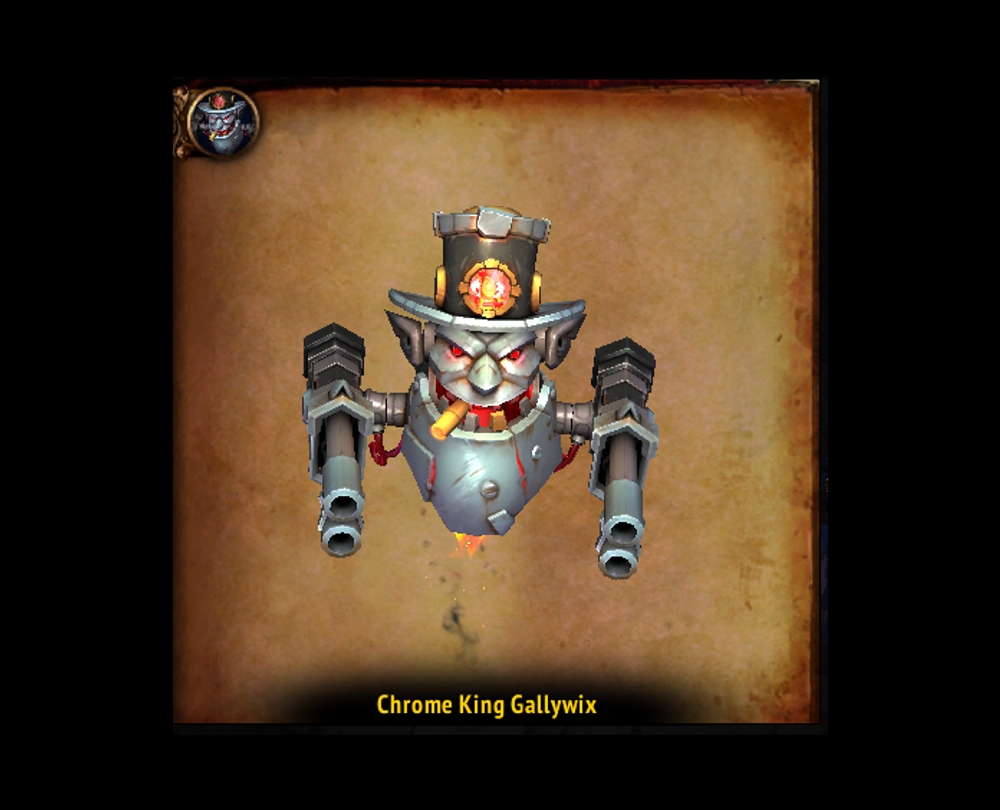
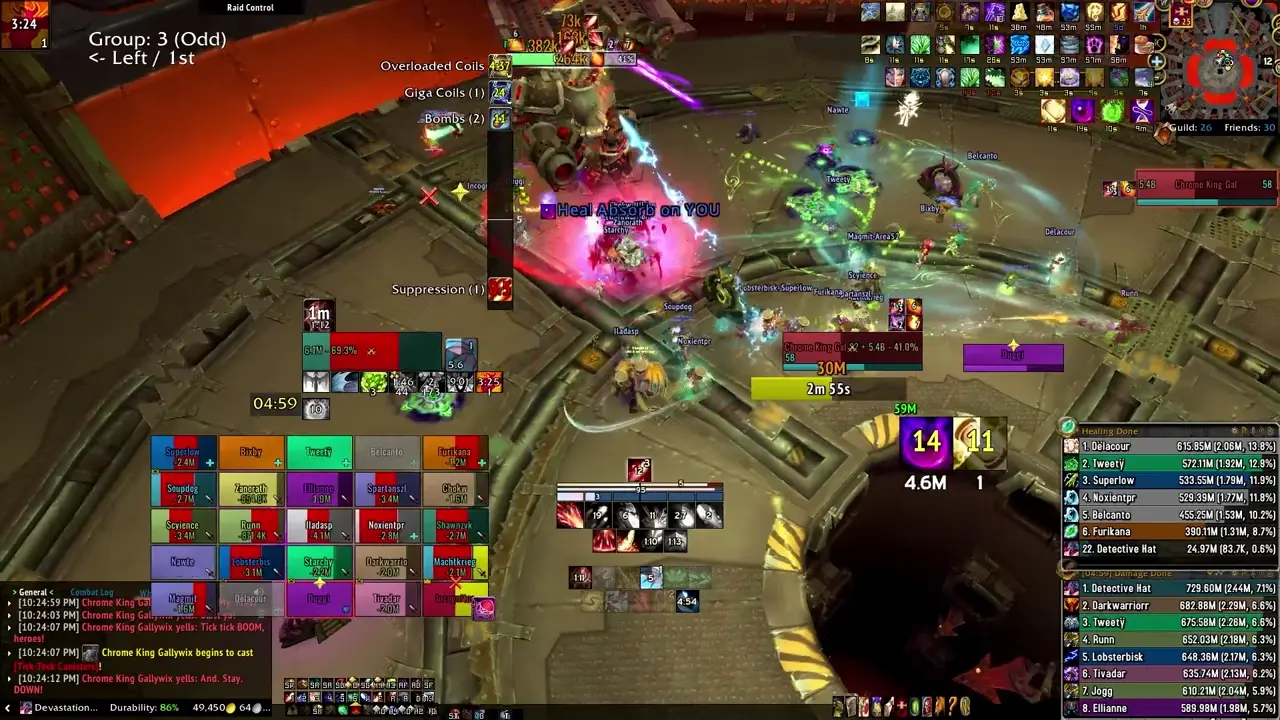
The fight against Gallywix is a multi-stage, highly technical encounter that will stress your raid’s ability to coordinate and move as a unit throughout. It revolves around sabotaging the Giga Coils around the encounter space by using the Giga bombs dropped by adds you can defeat during the fight and dealing with the various Cannisters used. By using Gallywix’s inventions against him, you can turn the tide and defeat him, putting an end to the Chrome King’s reign and stopping him from unleashing his twisted weaponry against his own people.
Full List of Boss Abilities for Reference
- Scatterblast Cannisters
- Mechengineer’s Cannisters
- Cannister Detonation
- Big Bad Buncha Bombs
- Blast Burns
- Bad Belated Boom
- Sapper’s Satchel
- 1500-Pound “Dud”
- Zagging Zizzler
- Suppression
- Focused Detonation
- Time-Release Crackle
- Another in the Bag
- Suppression
- Venting Heat
- Overheating
- Gatling Cannon
- Trick Shots
- Giga Coils
- Giga Blast
- Giga BOOM!
- Sabotaged Controls
- Control Meltdown
- Overloaded Bolts
- Fused Cannisters
- Charged Giga Bomb
- Fling Giga Bomb
- Giga Bomb Detonation
- Juice it!
- Party Crashing Rocket
- Shock Barrage
- Wrench
- Lumbering Rage
- Party Crashing Rocket
- Cratering
- Armageddon-Class Plating
- Radiant Electricity
- Total Destruction
- Overloaded Rockets
- Bigger Badder Bomb Blast
- Ego Check
- Checked Ego
Important Abilities
As you can tell, there’s a lot of abilities in this fight. We’ll break it down by each phase.
Phase One
- Scatterblast Cannisters - Gallywix fires a blast at his current tank, inflicting a massive amount of damage to them. This portion cannot be dodged or parried. Additionally, this also blasts players in a frontal cone centered on the tank (presumably moving with them), dealing a massive amount of damage but split between all players struck. This also increases their damage taken from this ability by 100% for 30 seconds. All targets hit become afflicted with Mechengineer’s Cannisters. If this fails to hit at least 3 players, this will instead hit all players for the full, unsplit damage, resulting in a wipe.
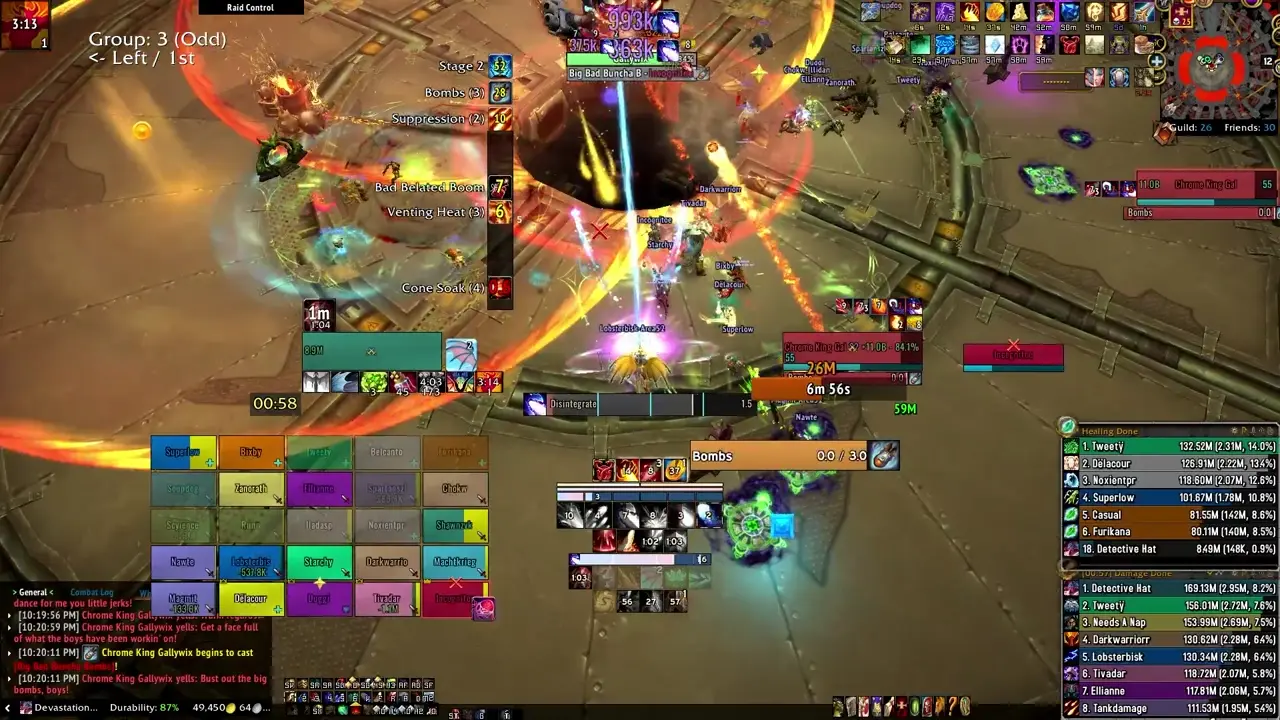
- Mechengineer’s Cannisters - A healing absorb placed on those who soaked the Scatterblast Cannister, which lasts for 30 seconds. Upon expiration or being fully consumed, this will deal damage to the player based on how much was left in the absorb. On Heroic, this deals damage to the entire raid based on how much was left. Presumably, if it’s consumed, it will deal no damage. If it is not healed whatsoever, it does the full amount of the absorb to all players for each person not healed.
- Big Bad Buncha Bombs - This is one ability, but has several components to it. The first is the main ordnance, which is a rain of artillery that deals lethal damage to any players caught in the indicated visuals. Any players hit by any of these components receive Blast Burns, a stacking, light damage but long-lasting (45 seconds) DoT.
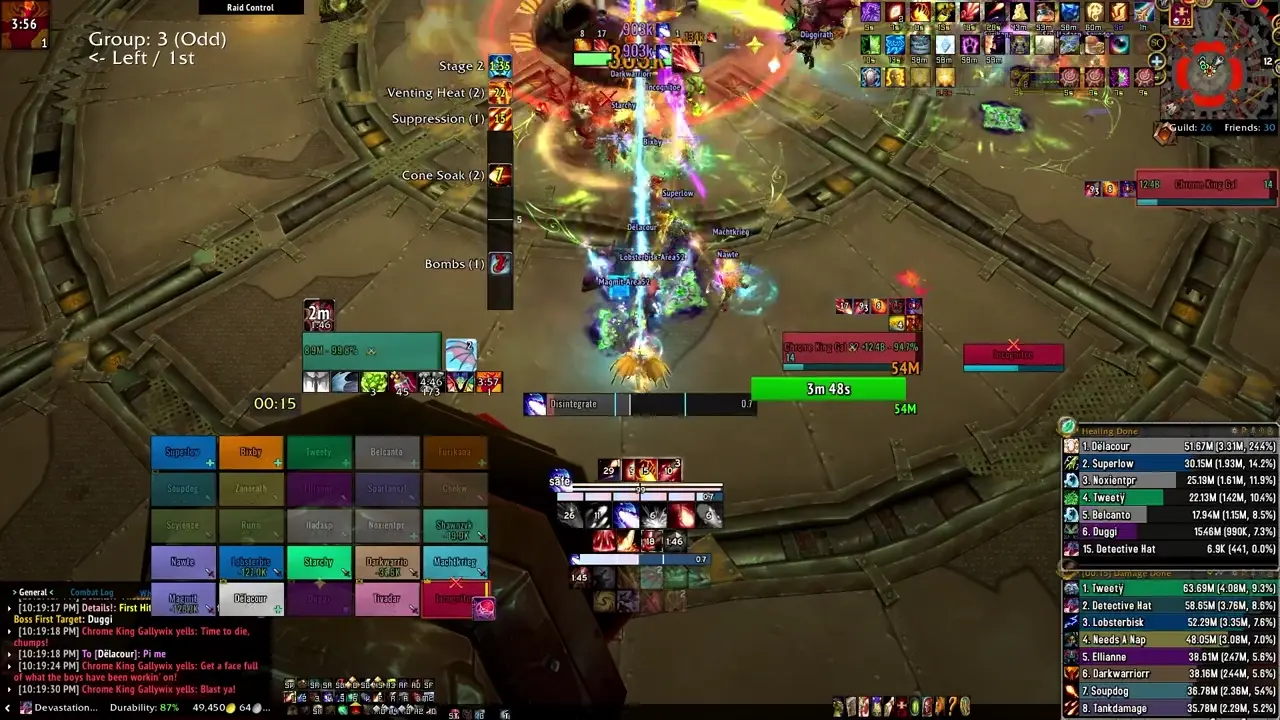
- Bad Belated Boom - The next component of Big Bad Buncha Bombs. Several of the bombs had out-of-compliance safety fuses, causing them to detonate late. These inflict moderate damage to players within the indicated 7-yard radius, and applies Blast Burns.
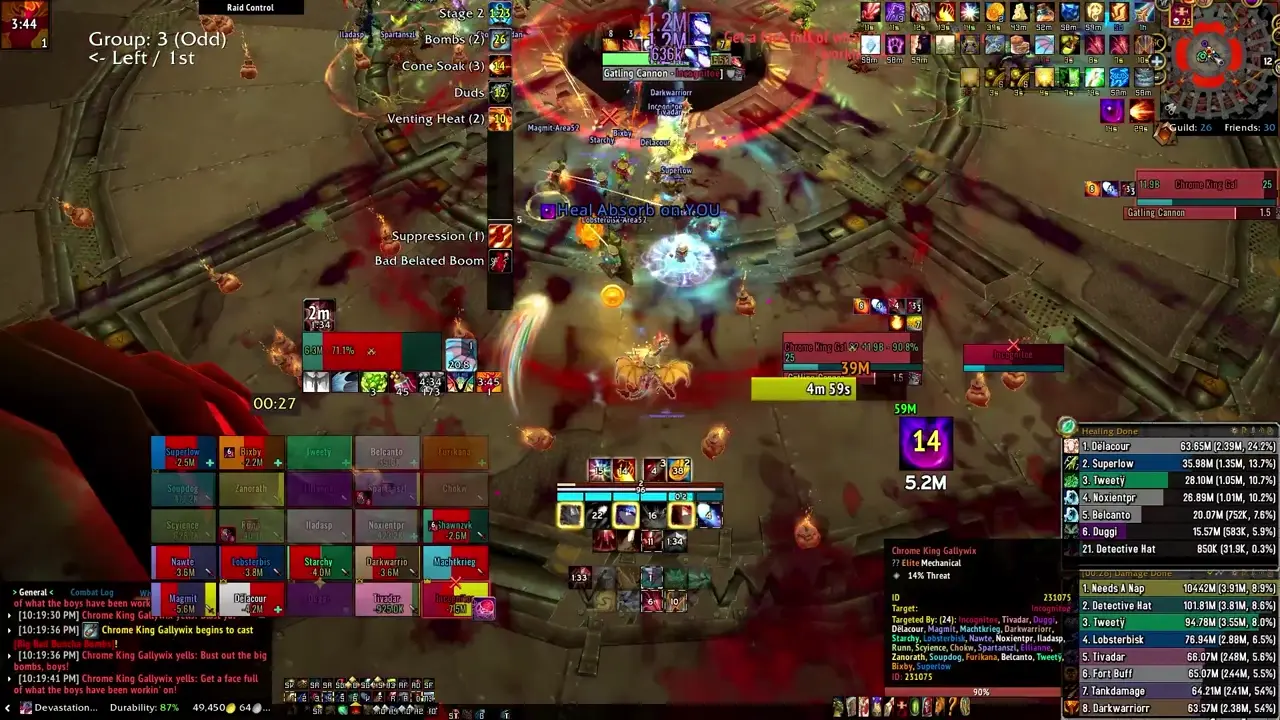
- Sapper’s Satchels - The third component of Big Bad Buncha Bombs. Several players will be marked, exploding after 5 seconds for light damage. Any players within 7 yards when these detonate receive that damage, Blast Burns AND Sapper’s Satchels. On Heroic, when the marked players detonate, they also drop a pile of bombs at their feet, which explode moments later dealing moderate damage.
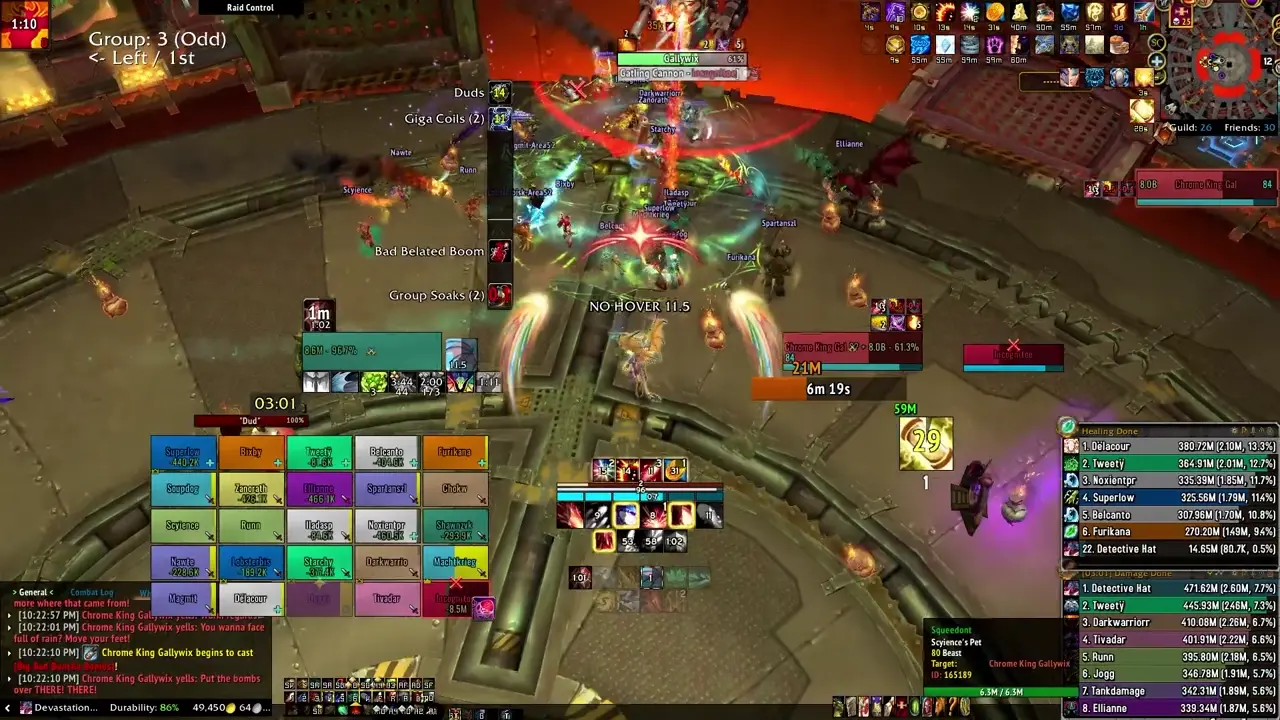
- 1500-Pound DUD - On Heroic, two large munitions will embed themselves into the arena, exploding after 15 seconds for high damage to the entire raid and applying a high damage DoT that stacks. A player can instead interact with this ordnance to focus the blast, similar to Z’skarn, instead taking 10 Million damage and knocking them back. The player who triggers this will also receive Focused Detonation, a high damage DoT that lasts 10 seconds. Lastly, shortly after Focused Detonation expires, a Time-Release Crackle blasts throughout the arena, dealing light damage to the raid.
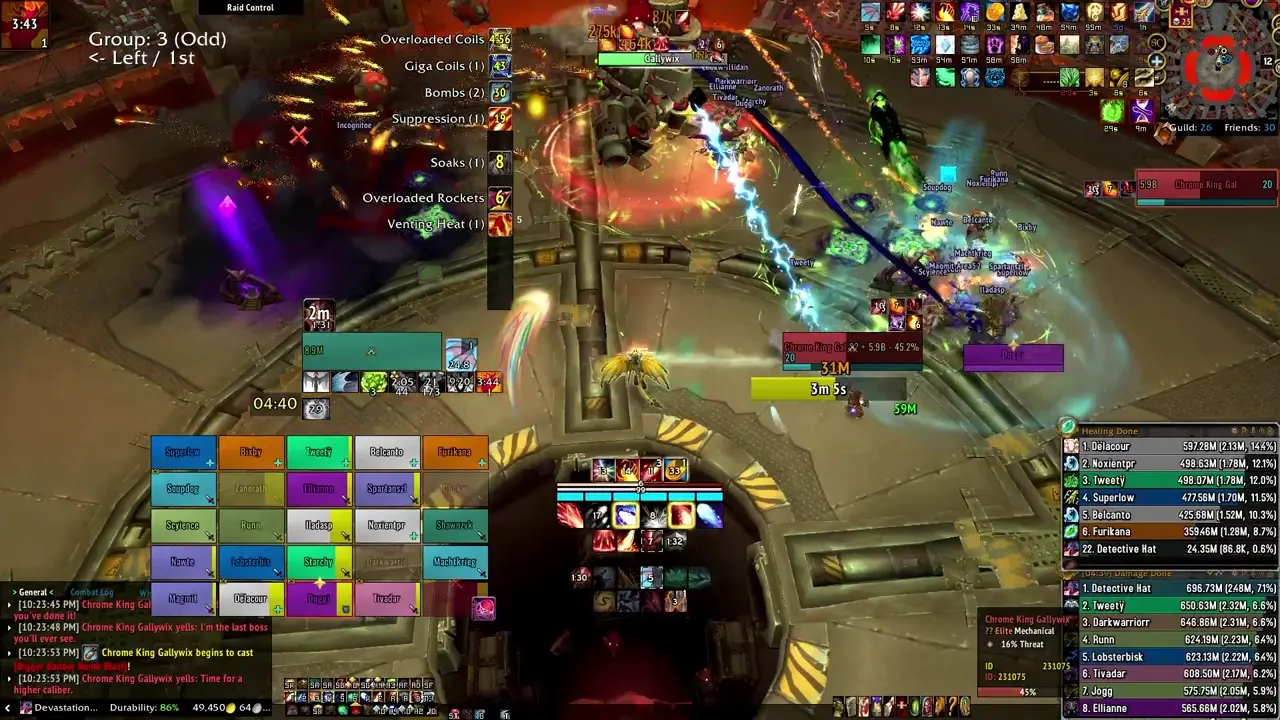
- Zagging Zizzlers - Miniature rockets fly about the various piles, dealing light damage to the raid for 30 seconds. This stacks.
- Suppression - Gallywix shrapnels players in indicated locations for 3 seconds, inflicting light damage on impact and then afflicting players hit with a light DoT that stacks every 0.5 seconds.
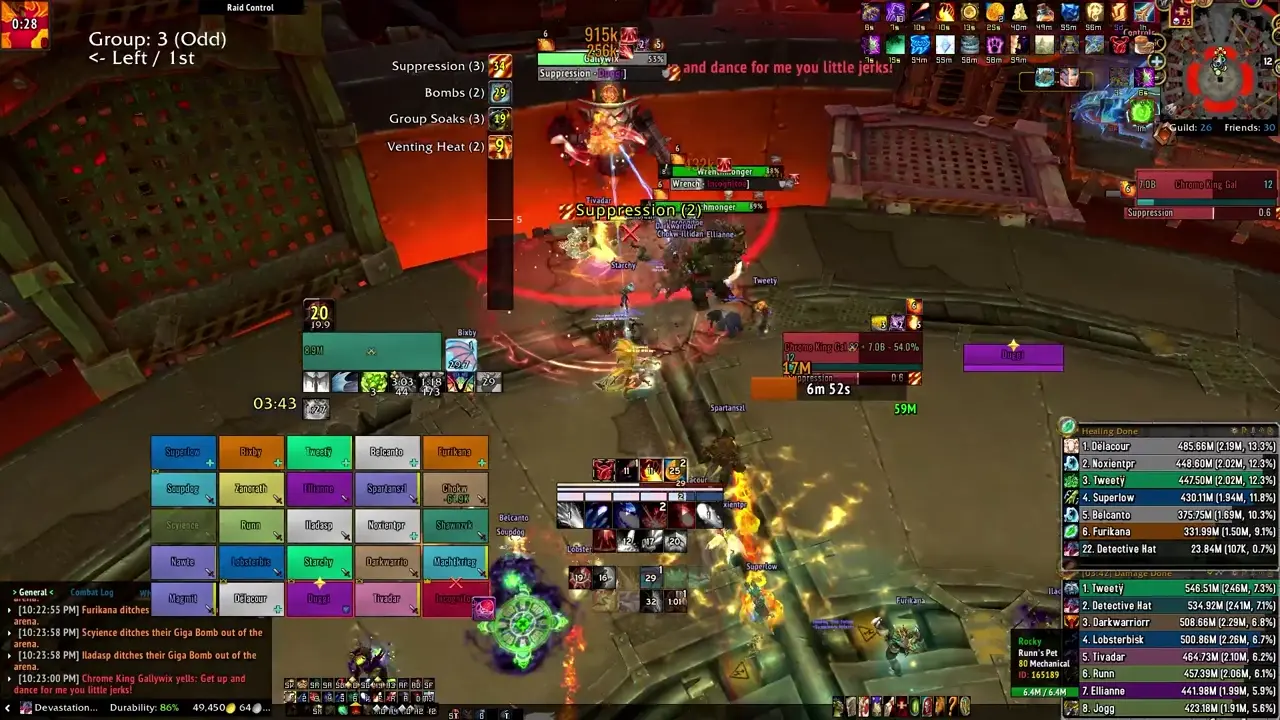
- Venting Heat - Gallywix’s machines dump excess heat, burning all players in the arena, dealing a light burst of damage up-front then very light damage over 4 seconds. Every time he casts this, the next cast is 1 second longer due to the inefficiency of his invention’s heat dissipation.
- Gatling Cannon - Instead of melee’ing, Gallywix shoots his main target, dealing up to 200% increased damage based on how far they are from him.
- Trick Shots - Gallywix gains this buff every 4 seconds, stacking. If he reaches 10 stacks of this OR if his main target changes, he will release all stacks, dealing 2.5 Million physical damage plus a ~400k a second DoT per stack that lasts 9 seconds. This cannot be dodged.
Phase Two
Gallywix retains much of the abilities from Phase One, like Big Bad Buncha Bombs and all related components, Suppression, and Venting Heat, but Scatterblast Cannisters has been modified, and he now summons additional adds and makes use of the Giga Coils that surround the arena.
- Giga Coils - Gallywix charges and activates the Giga Coils around the room, causing moderate ticking damage every second. On Heroic, this also causes Overloaded Bolts, creating swirlies to dodge that cause light damage in indicated locations.
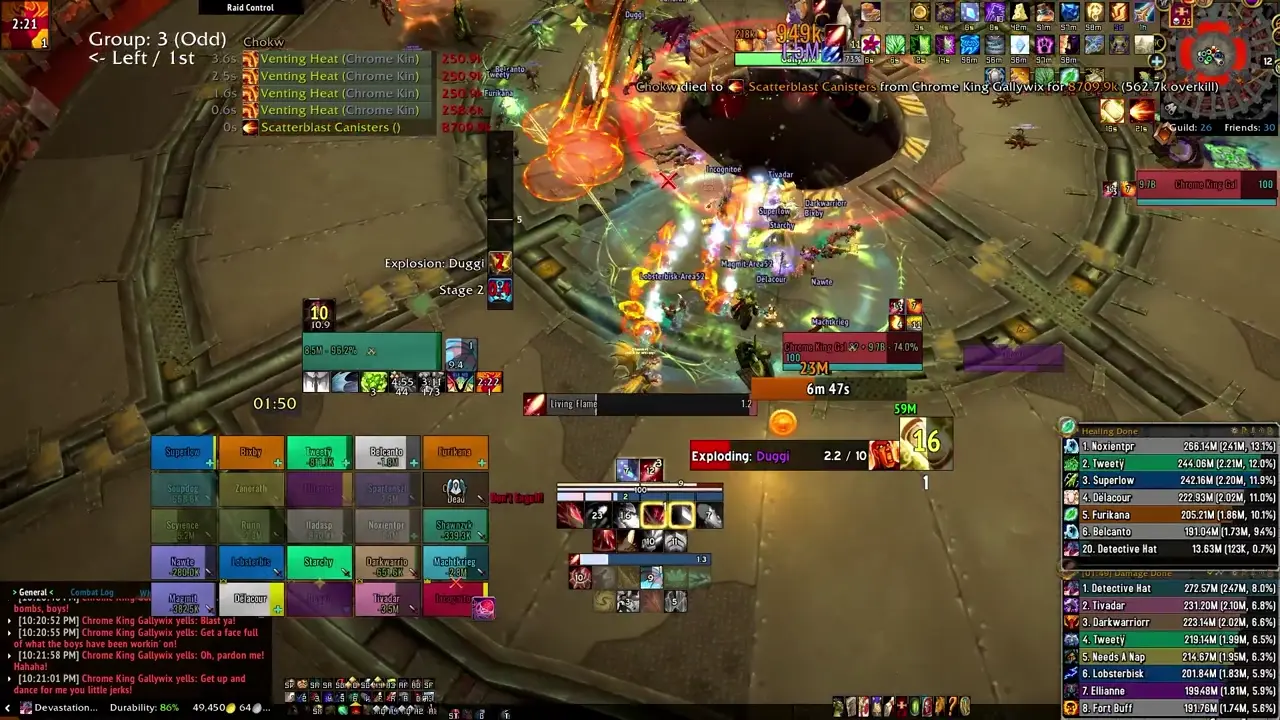
- Giga Blast - Gallywix collects the power of the Giga Coils and ejects it in a direction, several times, dealing moderate damage to anyone struck and also afflicting them with a light, stacking DoT. Each successive blast increases Giga Coil damage by 15%.
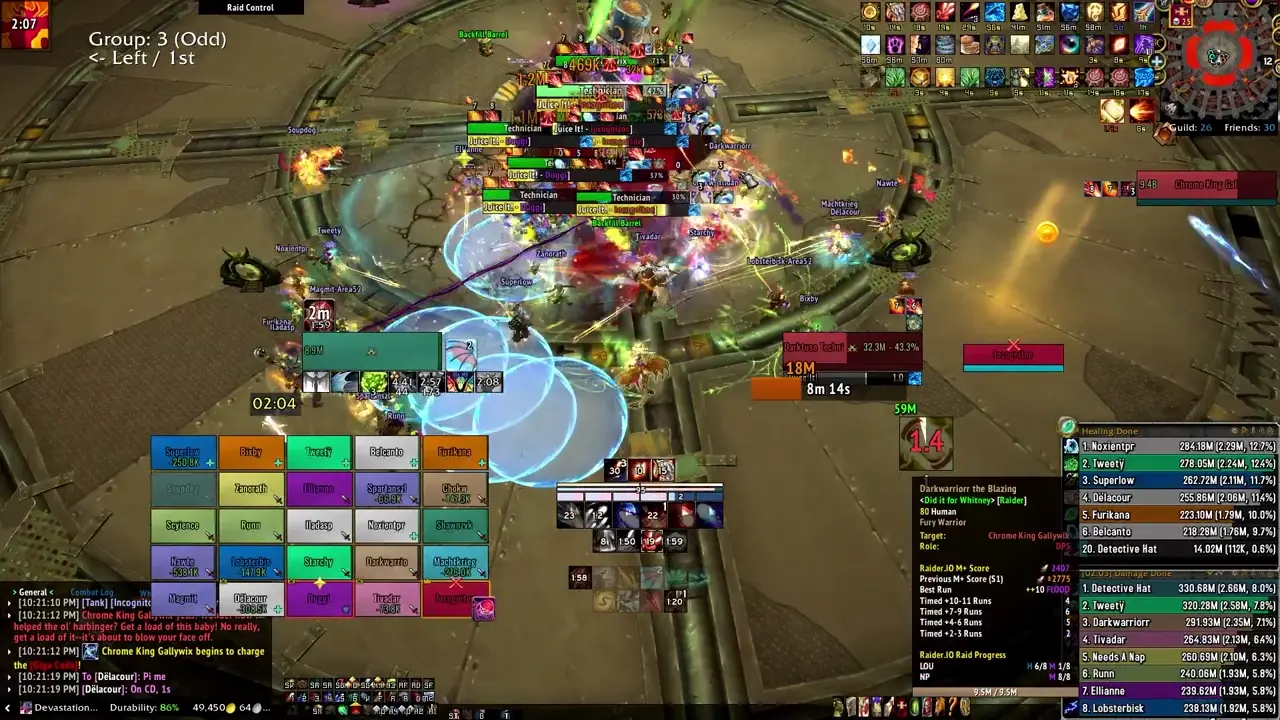
- Giga BOOM! - Giga Bombs detonate after 30 seconds, inflicting moderate damage to the raid plus a light DoT that ticks every second for 9 seconds. This stacks per explosion.
- Sabotaged Controls - When a Giga Controls on a Giga Coil are damaged, they spark occasionally, dealing light damage to targeted players every 6 seconds per each Sabotaged Control.
- Control Meltdown - Sabotaging a Giga Controls causes this for 1 minute. If Gallywix attempts to cast Giga Coils during this time, it backfires, interrupting the cast.
- Sabotage Zone - When both Giga Controls on a Giga Coil are damaged, this covers their quadrant of the room, dealing moderate damage every second to players in the area.

- Fused Cannisters - Gallywix marks several players and launches shells at them that detonate after 6 seconds. Upon detonation, this deals light damage, split evenly among everyone in an 8 yard radius. All targets who soak this receive Mechengineer’s Cannisters, the same effect from Phase One and working similarly, exploding for damage to the player equal to the healing absorb remaining. On Heroic, this deals damage to the whole raid instead, just as in Phase One. Any marked player who fails to share this effect with at least 1 other player causes this to instead affect the entire raid for the full effect.
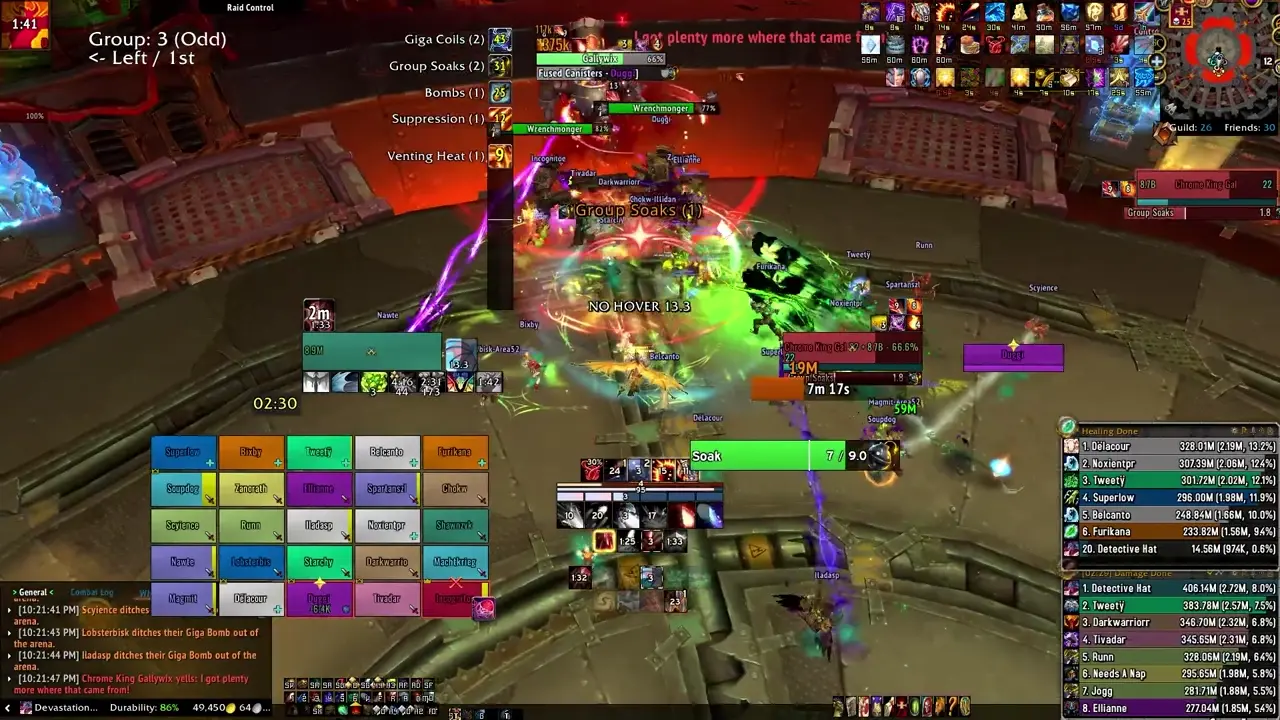
- Darkfuse Technician - These arrive in on a Party Crashing Rocket, dealing light damage to any players within the indicated visual on impact. These do not do much, except Juice It!, which charges a Giga Bomb, causing it to explode for light damage in a 10 yard radius and increase their damage and movement speed by 5%, stacking. These drop Charged Giga Bombs on death.
- Giga Bomb - These are dropped by Darkfuse Technicians on death, and radiate very light damage in a 3 yard radius. They can be picked up by players, instead focusing that damage to them. A player carrying this Bomb can choose to Fling Giga Bomb, throwing it to a targeted location. Carrying this near a Giga Controls causes Giga Bomb Detonation, inflicting a jolt to the player carrying the Bomb and sabotaging the Controls. This jolt also gives the player 30% movement speed for 10 seconds.
- Sharpshot Sentry - These cast Shock Barrage at a random player, an interruptible channel that deals high damage over 4 seconds.
- Darkfuse Wrenchmonger - These arrive in on a Party Crashing Rocket, dealing light damage to any players within the indicated visual on impact. These can be tanked and deal high damage with Wrench, which debuffs their main target with every cast, increasing their damage taken from Wrench by 40% a stack. They also enrage with Lumbering Rage, gaining 50% damage but 50% reduced movement speed.
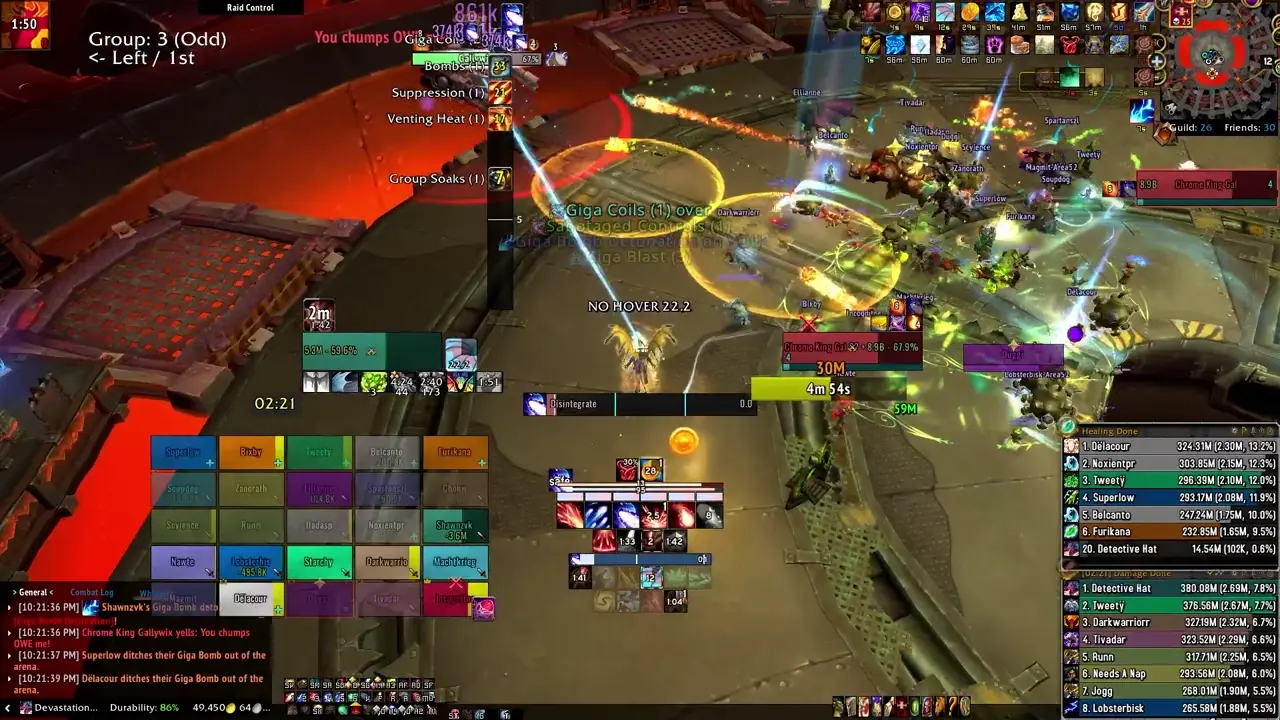 Intermission
 - Cratering - Gallywix slams down into the arena, dealing massive (and certainly lethal) damage to any players within 20 yards of the impact, and moderate damage to the entire raid.
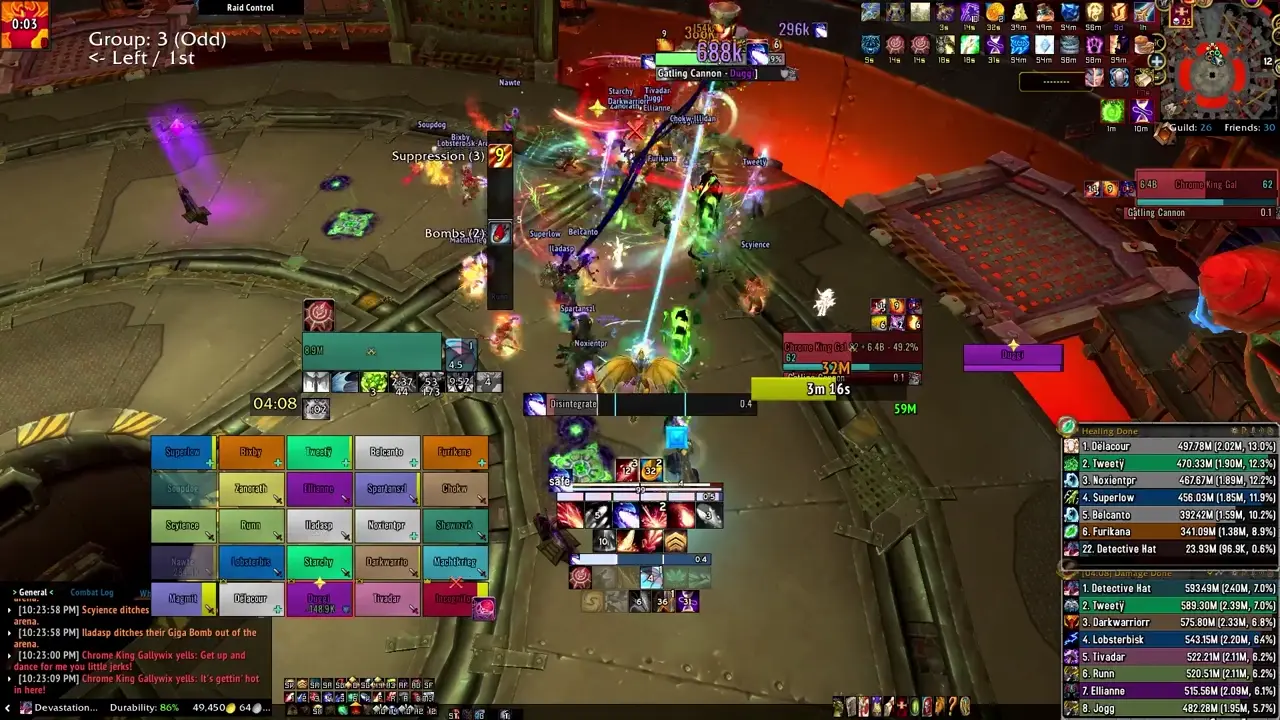
- Armageddon-Class Plating - A shield from the Darkfuse that prevents Gallywix from being interrupted.
- Radiant Electricity - On Heroic, Gallywix rotates a beam of lightning that stuns and deals moderate damage to any player caught. This can be outranged and is irrelevant for ranged DPS/ranged healers.
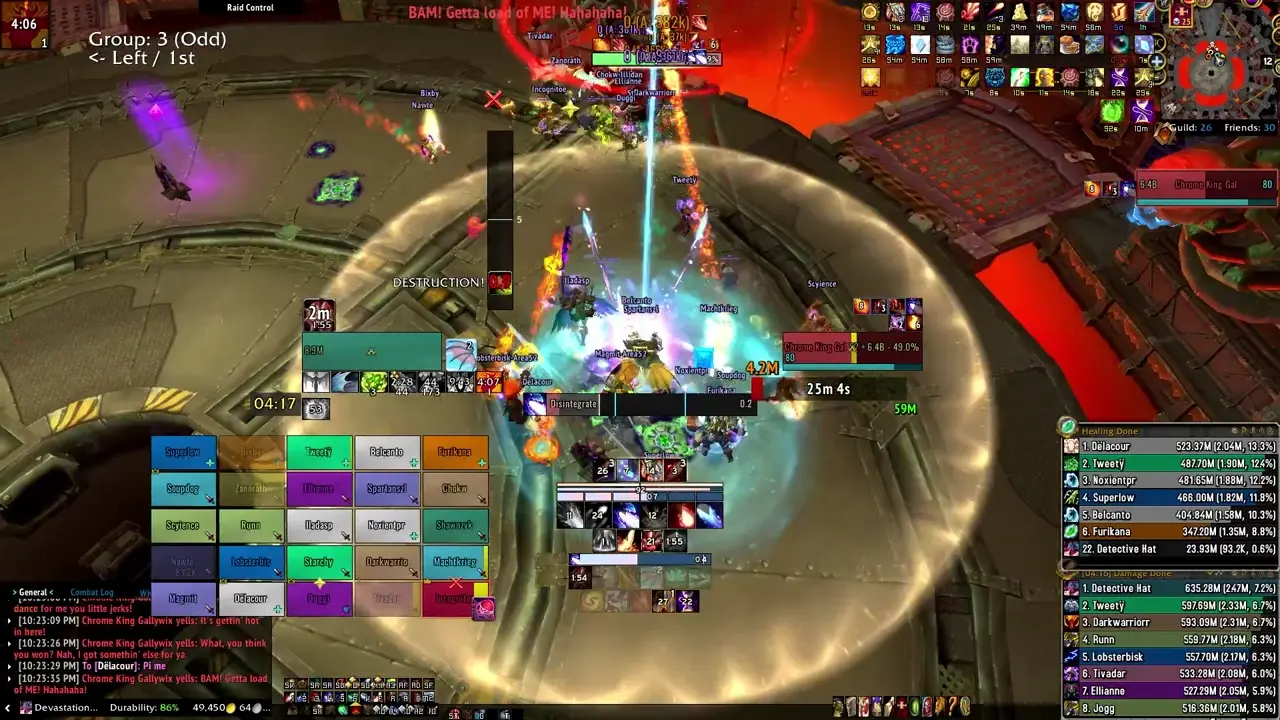
- Total Destruction - Gallywix rains down rockets on the entire raid, causing light damage that increases by 20% with every tick, lasting 30 seconds.
Phase Three
Gallywix retains a mix of abilities from Phase Two, with some modifications to make them more deadly. He no longer summons Sharpshot Sentries or Darkfuse Wrenchmongers, however. Fused Cannisters have become Tick-Tock Cannisters. Several abilities from Big Bad Buncha Bombs have also seen modification, and Suppression has a new effect.
- Big Badder Bomb Blast - Gallywix shells his primary target with this, inflicting moderate damage to them anyone with 30 yards. This also causes anyone hit to take 200% increased damage for 1.5 minutes. Anyone hit also receives Blast Burns.
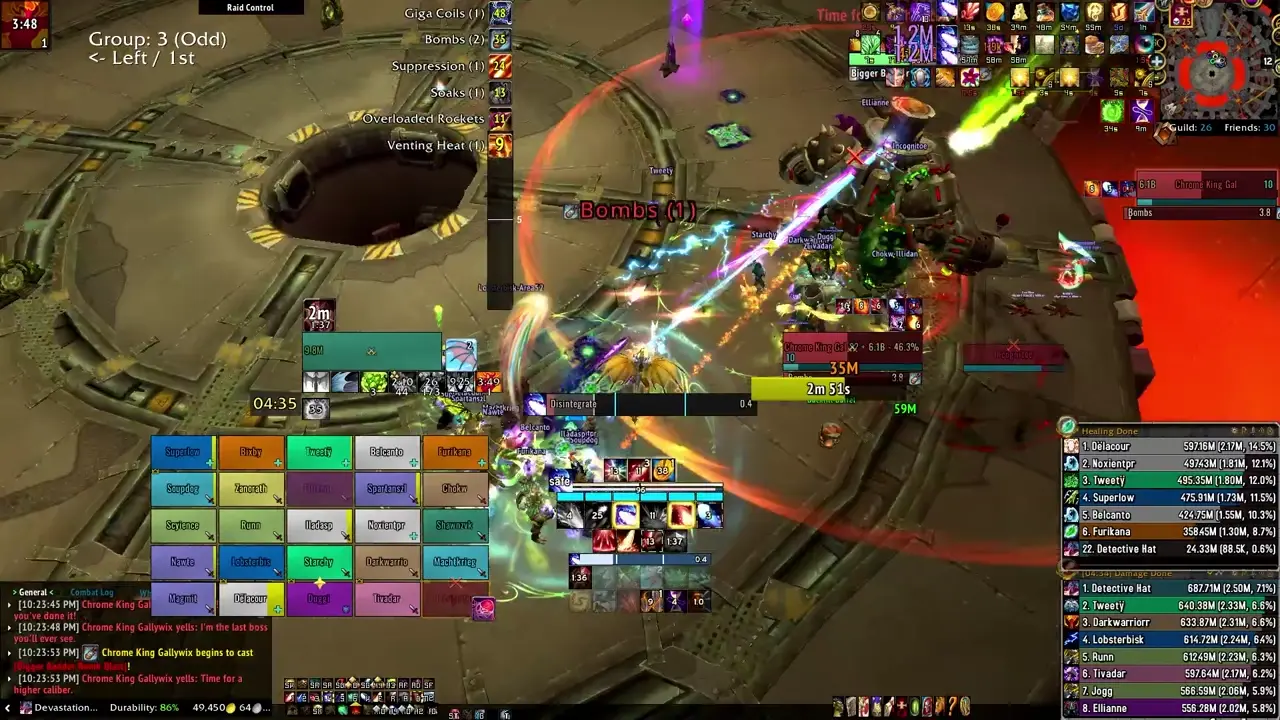
- Overloaded Rockets - Sapper’s Satchel is removed in exchange for this ability. This attaches rockets to several players, causing them to shoot out a barrage of rockets in indicated directions, inflicting a massive DoT to anyone hit as well as knocking them back.
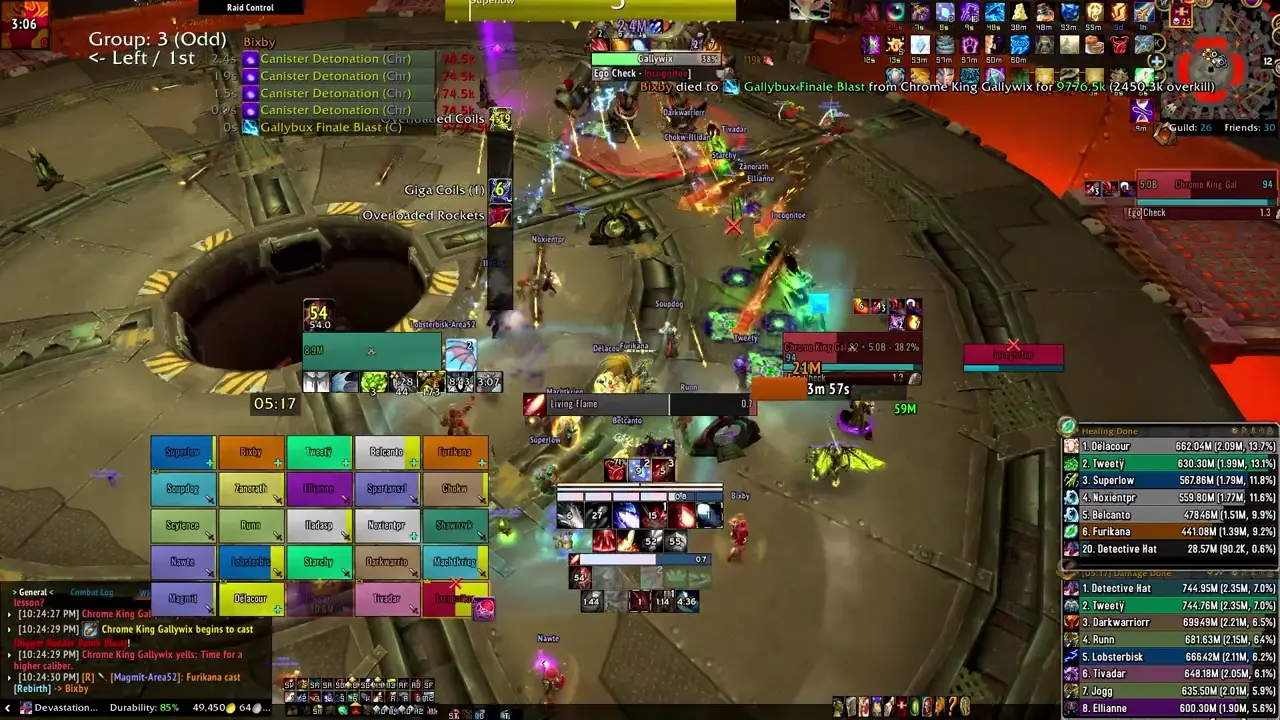
- Tick-Tock Cannisters - Gallywix ejects volatile cannisters around the arena which embed themselves into the floor. These detonate after 5 seconds, dealing light damage, split amongst all players soaking each one. All targets hit are afflicted with Mechengineer’s Cannisters, once again causing the same effect from Phase One and Two. If any of these fail to hit at least a single player, it instead affects the entire raid with their effect per unsoaked Cannister.
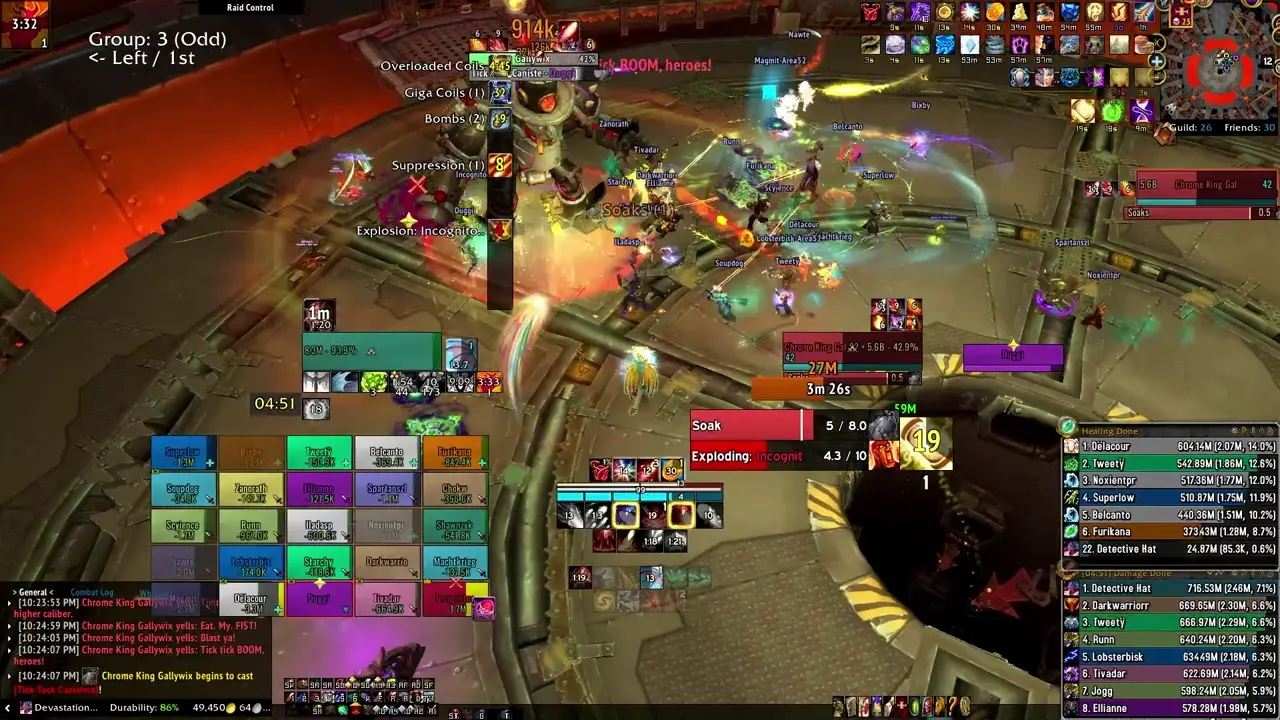
- Gallywix Finale Burst - Gallywix finishes Suppression with pizzazz, firing a larger shock around himself that deals lethal damage to all players, but is reduced by distance from the epicenter.
- Ego Check - On Heroic this replaces Trick Shots, causing Gallywix instead to deal a 4-hit combo that deals moderate damage with each strike. This cannot be dodged or parried, and 90% of the unmitigated damage is dealt as a DoT called Checked Ego that lasts 22 seconds, and it can stack.
Strategy (Normal and Heroic)
The boss remains stationary for Phase One, and in Phase Two, he jumps to different points of the room after a Big Bad Buncha Bombs. In the Intermission, he’ll mount his mechsuit and in Phase Three will be normally tankable like most other mobs.
Much of the difficulty stems from the length of the encounter and the raid damage. Mechanically, it is actually quite simple and easy to execute.
Phase One
- The simplest phase, as there are no Giga Coils to deal with. You will want two teams to rotate through soaking the Scatterblast Cannisters. Odds first, Evens second is a tale as old as time, and will be the simplest way to deal with this.
- You will need a large healing cooldown to heal off the healing absorb for each one of these Cannister soaks. The boss is stationary, so the groups should organize themselves opposite of each other. Mark the tank of each group and have everyone follow their movements.
- As this soak will sometimes overlap with other abilities, make sure players know not to dodge out of the soak, but within it.
- During the Big Bad Buncha Bombs, you will want the raid to spread a fair bit away from each other to give room for dodging. For Sapper’s Satchels, players should dodge backwards if possible, while everyone else dodges forwards.
- On Heroic, tanks and players with immunities should soak the 1500 Pound DUD as soon as they can. The tank not tanking should attempt to get both, as this will make it so the raid only takes one Time-Released Crackle, instead of two. But, you should prioritize getting them off of the map over this, as one going off is a wipe.
- Tanks should swap on each Scatterblast Cannister.
- The scariest part of this phase is the 3rd Scatterblast and the final Scatterblast. These are good times to personal. You should also health pot any time you feel threatened as it will be back up for the later parts of Phase Three.
Phase Two
- From this point on, the fight becomes about managing the Giga Coils and preventing them from dealing their massive damage to the raid. However, you must make certain that you balance this while keeping the play space open for play.
- I will make this very simple. Mark each coil with a different world marker. In this example, we will use Diamond, Star, Circle, and Orange. Each coil should be broken once, going around the circle, and then broken again as needed. On Normal and Heroic, you will realistically never see a Sabotage Zone doing this unless your DPS is extremely low.
- To clarify, this would mean the first Giga Coil to be sabotaged would be Diamond, then Star, then Circle, then Orange. And then after this, you would simply go in that order again. As a Coil must be broken twice to be removed from the fight, this means your enrage timer is eight total Giga Coil casts.
- You should have players assigned to pick up Giga Bombs, although anyone who understands the mechanic can feel free to do it. Players carrying Giga Bombs should be careful not to be struck by the Giga Blast, as this will not only damage them, but destroy the bomb, possibly preventing the raid from stopping the Giga Coil cast, likely causing a wipe.
- The tank not currently tanking should pick up the Darkfuse Wrenchmonger and any other adds and bring them to the boss for cleave. The tank who has Gallywix can assist in this as well as needed. The Wrench stacks should not be a great concern on these difficulties, and worst case you may simply need to pop something. These should be cleaved down.
- Players should make certain to interrupt the Sharpshot Sentries, as their Shock Barrage cast can combo a player taking damage from other mechanics.
- You should bring all Fused Cannisters into melee and make a venn diagram with them. There are sometimes Sapper’s Satchels during this, and these should be dropped off to the left or right of the raid.
Intermission
- Gallywix will go up in the air and slam down where he is. Melee should move out and then back in when it’s over.
- This is where you will lust on Heroic, or Normal if you are struggling with Phase Three.
- Players should make certain to stay as grouped as possible for healing while breaking the shield, and on Heroic should also care for the Radiant Electricity beam.
- You do not need to interrupt immediately, and should milk this phase for as long as possible if you are able to.
Phase Three
- This plays much the same as Phase Two, with some slight changes.
- Players with the Overloaded Rockets should still follow the same pattern of dodging out of the raid towards the outside, and they should in general try to go to certain areas to make it so the Rockets all come from the same general area. Pre-spreading in particular is quite effective, and you should move so that your rockets are not aimed directly at the boss.
- On Normal, everyone should simply move out of melee then back in for the Suppression. On Heroic, this deals far more damage, and all players should move out to around 30+ yards as this damage can outright kill you as it typically happens just after a Tick-Tock Cannisters.
- Movement should be saved for the Tick-Tock Cannisters, so that players can get to a soak in time and then move out for the Suppression. Players should simply get to a Cannister and plant.
- The tank who receives the Bigger Badder Bomb Blast should move to a far off location to explode. Tanks will swap on each one of these. Ego Check must simply be endured and you will take two in between the Bigger Badder Bomb Blasts.
- Towards the end of the encounter, you will have much less space for dealing with all of the above, and there should be a much greater focus on player’s baiting properly. Tanks may also take the Bigger Badder Bomb Blast into the Sabotage Zones as space dictates.
Mythic Changes
The amount of changes this encounter sees on Mythic is almost unprecedented. For now, suffice to say this will have its own post.
Notes on Healing
Like Mug’Zee, there is far more healing required in this fight than all the others. There is constant rot throughout, with moments of high burst damage to the raid, spot healing, and triage. Almost all healing profiles will be seen throughout this encounter.
The raid will alternate being stacked and spread, and understanding these moments will be at the core of you properly healing this encounter. There will also be moments of high movement at which you will also need to do a large amount of healing. For each Big Bad Buncha Bombs, you should factor in this movement and be ready for it and have a plan for how best to do your healing during it.
The Cannister mechanic makes up the bulk of healing on this fight and having a plan for each one is critical to your raid’s success. On Heroic, the Suppression is also a massive amount of damage and must be planned for.
Giga Coils begins as a large amount of damage and then quickly becomes tame. Be careful of stray casts going off and hitting random players for large spikes of damage.
Notes on Tanking
On Normal, this is as simple as taunting at the appropriate time and taking the Phase Three bombs out of the group.
On Heroic, this encounter for you will revolve around making sure the 1500-Pound DUDs are soaked every time, and quickly picking up the adds during each Giga Coils, as there is a high chance of a DPS dying to these.
The Ego Check can be a surprising amount of damage at times and catch you unawares if you are not prepared for each one, as it typically happens during extreme raid damage.
Defensive Usage
Defensives are best utilized during the Scatterblast Cannisters in Phase One, if you receive a Sapper’s Satchel in any phase, during the Big Bad Buncha Bombs or if a Giga Coils is allowed to persist for some time.
In Phase Three, using personals on Suppressions is best.
Movement Cooldowns
Movement Cooldowns will be very impactful in this encounter. You will want to use them, for the most part, during the Big Bad Buncha Bombs to aid in properly spreading out Sapper’s Satchels and Overloaded Rockets, or for the Fused/Tick-Tock Cannisters.
In Phase Three, movement cooldowns are extremely effective against Suppression.
Damage Profile Best Suited for this Encounter
As of this moment, this does seem to be another encounter where Single Target with efficient cleave is best. There are a fair amount of adds throughout this encounter, but damage to Gallywix is what really matters.
Raid Plans, Weakauras, and Macros
- Normal/Heroic Raid Plan - NYI
- Weakauras: Only one fight specific one - 1500-Pound DUD Alert for Tanks. I recommend the raid pack located at: the Resources and Weakauras page