Published
- 9 min read
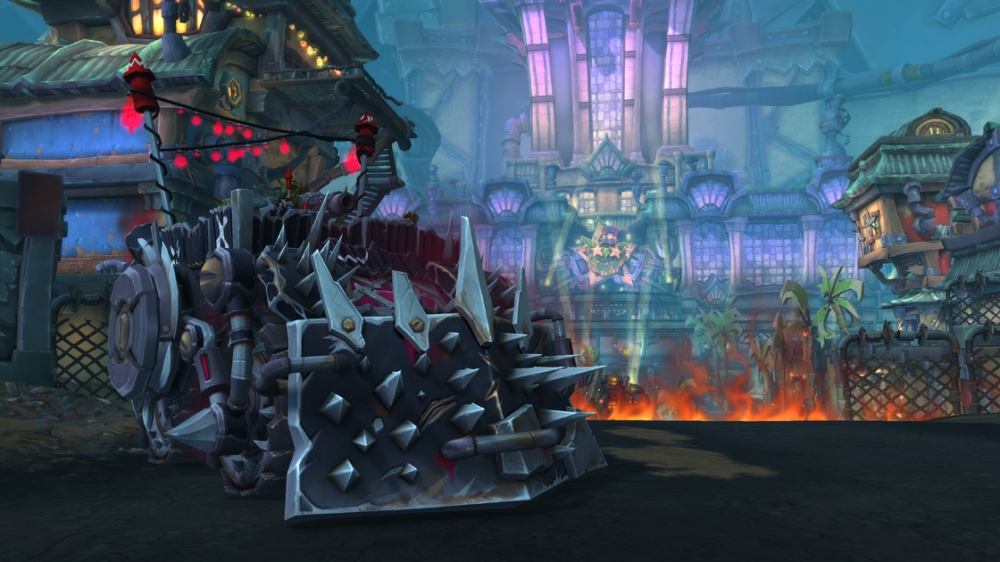
(Updated) A Complete Guide to Vexie and the Geargrinders
Intro
Mythic ability previews were clipped from Instant Dollar’s monk Milli.
This fight consists of two phases. In P1, you will fight Vexie in her Geargrinder, where she has a normal threat table and requires two tanks, with multiple adds spawning throughout the phase that must be killed and do not require tanking. The boss will begin this phase with stacks of Protective Plating, and removing this aura will begin P2.
In P2, the boss will no longer require tanking and instead will remain stationary. All active Biker adds will despawn and tanks should focus on controlling the Pit Mechanics and doing as much damage to the boss as they can with everyone else.
The boss takes full damage in P1, but in P2 takes 100% increased damage.
There will be details on how best to approach this encounter from every role, as well as clips displaying how the most important abilities can be handled. You can expect to come away from this guide with a full understanding of every aspect of it and the most optimal way to approach it.
Full List of Boss Abilities for Reference
All links sourced from Wowhead through their generous API
Phase One
- Protective Plating
- Unrelenting CAR-nage
- Call Bikers
- Blaze of Glory
- Burning Shrapnel
- Hot Wheels
- Spew Oil
- Incendiary Fire
- Bomb Voyage!
- Tank Buster
- Exhaust Fumes
- Oil Slick
Phase Two
Important Abilities
Phase One
- Call Bikers - Vexie will summon a wave of several bikers, which will spawn at the edges of the arena. They will then charge towards a raid member, which is indicated with a Blaze line. Getting hit by this line is not fatal, but…I mean…don’t get hit.
-
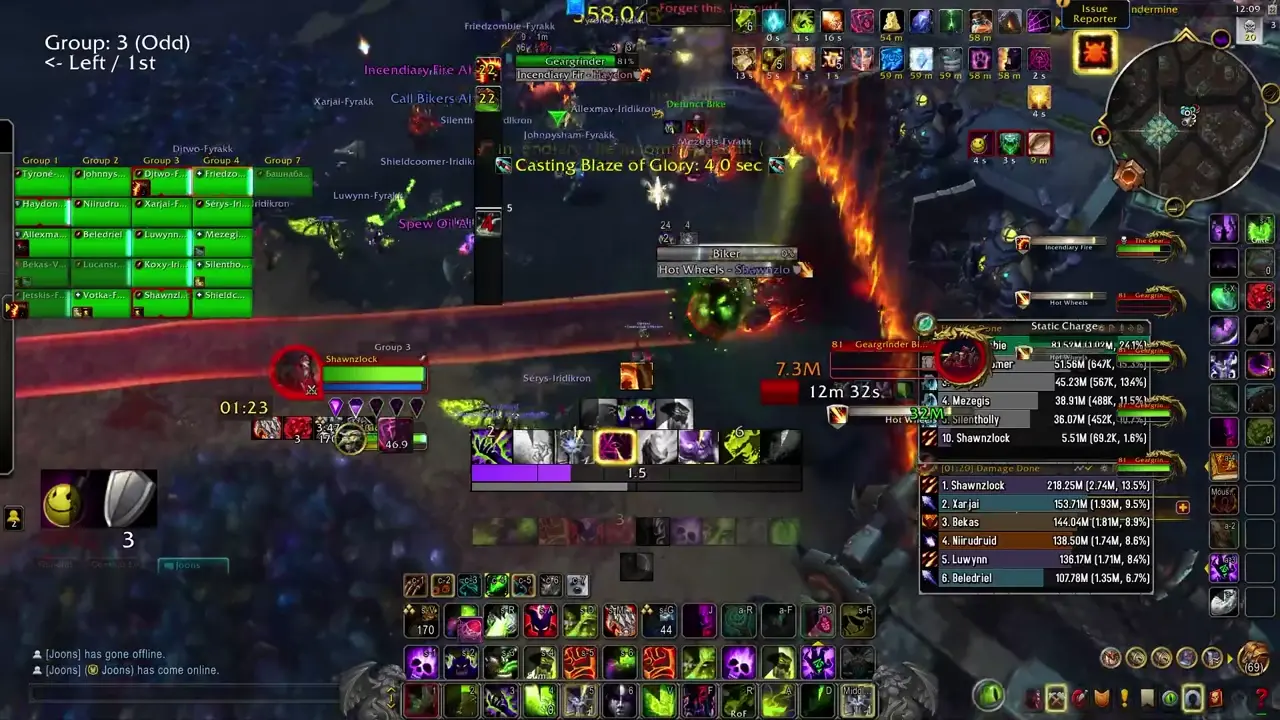
- Blaze of Glory - When a Biker is defeated, a player (literally anyone in the raid can do this) can right-click on their abandoned vehicle, taking control of it. They will then be able to press 1, shooting the bike at the boss. This is done to remove stacks of Protective Plating, of which the boss begins this phase with 6 stacks.. Each bike removes only 1 stack. It takes a few seconds for the bike to shoot off, so do not move your aim, and the boss should remain stationary during this time as well.
-
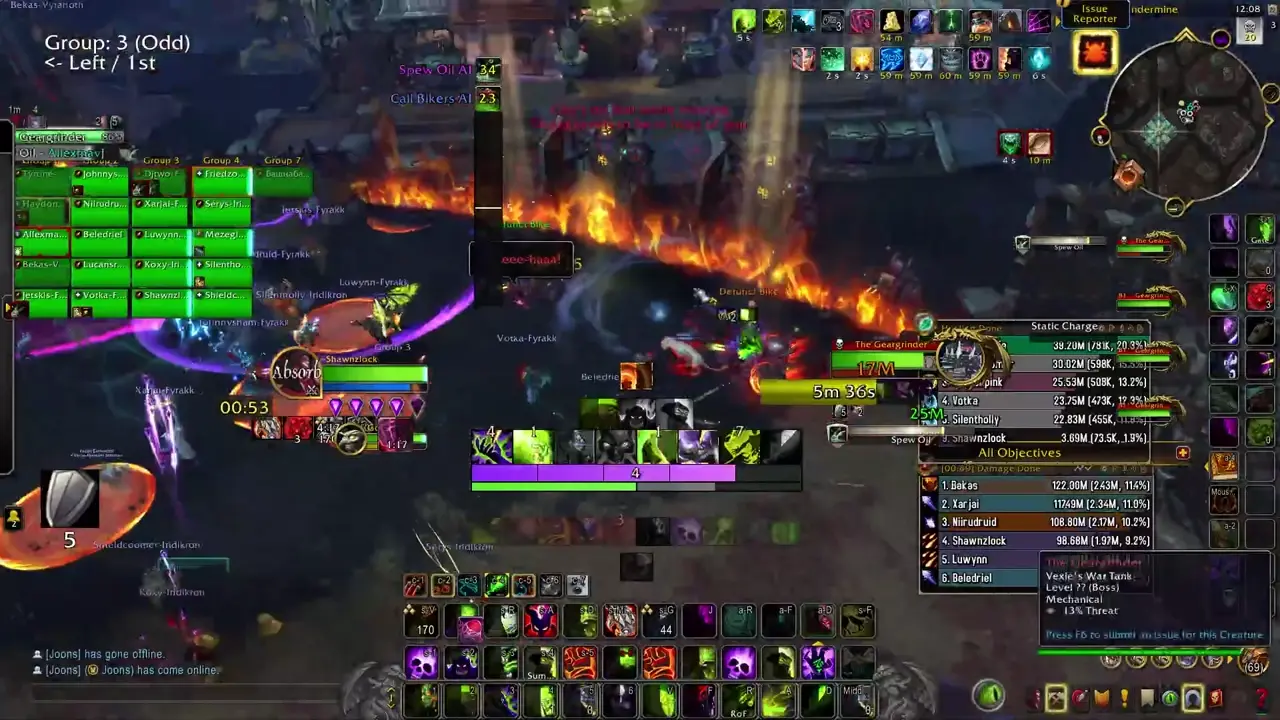
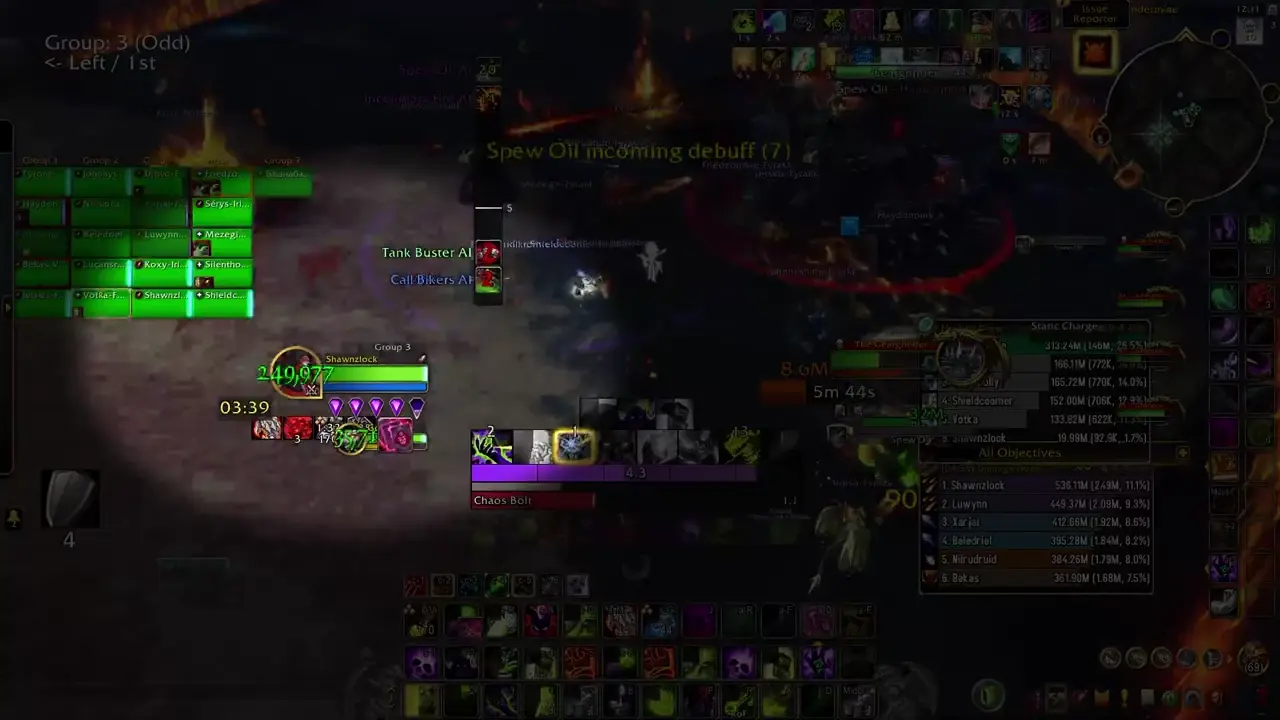
- Spew Oil - The boss will mark several players (two as of this writing) with a purple circle. After a few moments, they will then take damage and receive a 12 second DoT. On Heroic and higher, this also leaves a pool that slows and deals damage to anyone inside it, as well as a slip’n’slide effect. It will also stun any Bikers that charge through it for 5 seconds.
-
- Incendiary Fire - This will pick several players and launch a barrage of fire at them, dealing moderate damage to anyone hit. This also burns away any Oil Slicks in the area.
-
- Tank Buster - The only tank mechanic of the fight. You can swap on each one. It does not do a terrible amount of damage, and knocks you back a decent distance. On Heroic and higher it will also leave an Oil Slick.
Phase Two
- Mechanical Breakdown - The boss stops moving and ceases to melee. During this time, it takes 100% increased damage and instead constantly shoots out Burning Shrapnel, dealing moderate damage to anyone hit. She also pulses moderate AoE throughout this phase.
-
- Tune-Up - This stage lasts a maximum of 45 seconds. Vexie will call in Mechanics to repair here, ending the phase faster if they are successful. These Mechanics are fully cc’able and kickable, and you should do your best to control and cleave them down at this time.
-
Strategy (Normal and Heroic)
- The boss will begin, unsurprisingly, in P1. She should be tanked against the edge of the arena, and the raid should be loosely stacked nearby.
- Tanks should simply swap on every Tank Buster
- Spew Oils should walk out of the group. On Heroic, place these in such a way that they form an obstacle for the Bikers, causing them to slide over them. If any are placed in an errant location, the raid should adjust so that the charges are baited over the Oil.
- Excess/detrimental Oil Slicks should be destroyed by players who get the Incendiary Fire mechanic. Otherwise, make sure to simply kite the fire out of the group and away from any Oil that is needed.
- As of writing, 3 Bikers are spawned with each wave. The boss begins with 6 stacks of Plating, so it will take 2 waves minimum to remove her plating and begin the damage amp phase. An average group will take roughly 1:20 on Heroic and 1 minute on Normal to remove all plating. 3 minute CDs should be saved and Bloodlust should be used for this first damage amp phase. As this phase does technically last a maximum of 45 seconds, you can wait to phase the boss until around 1:45 on Heroic and hold lust for when 2 minutes come up, and thus be able to send all CDs except for 3 minutes on pull. On Normal, you should hold all CDs on pull (you may also lust and send everything on pull). Be aware that taking too long in P1 will result in the boss casting a potentially raid-wiping ability in Unrelenting CAR-nage.
- During P2, everyone should make sure to help control the Pit Mechanics. Hard CC and interrupts alike work to prevent them from repairing, and anyone who does efficient cleave should do so in order to ensure the phase lasts as long as possible.
Mythic Changes
- In Phase One, Bikers will now launch 2 Oil Cannisters into the air when defeated. Failing to soak these leaves an Oil Slick behind. Soaking these Cannisters prevents you from soaking another for 1 minute. Multiple players can soak the same Cannister.

- The Bikes can no longer be mounted without first being fueled. You fuel a bike by walking into it while afflicted by Soaked in Oil.Each bike requires two Cannisters, and thus two players who have soaked.
- During Phase Two, a Support Rig now spawns. This provides a 15 yard aura of immunity to crowd control and interrupt effects (silences included). The Support Rig itself is susceptible to CC.

Mythic Strategy
- Nothing much changes overall. The way you handle the encounter is largely the same. The only thing necessary is that you need either hard assign players to fuel the bikes (of which you require a minimum of 12 unless you do some phase prolonging), or yolo soak. Both are fine, but obviously each has its downsides.
- As mentioned, multiple players can soak the same Oil Cannisters. This means that you should not stress about catching every single Cannister, and players should just make certain they have Oil to fuel their assigned bike.
- Oil is much more of a concern in general. The Support Rigs can make the burn phases much shorter, so you may actually need players to regularly clear Oil due to the various mechanics.
- As of writing, Support Rigs seem to spawn in every 10 seconds during Phase Two. In testing, they were fully CC’able, and so with enough abilities such as Paralysis and Freezing Trap, you could prevent them from getting close enough to grant their aura to the Mechanics.
- If this is the case, you simply need to assign around four players to individually CC each Support Rig as they come in.
- You should use 2 minutes on the pull and control phasing the boss to occur around 1:45-1:50. The timing should be consistent for planning all relevant CDs.
- Make certain you have something to let you know if you are holding an Oil Cannister, or as the raid leader you should havea Weakaura with a list of players holding them. It is very easy for players to space out and grief depositing these.
Notes on Healing
This encounter is not particularly stressful for healing. The tanks can almost entirely manage their health solo, and there is practically nothing to heal in P1. During P2, the damage profile is light rot across the entire raid.
Damage events during P1 are almost entirely on random players throughout this phase. Several players at a time will be hit by Bomb Voyage, which is light by itself, the Oil Slicks and on Mythic soaking the Oil, and the damage caused by shooting a bike at the boss, which deals light damage to the raid on impact. All of this is able to be handled by standard healing and does not require cooldowns.
Notes on Tanking
This is by far the simplest fight in the raid to tank, tied with Cauldron of Carnage. All you need do is swap on every Tank Buster cast. Beyond that, simply tank the boss at the edge of the arena (wherever you prefer) and move it as little as necessary.
Defensive Usage
While there is very little outgoing damage on this fight, defensives can and still should be used. The best damage events to defensive are any time you see more than two bikes being shot at the boss at the same time, if you get both Spew Oil and Bomb Voyage!, or during the latter half of a Mechanical Breakdown. as healing CDs begin to wind down.
Movement Cooldowns
There is no great need for movement in this fight, however, abilities like Spatial Paradox are useful in P2 for healers as there are swirlies to dodge at this time, and thus are useful for any healer casting a channeled healing cooldown or something similar.
Damage Profile best suited for this encounter
This encounter presents no real damage check in any fashion, being a first boss. However, 2 minute burst classes will excel on this fight, especially any with built in cleave. The best loadout for this fight is 1-2 minute burst with light cleave built in. Spread cleave, such as that provided by Boomkins, Locks, or Spriests, is useful during P1 if charges are not baited properly, but not sorely needed.
Target swapping is not a true concern, and more of a bait than anything. You should strive to do as much damage as possible to the boss during its weakened state, and not prioritize killing the Pit Mechanics over simply controlling and interrupting them.
Raid plan, Useful Weakauras, and Macros
- Raid Plan for Normal and Heroic
- Raid Plan for Mythic
- No fight specific macros or Weakauras. Refer to the Resources and Weakauras page
Table of Contents
- Cauldron of Carnage
- Rik Reverb
- Stix Bunkjunker
- Sprocketmonger Lockenstock
- One-Armed Bandit
- Mug’Zee
- Chrome King Gallywix